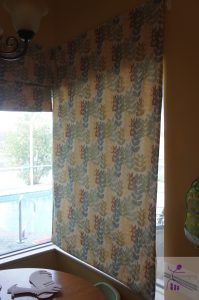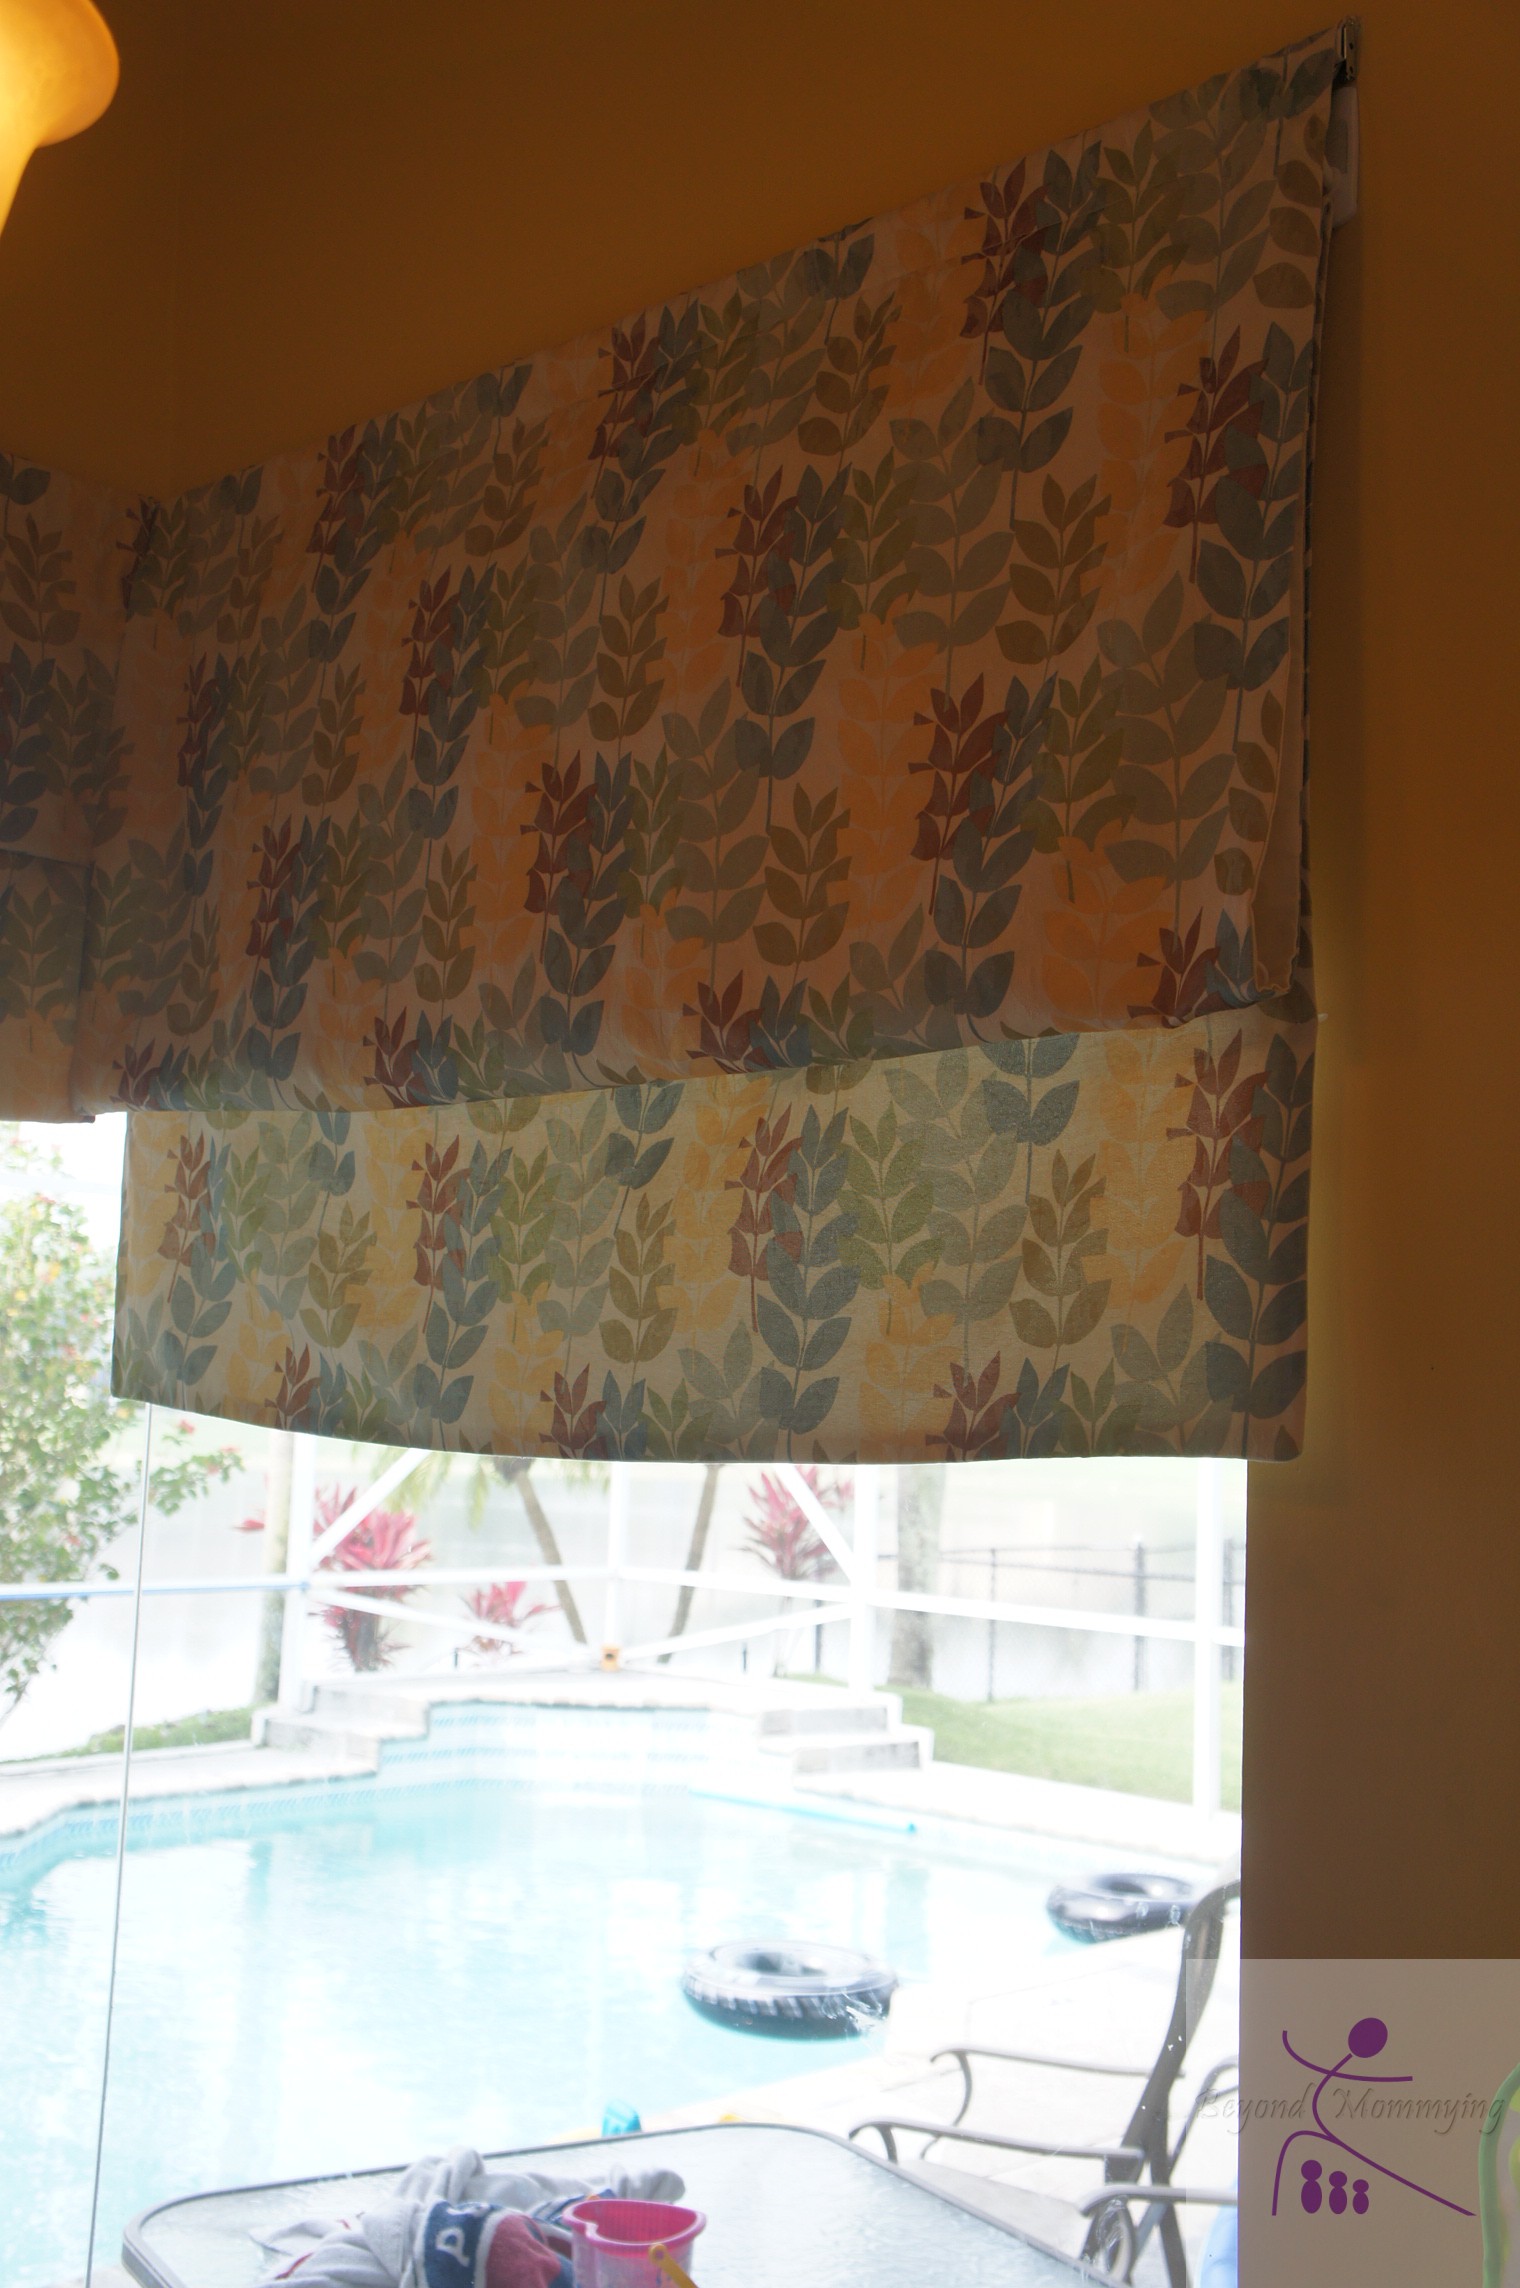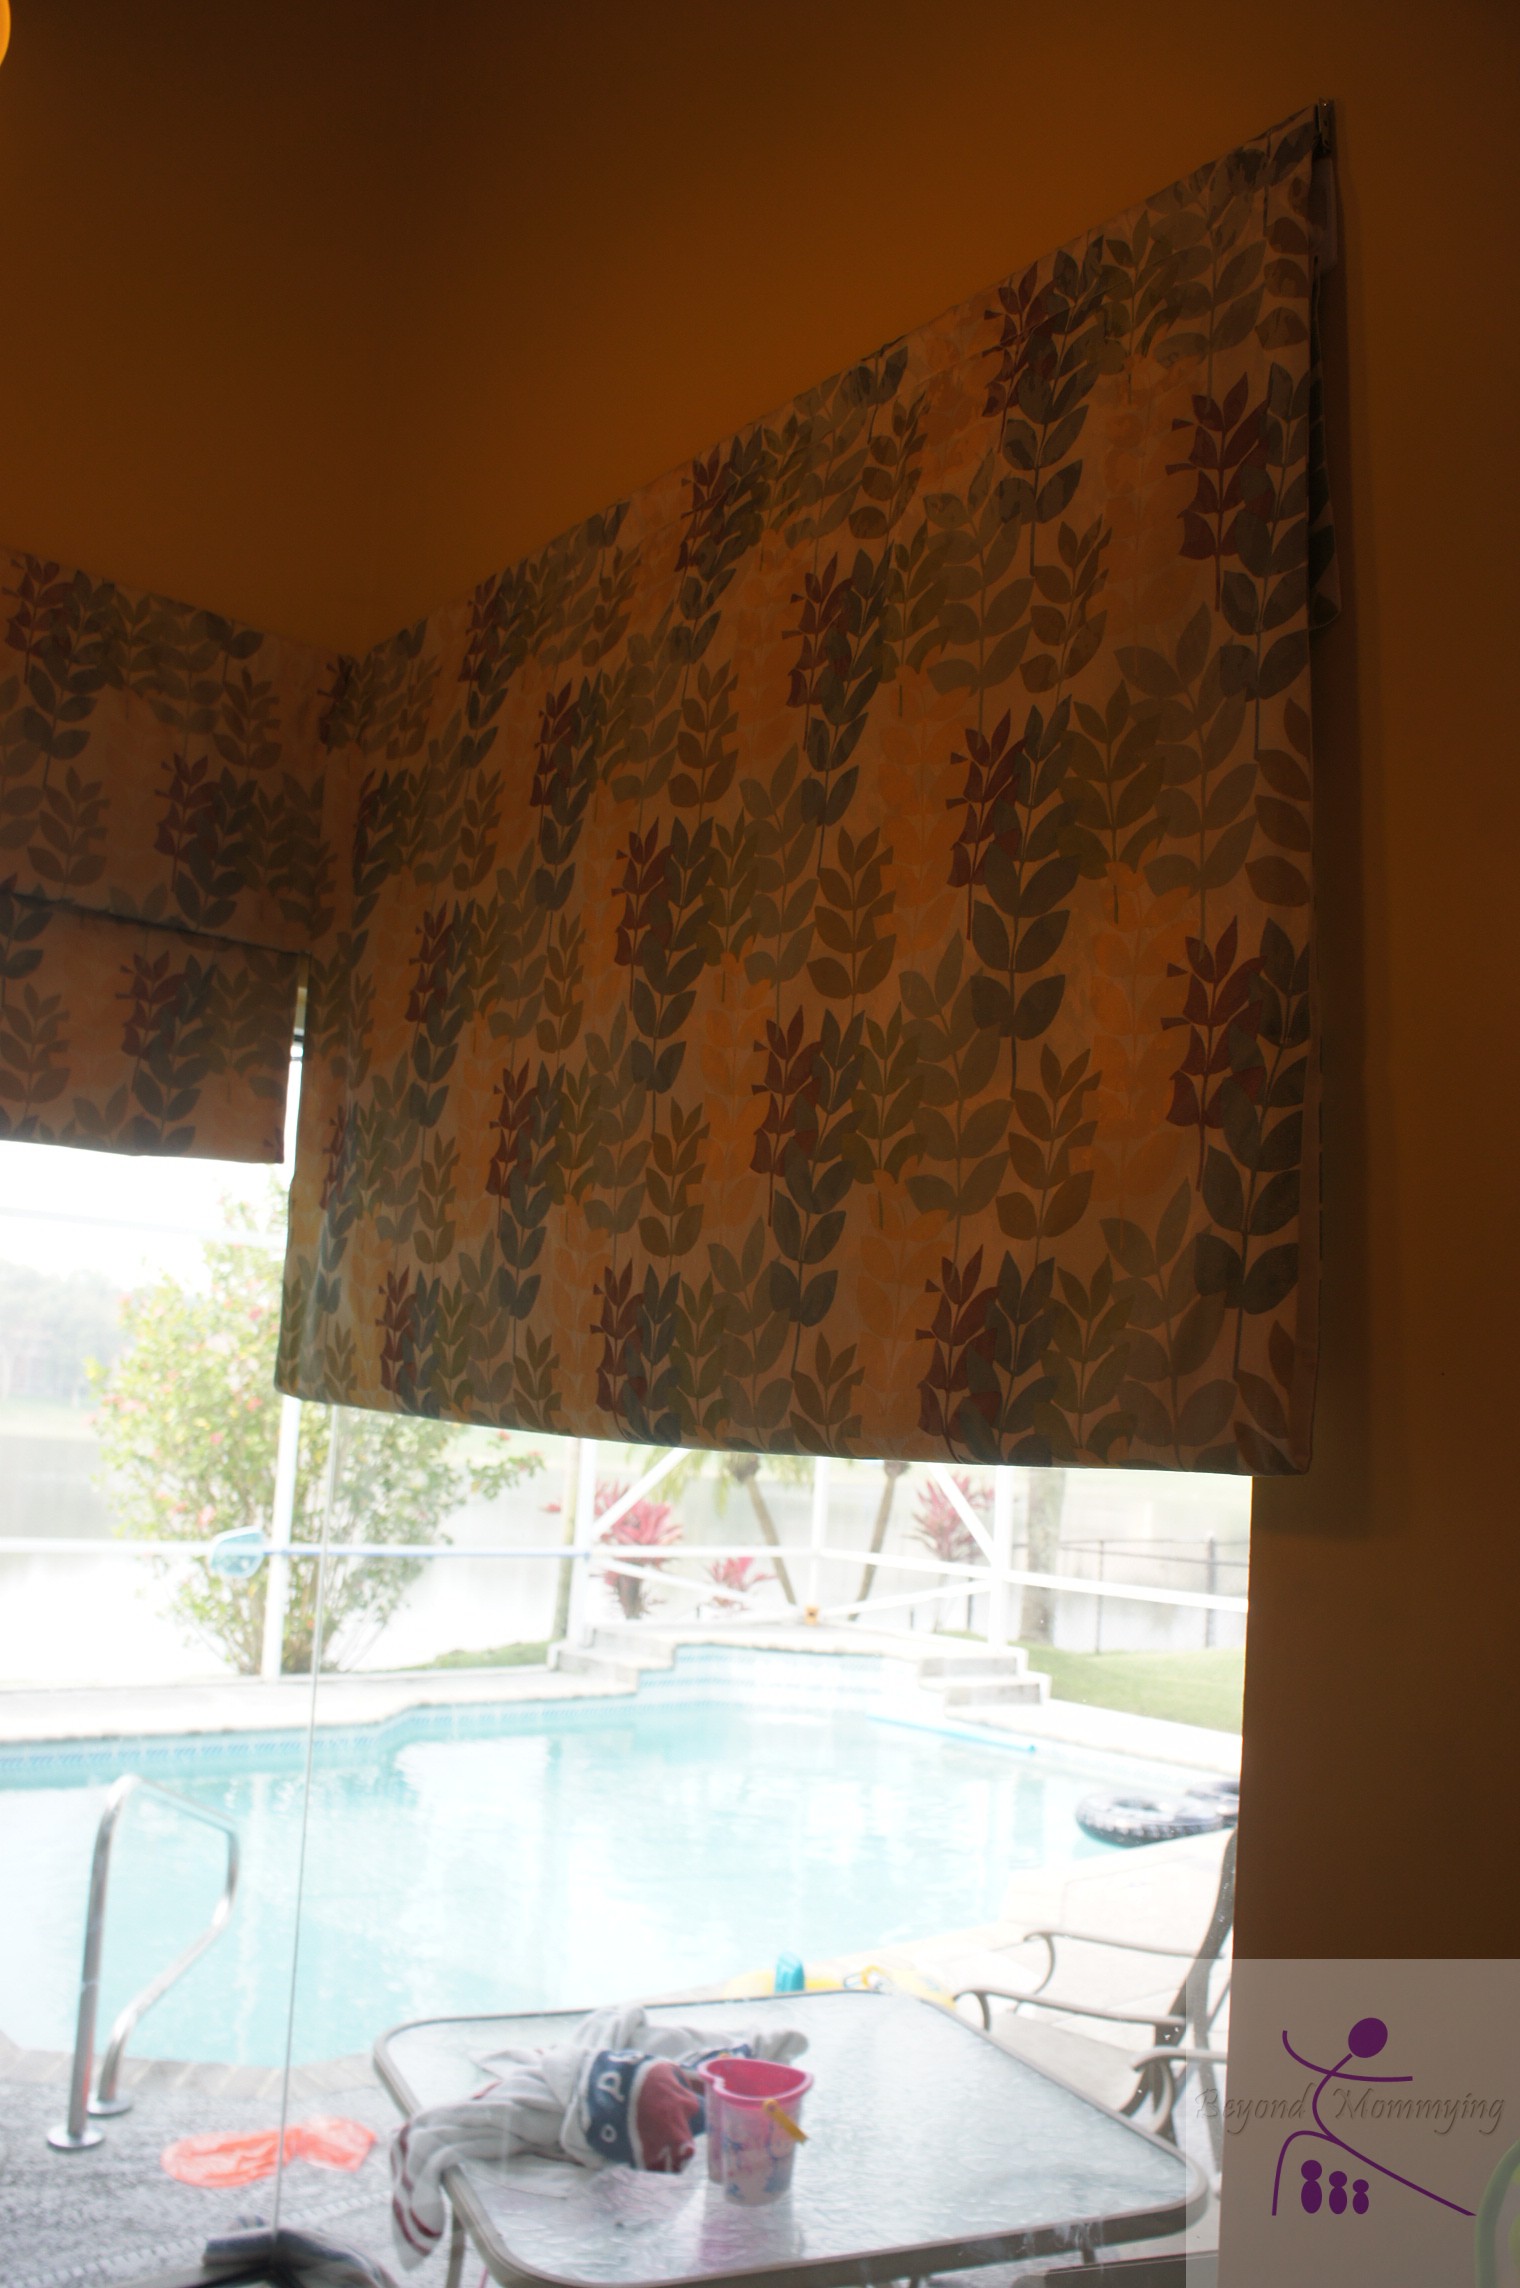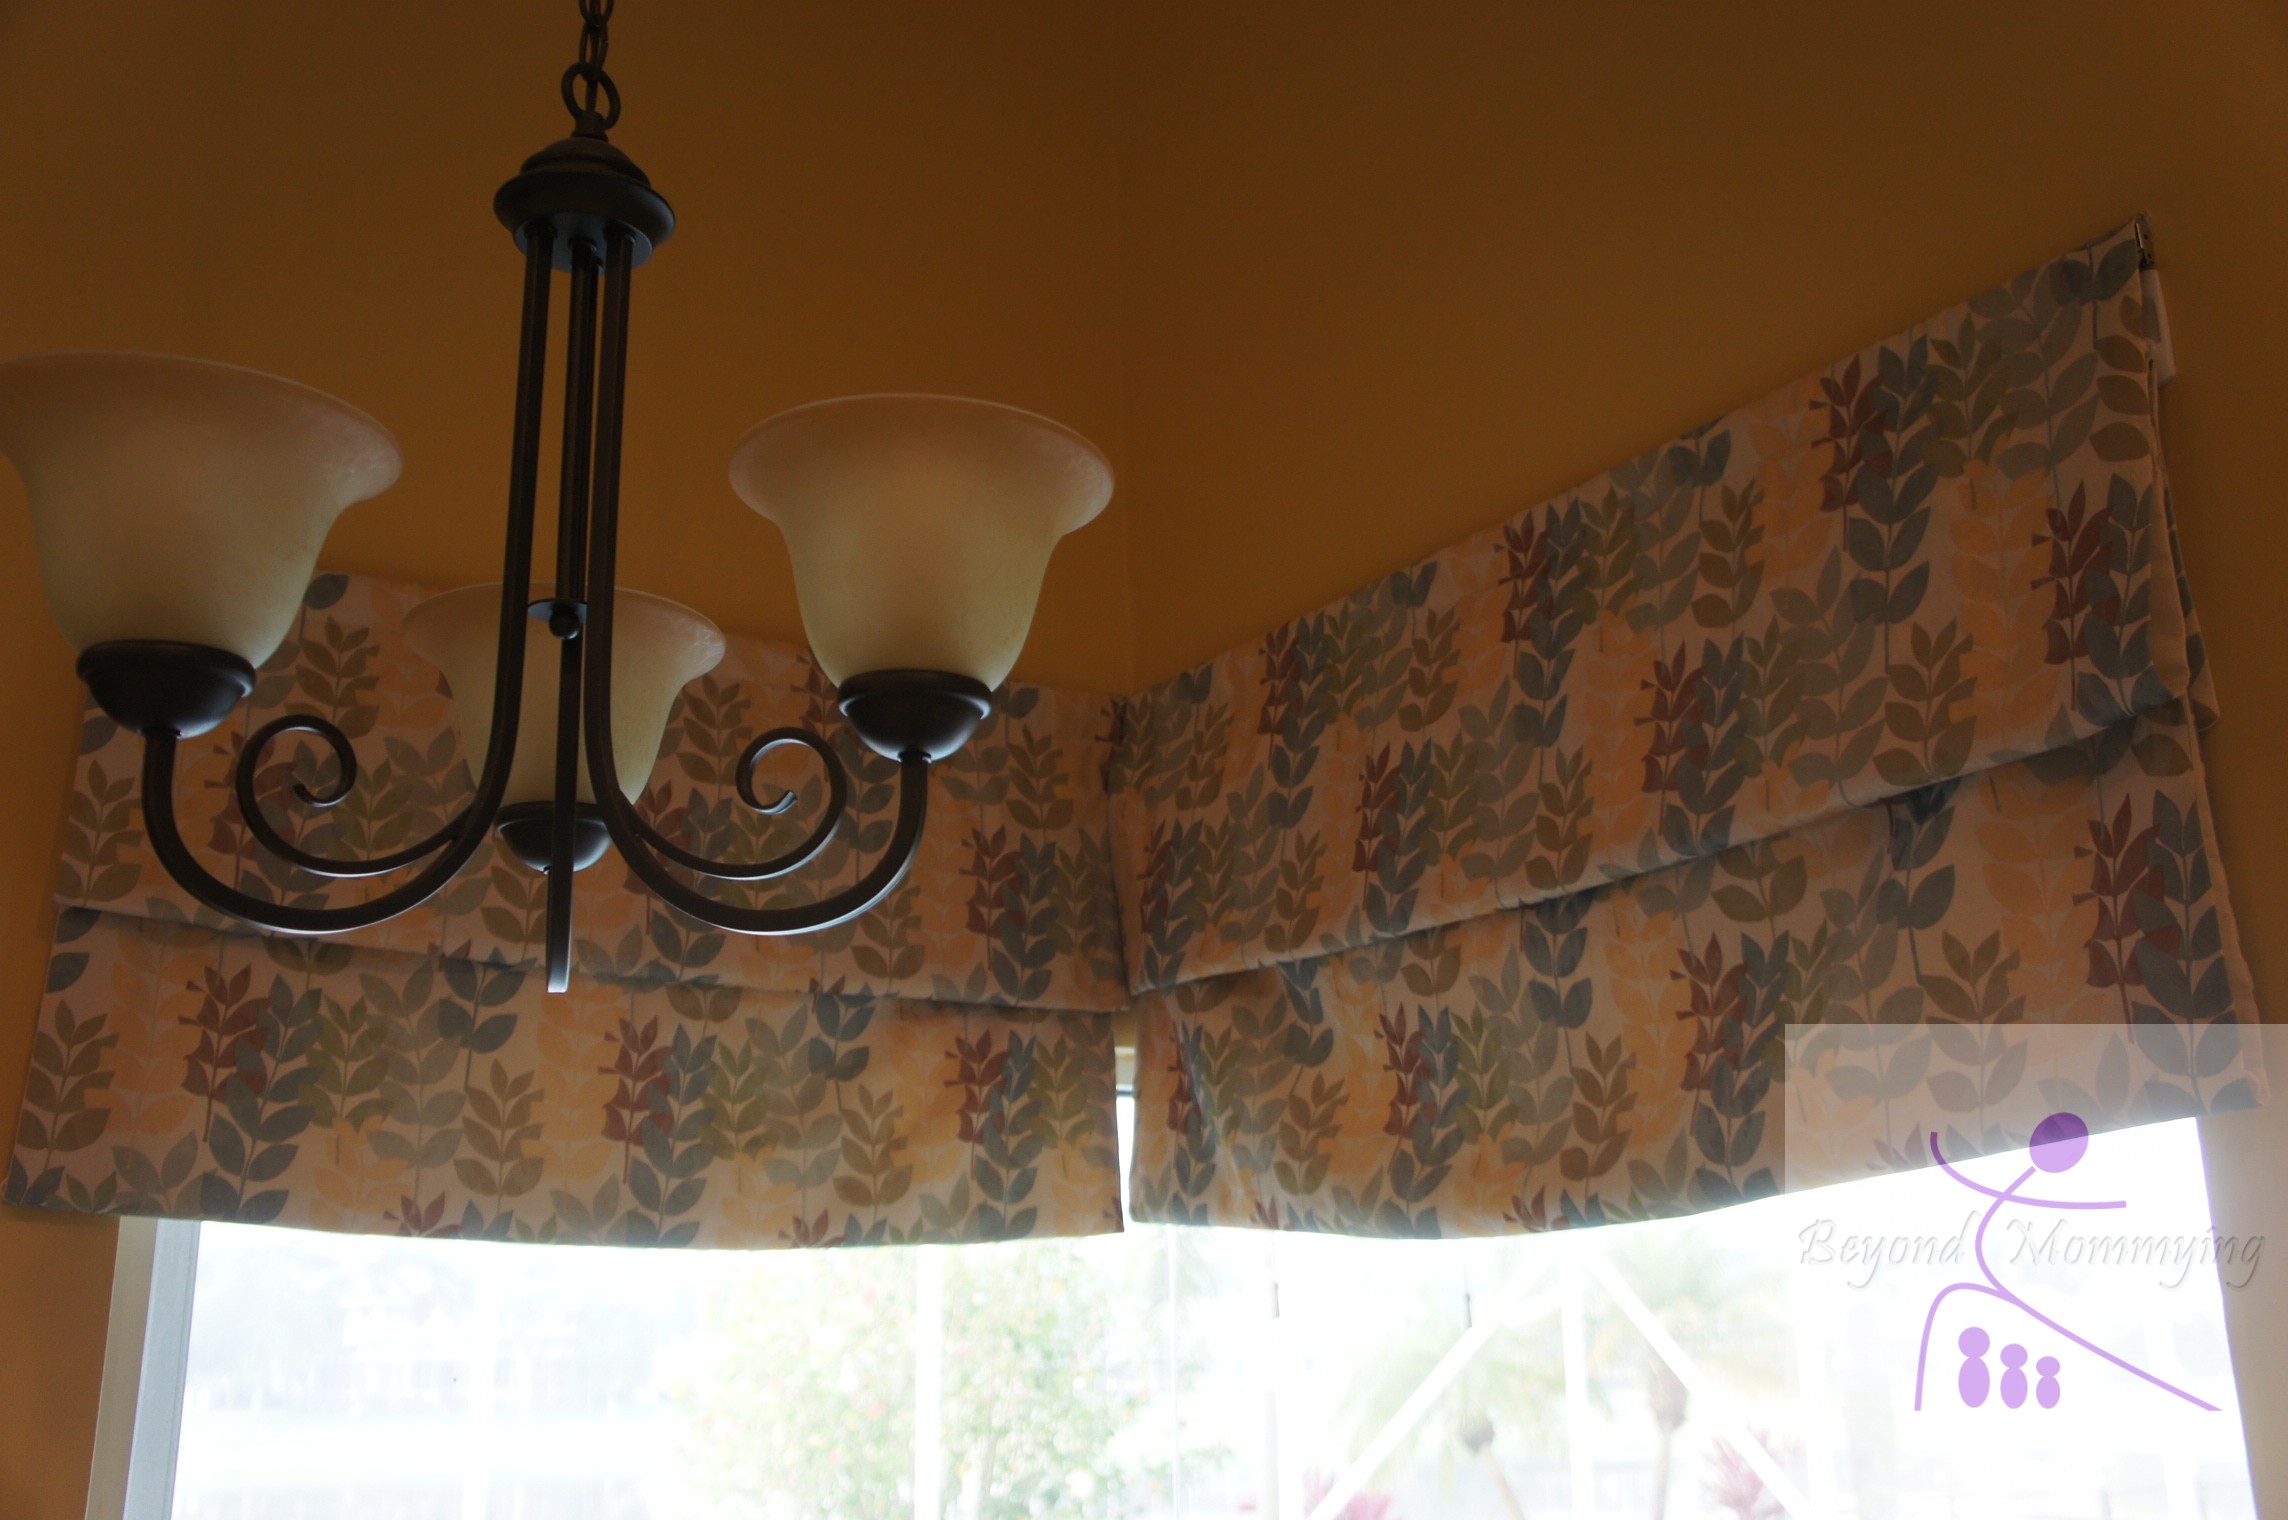
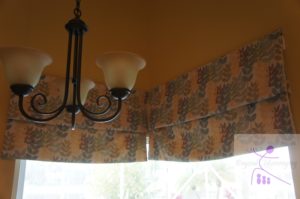
 When Sugarplum was potty training and we went all-out naked, I had to do up some quick makeshift curtains for the kitchen (sheets). I had bought fabric to make valances to replace the not-so-us sunflowers the previous owner had left (and later asked to have for her new place) and I knew I wanted to do a Roman blind type curtain for by the table since we often do “naked dinners” (like on spaghetti nights) and our neighbors house is not toooo far away.
Looking at patterns for roman blinds was very intimidating. Some called for buying mini-blinds and taking it apart, some called for sewing rods and pockets, some called for massive amounts of glue. And then I found a pattern that was too easy to be true! It took my mom and I (I like to have moral support on big sewing projects, especially things I’ve not done before!) just a few hours start to finish.
Here’s how to make your own super easy Roman blinds (I made a mini-version out of some scraps for demonstration purposes!):
 1. Measure your window and decide how big you wan the curtain to be. Add 1 1/2 inches extra to your width and about 4 inches for your length (for seam allowances and top rod pocket).
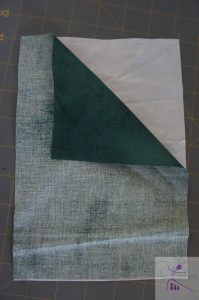
2. Cut the curtain fabric and a lining fabric the size you want (with allowances–I just used a natural muslin/cotton for my lining which can be found in widths up to 120″ and an upholstery fabric I fell in love with)
3. Lay the two pieces on top of each other with right sides together (the nice side of each fabric facing in) and sew around both sides and the bottom using a 5/8″ seam.
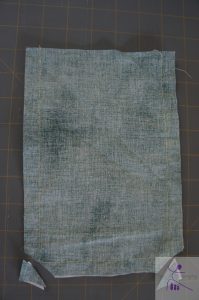
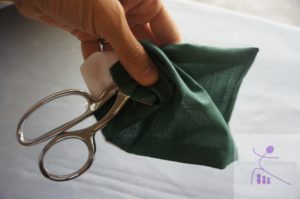
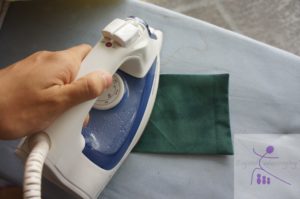
4. Clip the bottom corners and flip the curtain so the nice sides of the fabric are facing out and the seams are inside. Push out the corners (using scissors or a pencil if necessary) and press/iron the curtain flat.
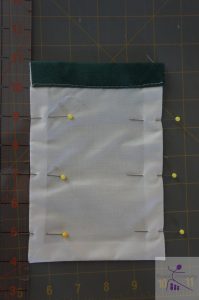 5. Sew a rod pocket on the top wide enough for the rod you’ll be using to hang the curtain (I used a sash rod which sits flush to the wall).
6. Measure and mark along the sides of the curtain where you want to put your rings for hanging and draping the curtain. I did mine spaced 18″ apart, starting from the top and ended up with 3 rings.
7. Hand sew plastic rings at each marked spot (on the top of the ring only).
8. Hang the curtain and place a hook just below the rod (I used the sticky hook, you could also use the screw-in type hooks).
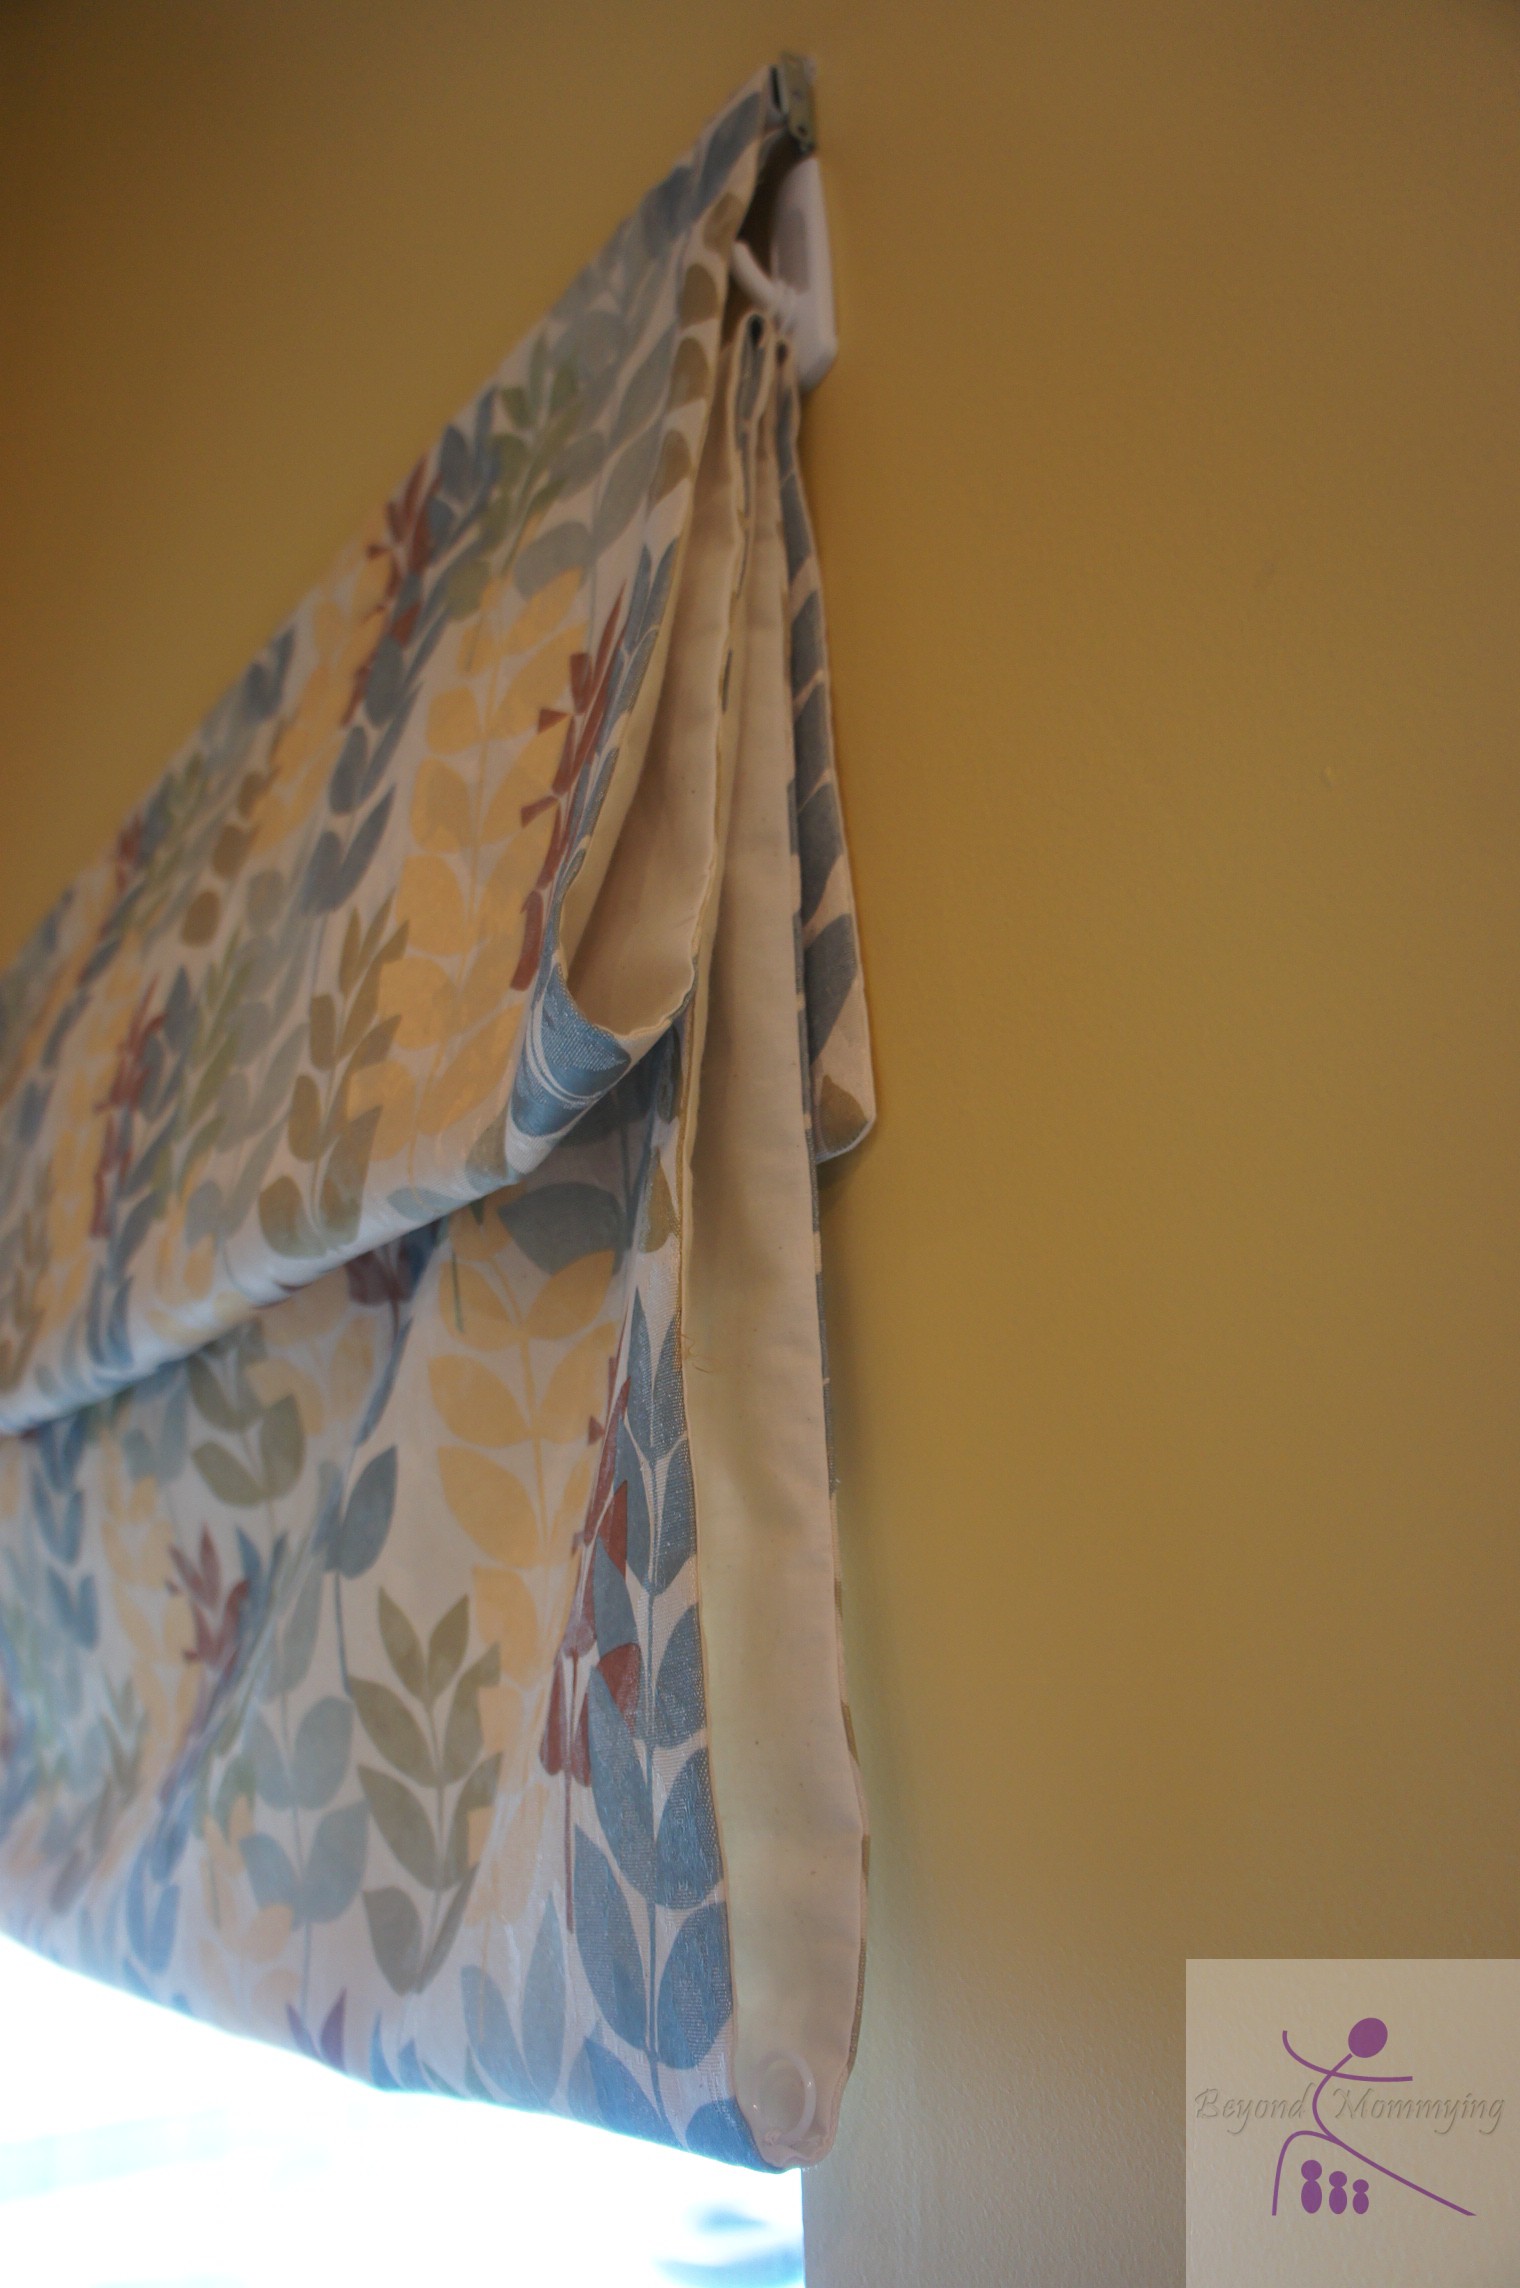
9. Pull the rings up and hang on the hook. The great thing about this curtain is there are no strings to mess with, get tangled or worry about tying up away from little people and you can hang/drape it however you want (for more hanging options, sew more rings closer together)