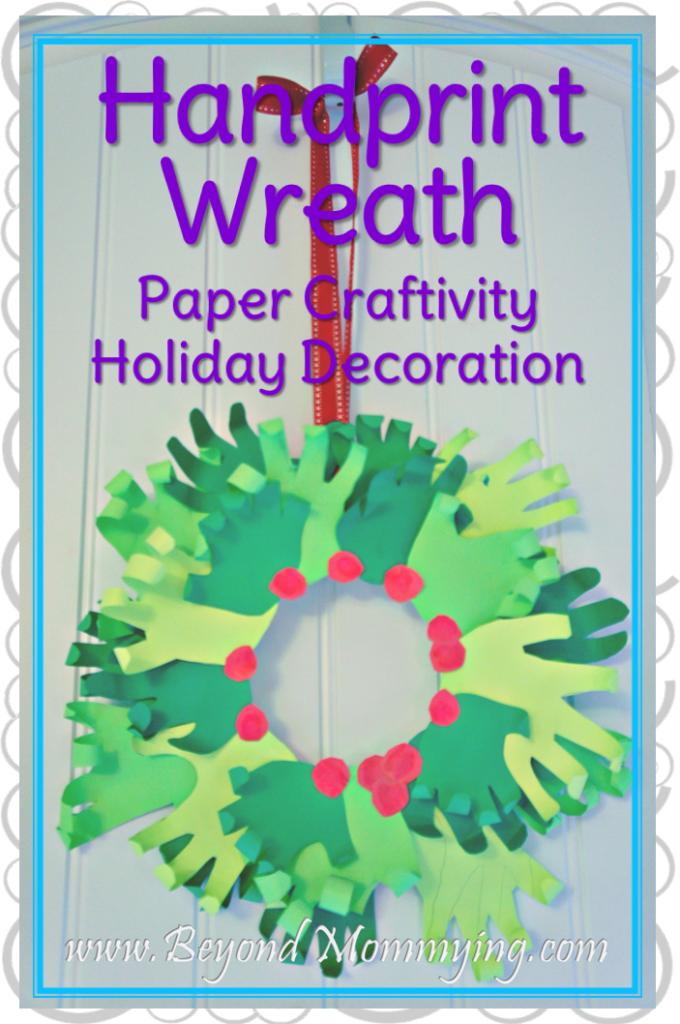
There are so many holiday crafts for kids out there this time of year. And while I see so many cute things, I prefer to stick with crafts that are not messy and don’t take a lot of my help. And, for the holidays, I like crafts that help remind me how big my kids are in this moment. That’s why we decided to work together to create a handprint wreath this year.
I’ve seen painted versions of a handprint wreath but I wanted something that I would be excited to put out year after year. I also wanted something that looked like a regular, 3-D holiday decoration rather than a regular flat paper craft.
So I took a mashup of many crafts we’ve done and seen over the years and created our own amazing handprint wreath.
Fun stories about Christmas wreathes to accompany your project:
Below are affiliate links meaning if you click and make a purchase, Beyond Mommying may receive a small commission which is used for the upkeep of the website.
How to make this cute and easy Handprint Wreath: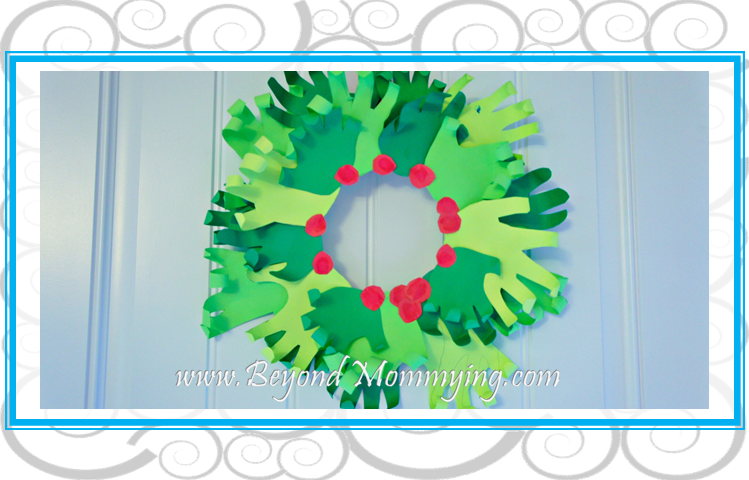
We started by tracing the kids’ hands.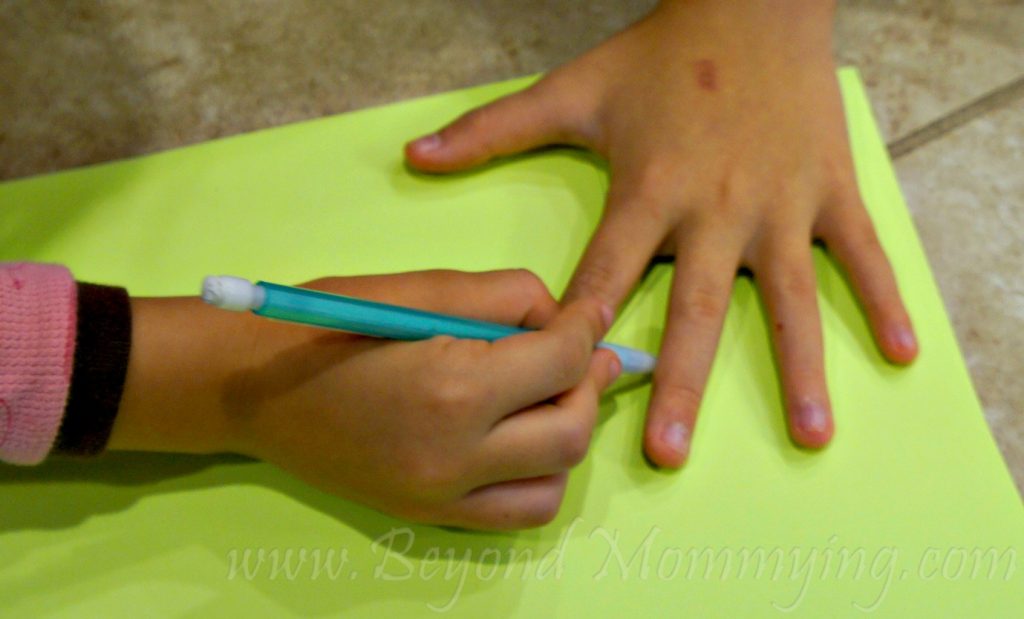
Each of my kids picked a different shade of green paper and we worked together to trace their hands on their chosen paper.
We cut out multiple hands for each child.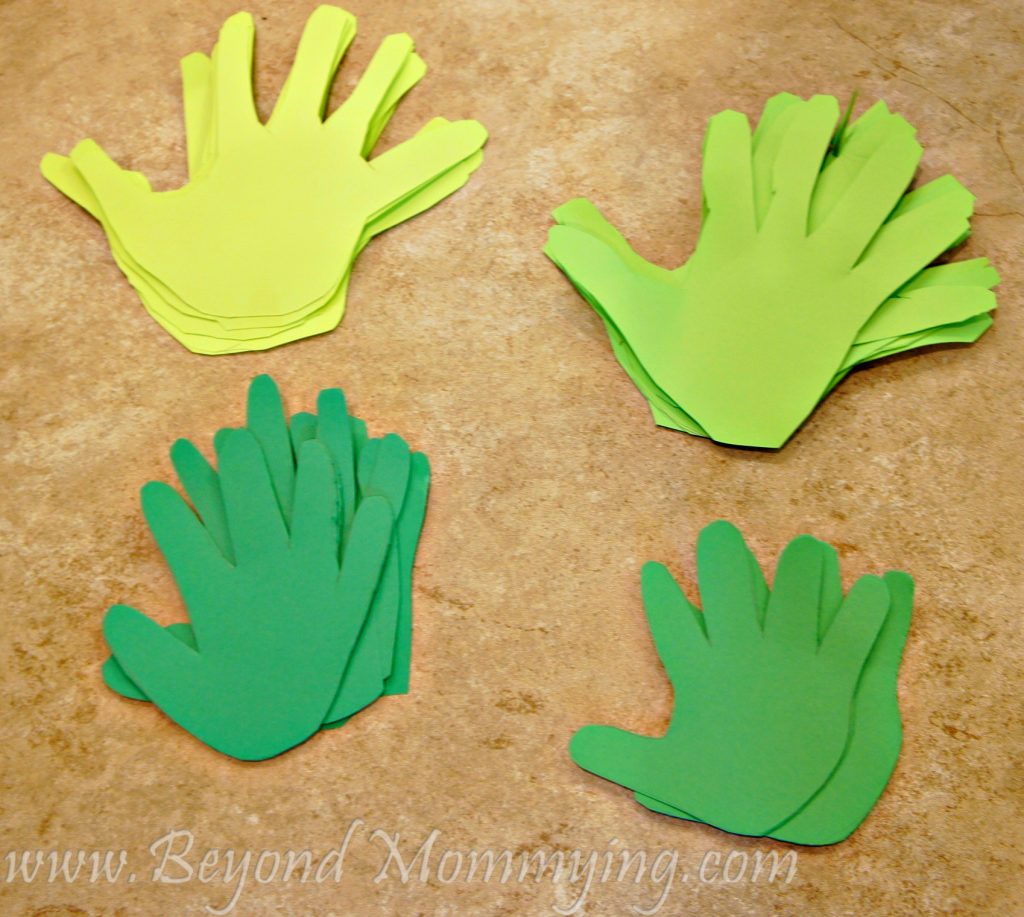
My younger kids needed help cutting their handprints out. Doodle (4 years old) was able to cut around his hand and then I did the fingers but my girls (9 and 7 years old) were able to cut their own handprints successfully. We found with the girls’ bigger hands, it was easier to trace individually and puzzle them onto the paper to maximize paper usage where as with Pipsqueak’s tiny hand (2 years old), I could easily fold the paper down and cut multiple hands at once out of the same piece of paper.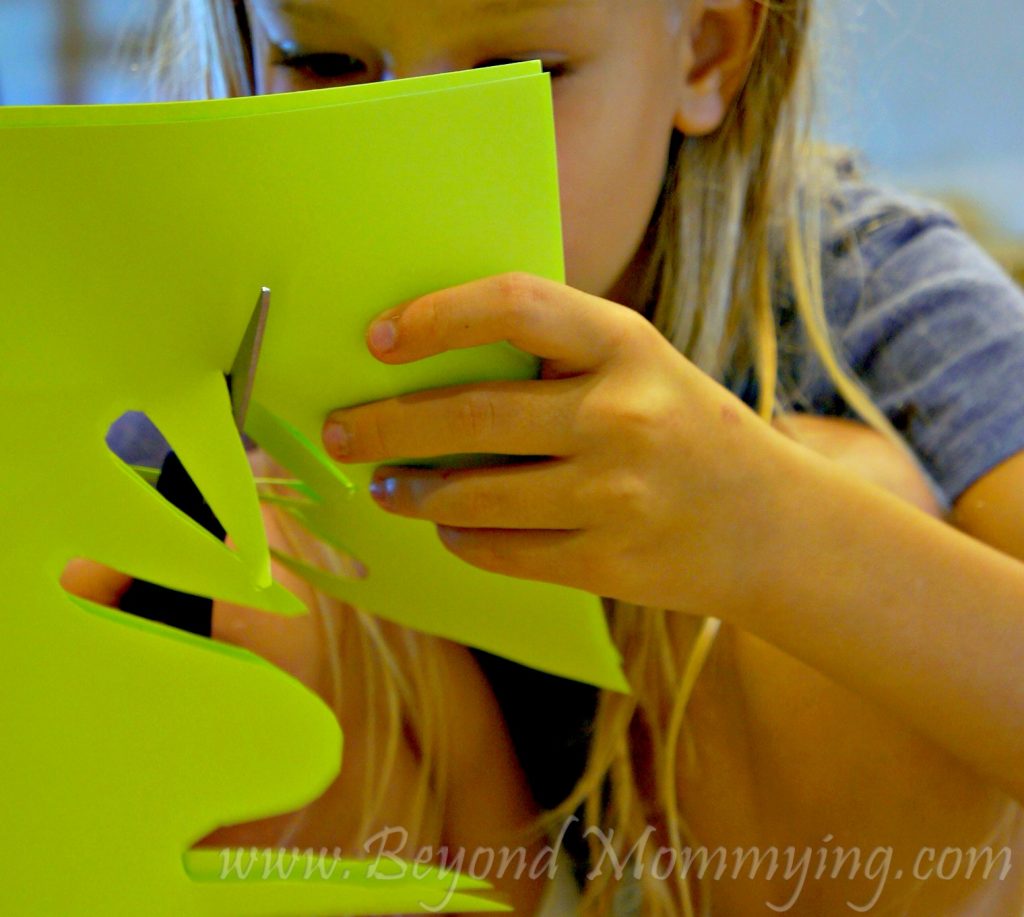
We rolled in the fingers of the handprints.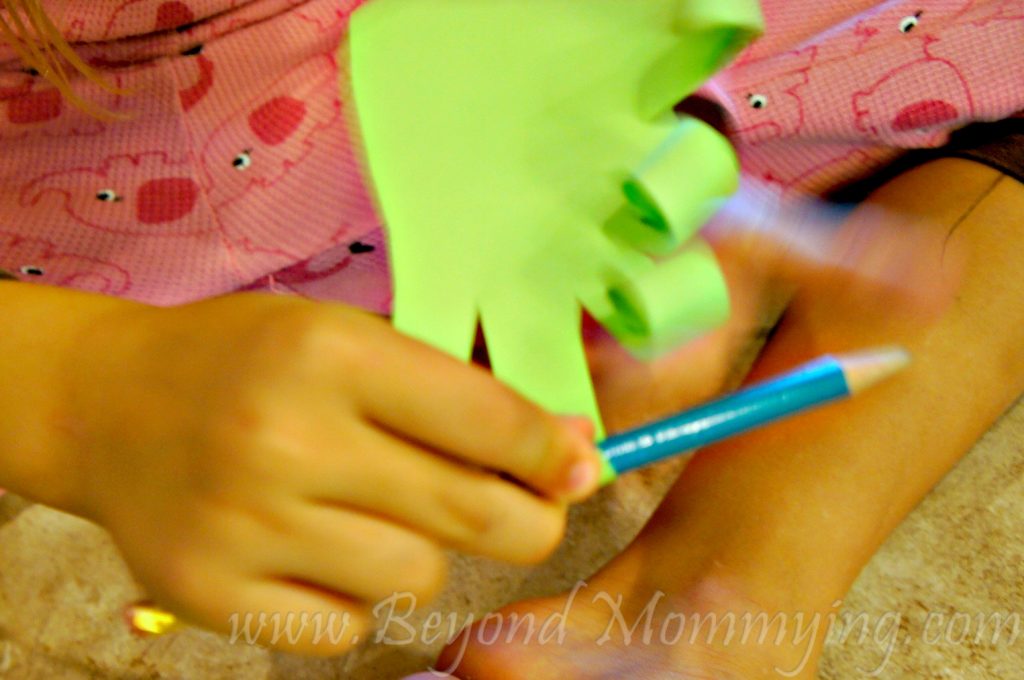
Using a pencil, we carefully rolled in the fingers of each handprint to help give our handprint wreath a 3-D effect. After curling all the fingers, we had a pile of clawed hands, which the kids found very amusing!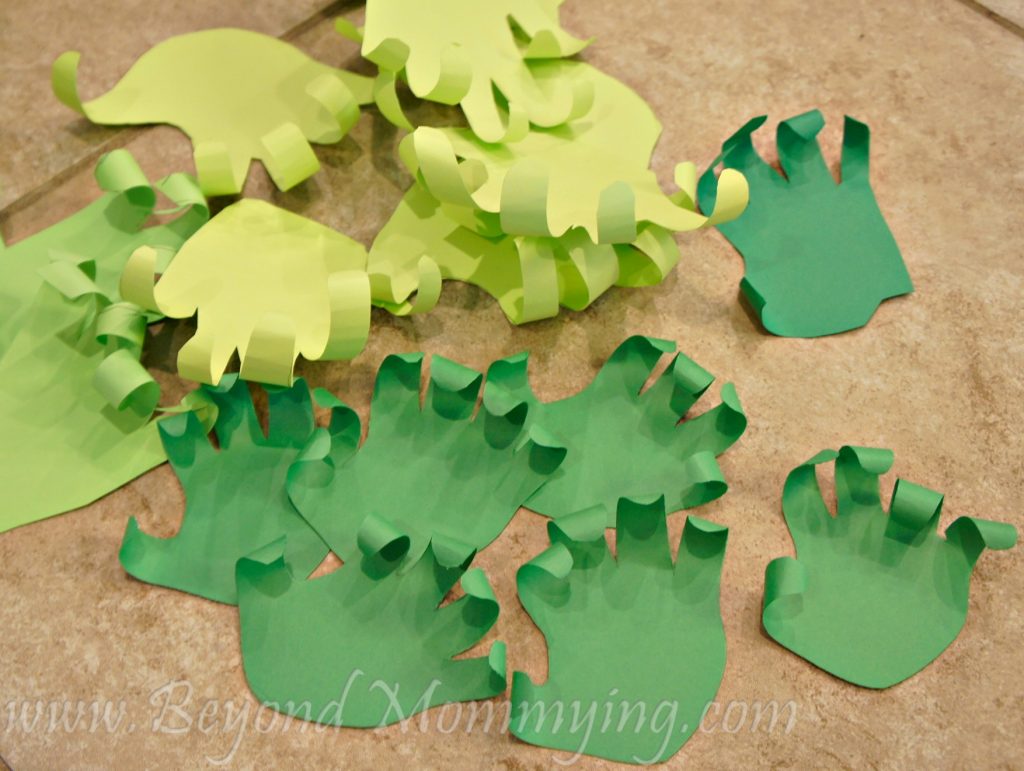
We cut out the center of a paper plate.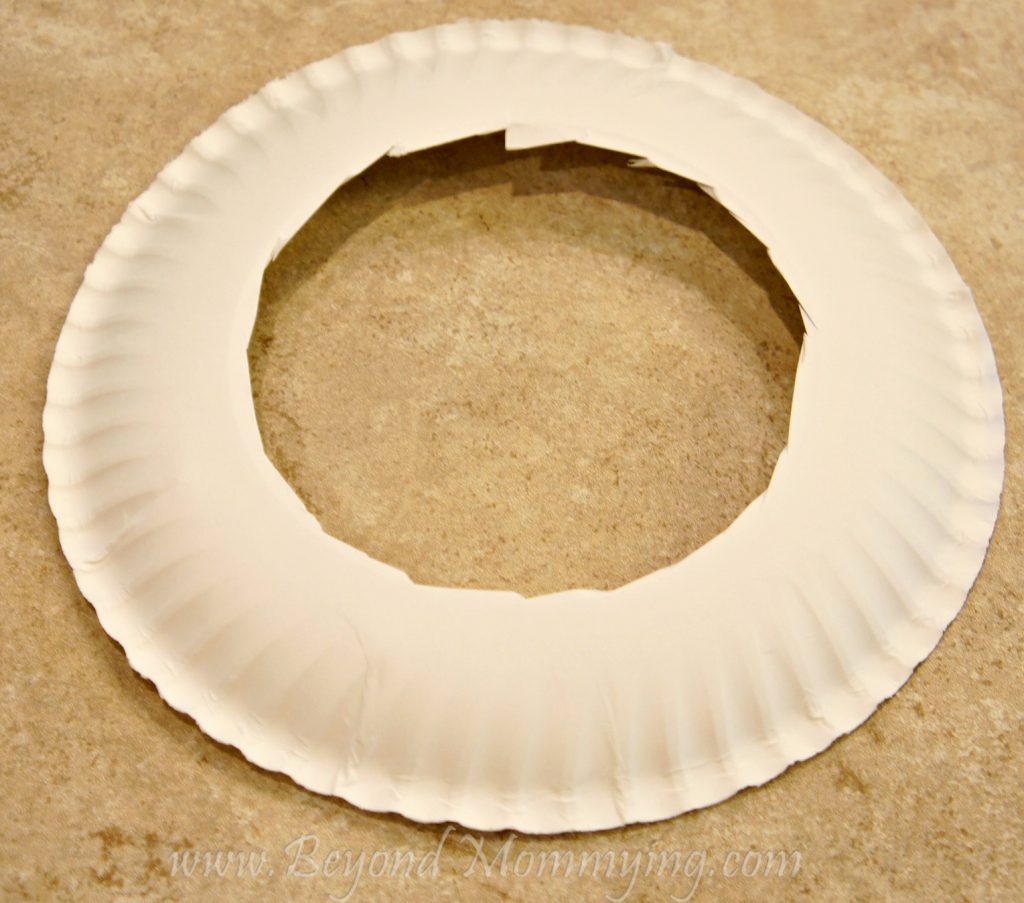
To build a foundation for our handprint wreath, Honeybun cut out the center of a paper plate.
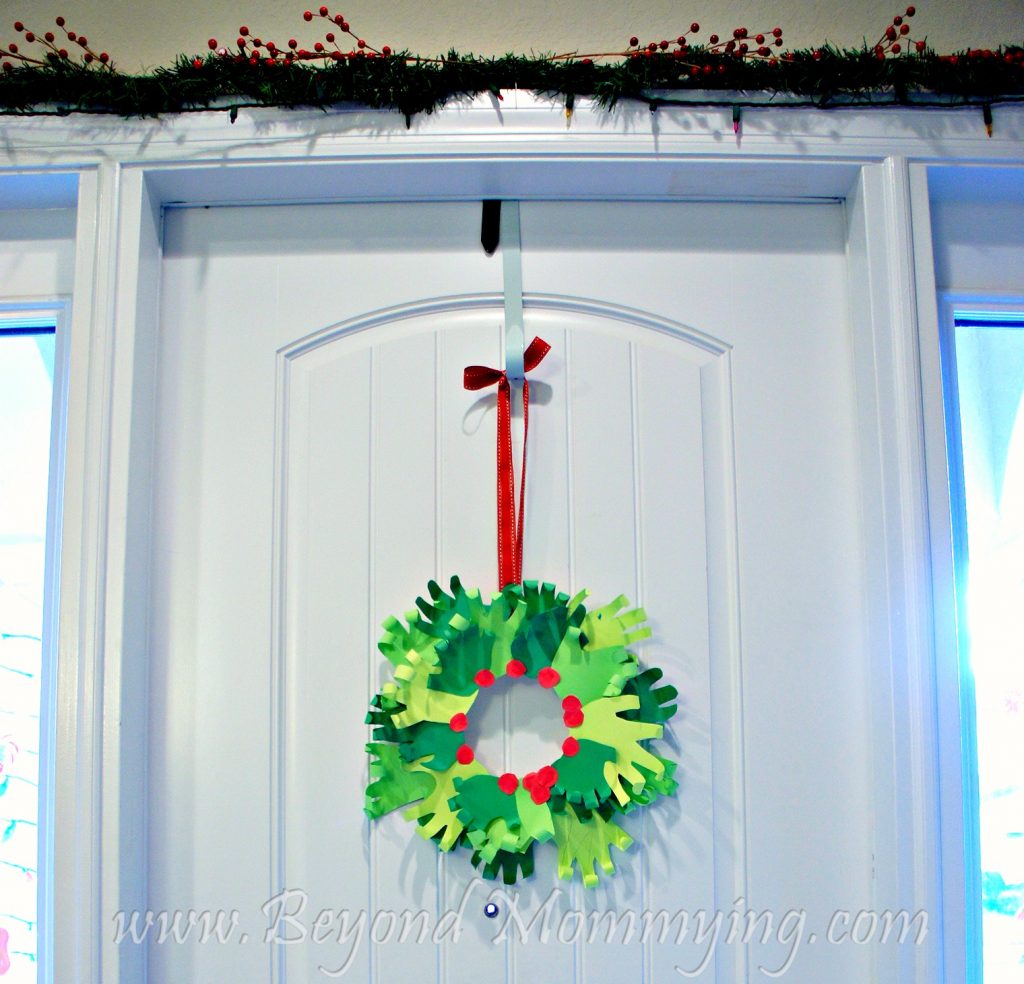
We glued on the handprints.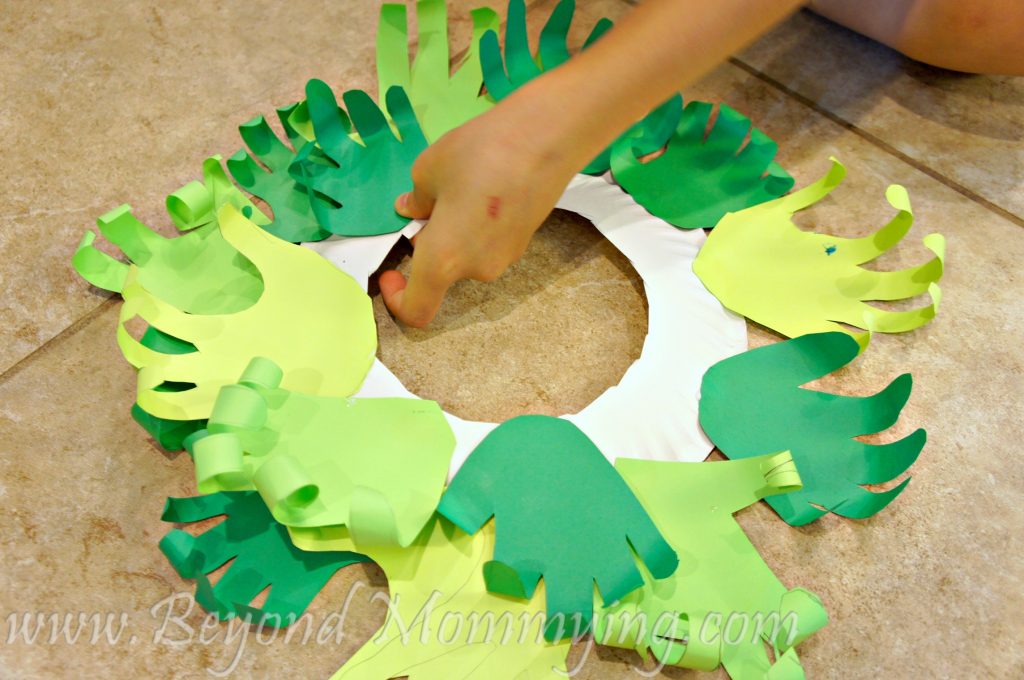
With the rounded (bottom) side of the paper plate facing up, we mixed up the sizes and colors of the handprints and glued them on in two rows around the paper plate. We placed the first row of handprints on the outside edge of the paper plate and the second row along the inside edge of the paper plate, being sure to cover all the white between the two rows.
We made fingerprint holly berries.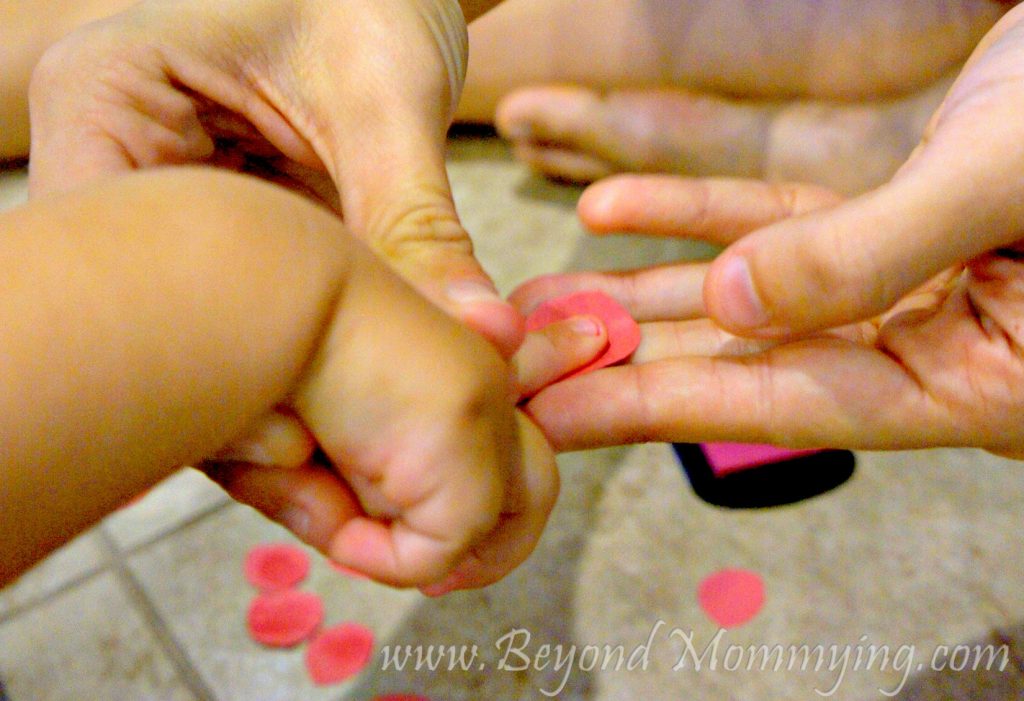
I cut out some small circles from red construction paper and used a dark pink stamp pad to put the kids’ fingerprints on each berry.
We arranged the berries around the handprint wreath.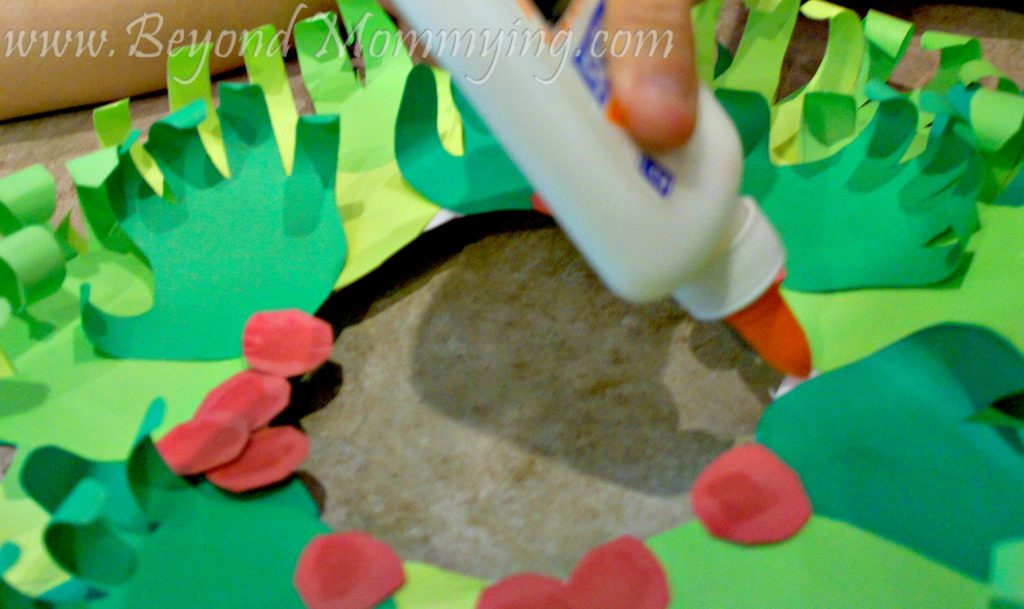
We used the berries to cover the last bits of white showing around the inside edge of our handprint wreath. Some spots were easily covered with one berry and other spots required us to double and triple up.
I attached a ribbon to our handprint wreath.
I found a nice, festive red ribbon in my random stuff stash and attached it to the back of our handprint wreath with a stapler between the two rows on handprints.