The girls and I have always liked making homemade Christmas crafts to share with the family. This year a friend posted a Handprint Santa ornament that was too cute (and seemingly easy) not to try!
Basically you take a salt dough mixture, cut out your child’s hand print, bake and then paint to look like Santa. Add a string, and you’ve got a Handmade Santa Ornament!
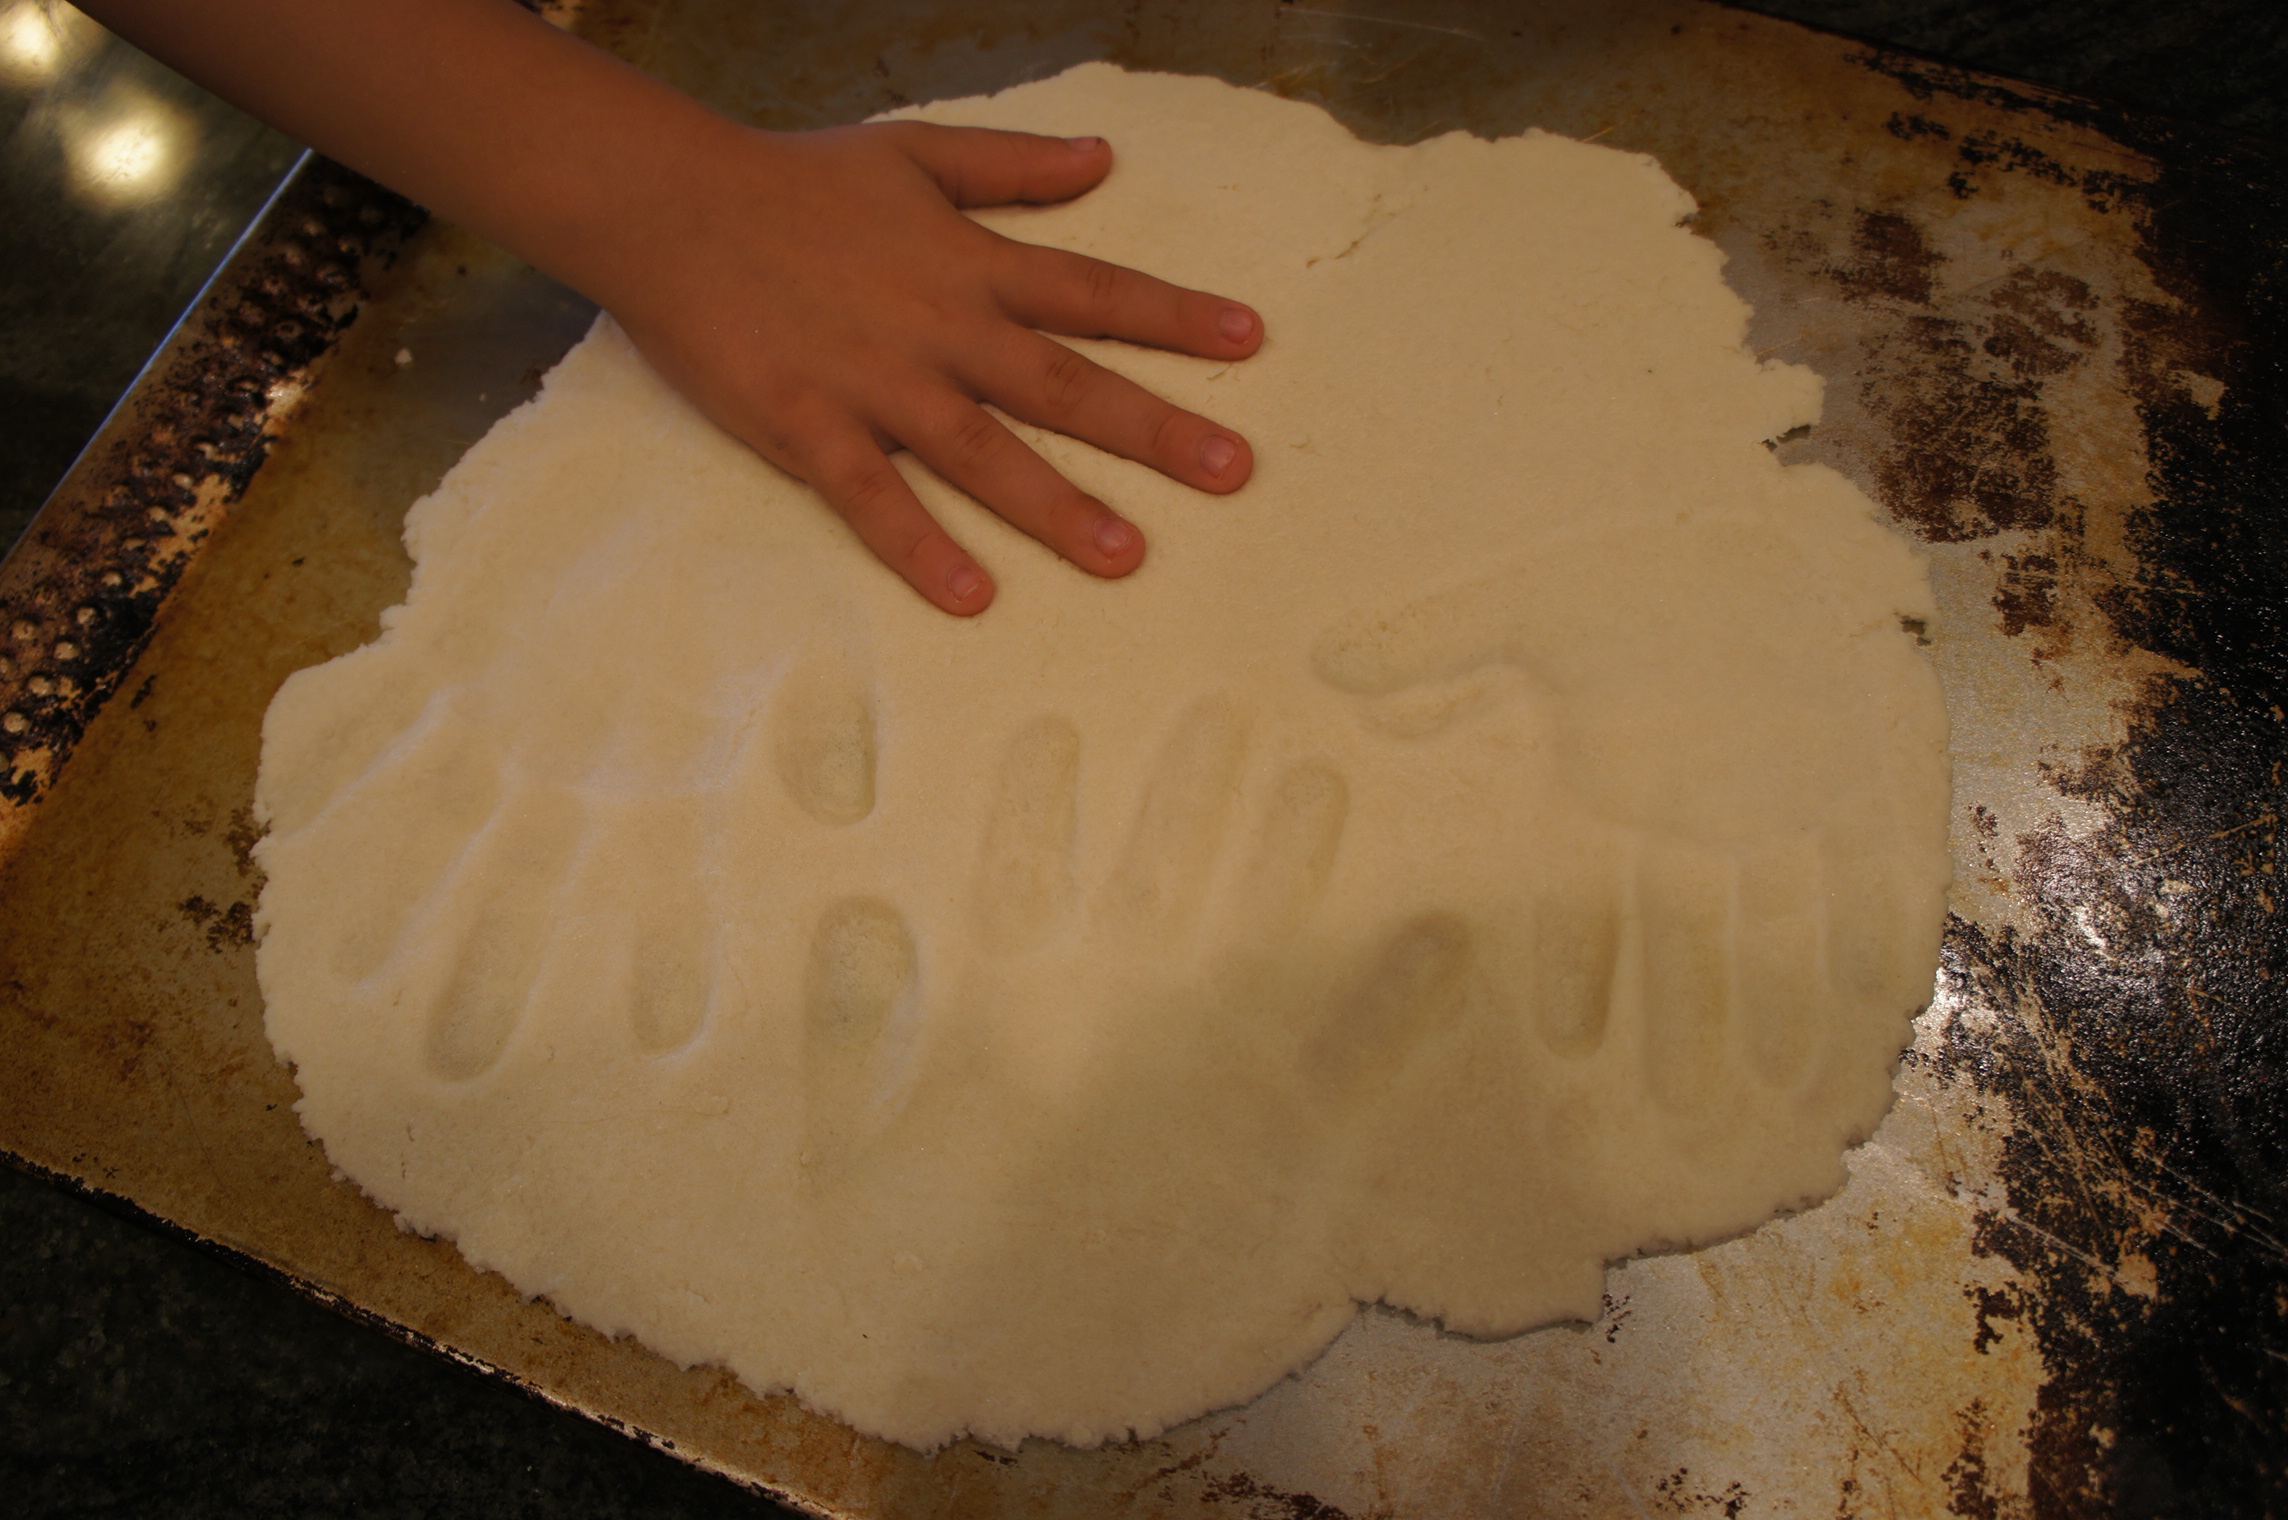
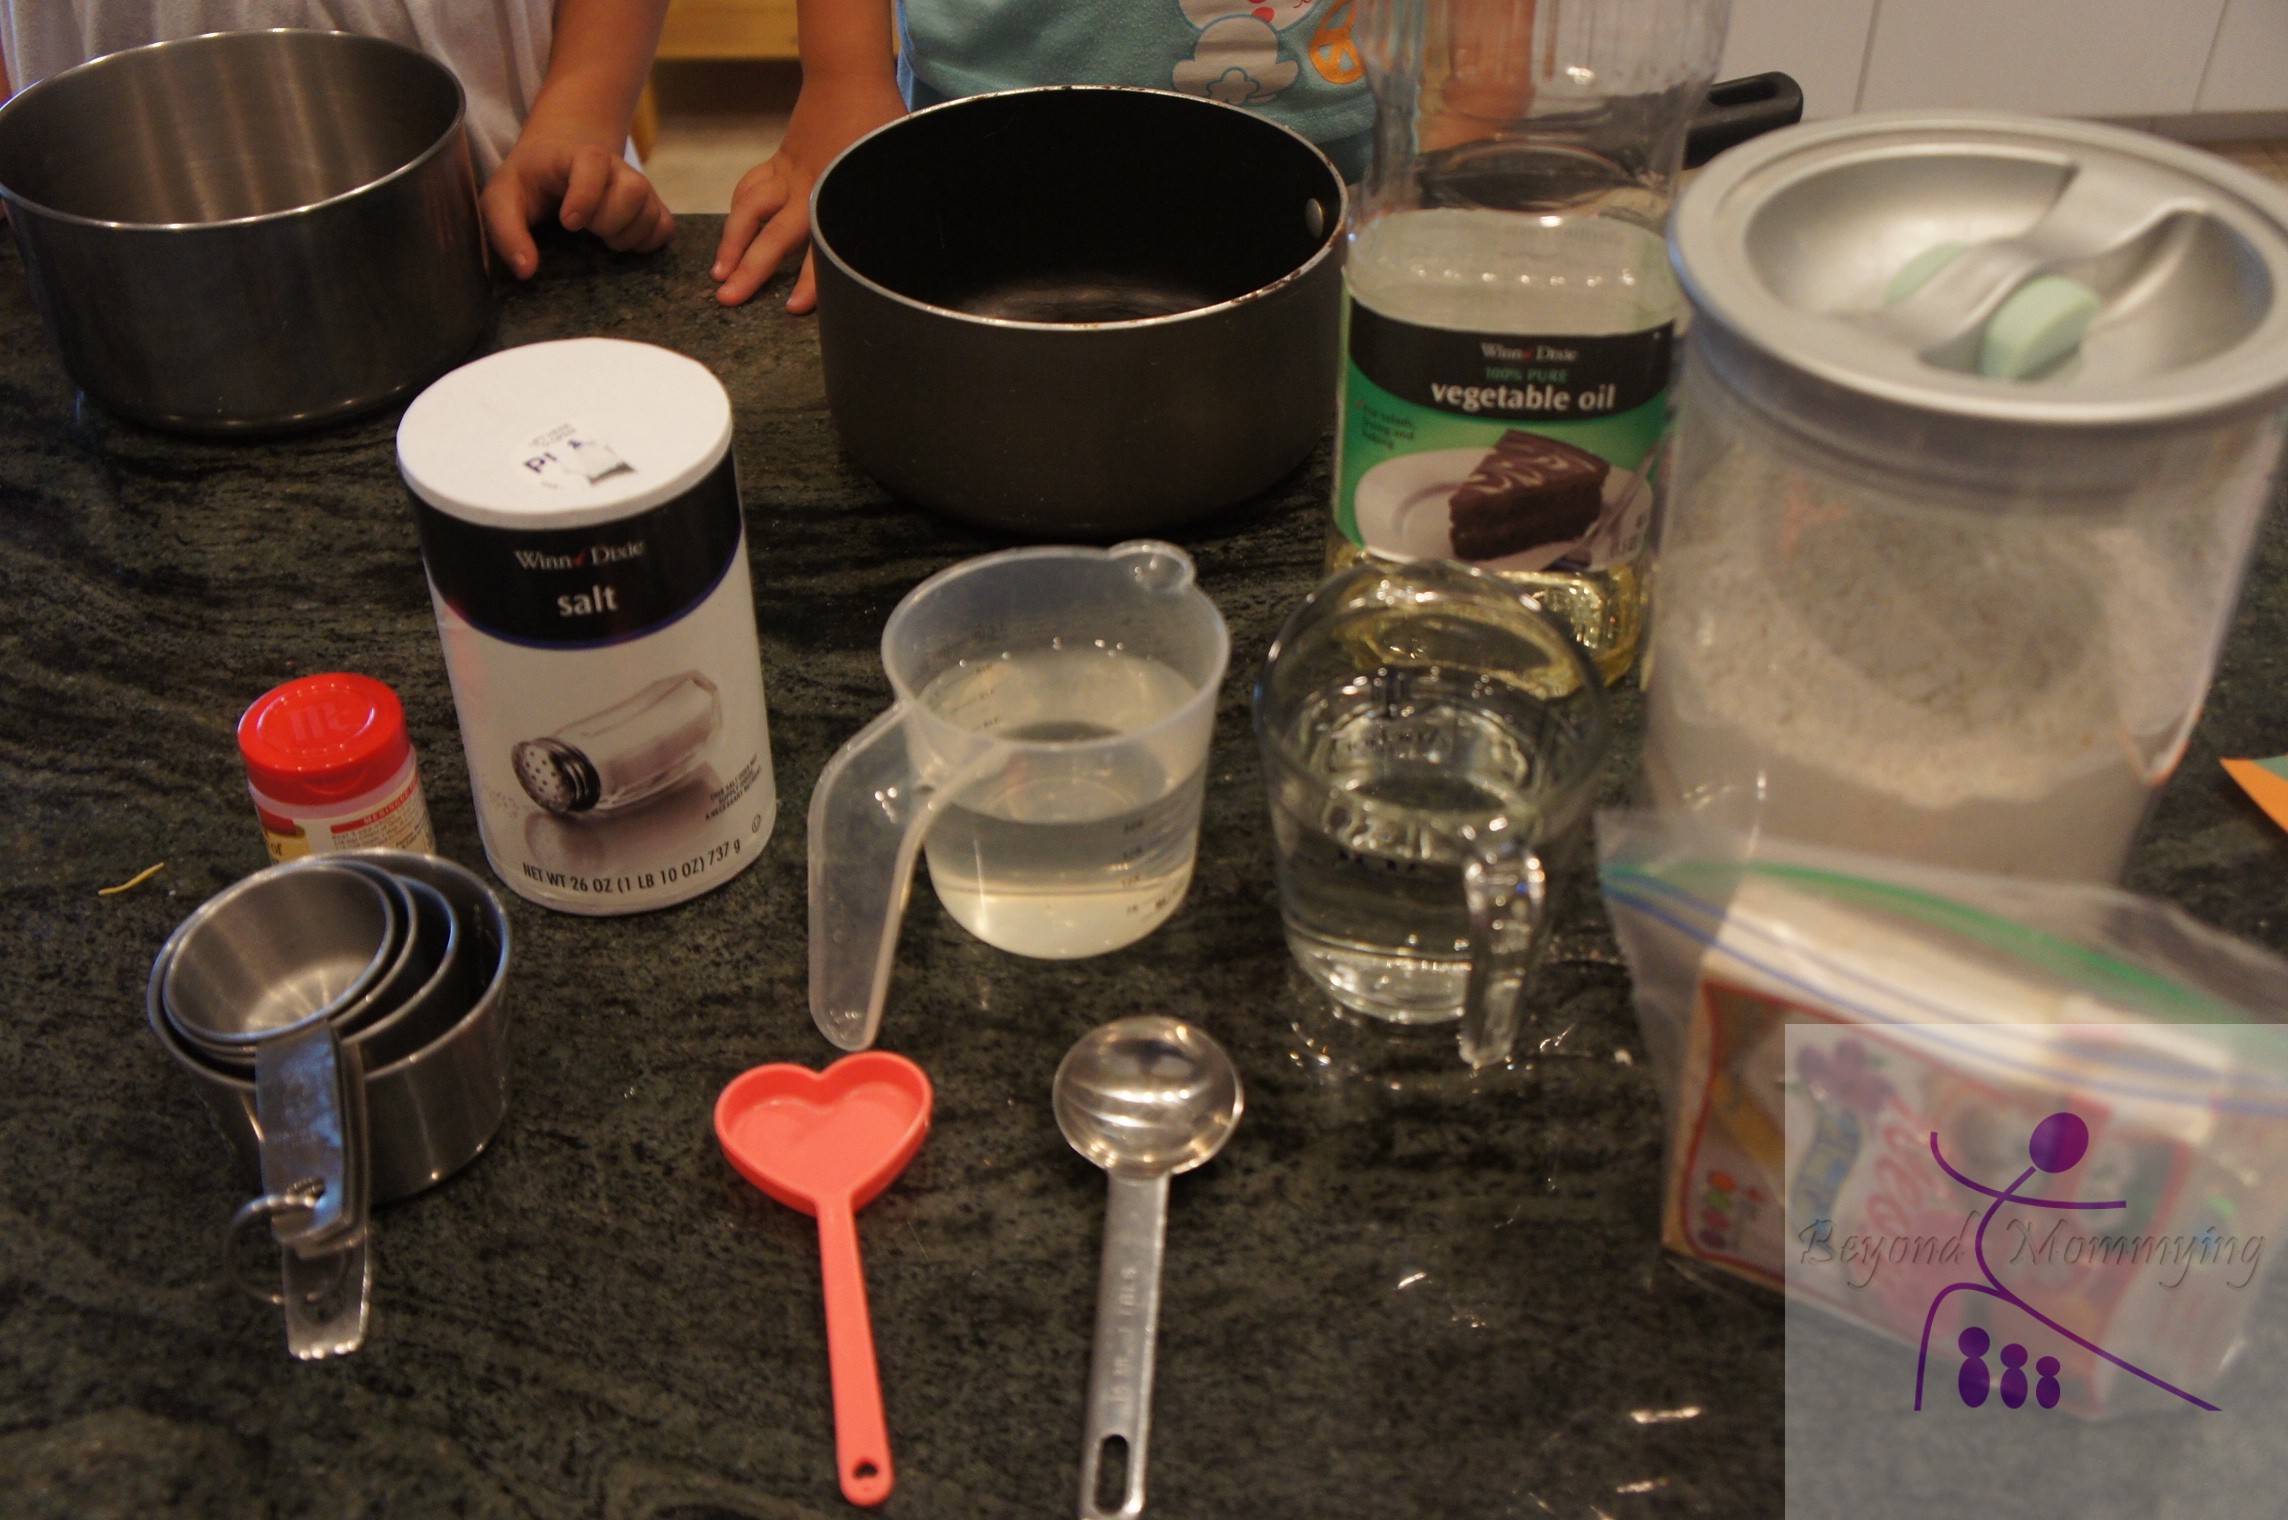
The dough is super easy: 1 cup salt, 1 cup flour, 1/2 cup water. Mix it up and roll it flat.
Have the kids push their handprints into the dough (I helped my girls arrange their fingers and space them nicely and then put them in the right place on the dough to get the most Santa ornaments out of one roll!) I found rolling the dough directly on the baking sheet worked best as the dough is soft and when I tried to transfer from the counter they squished and we had to start over:
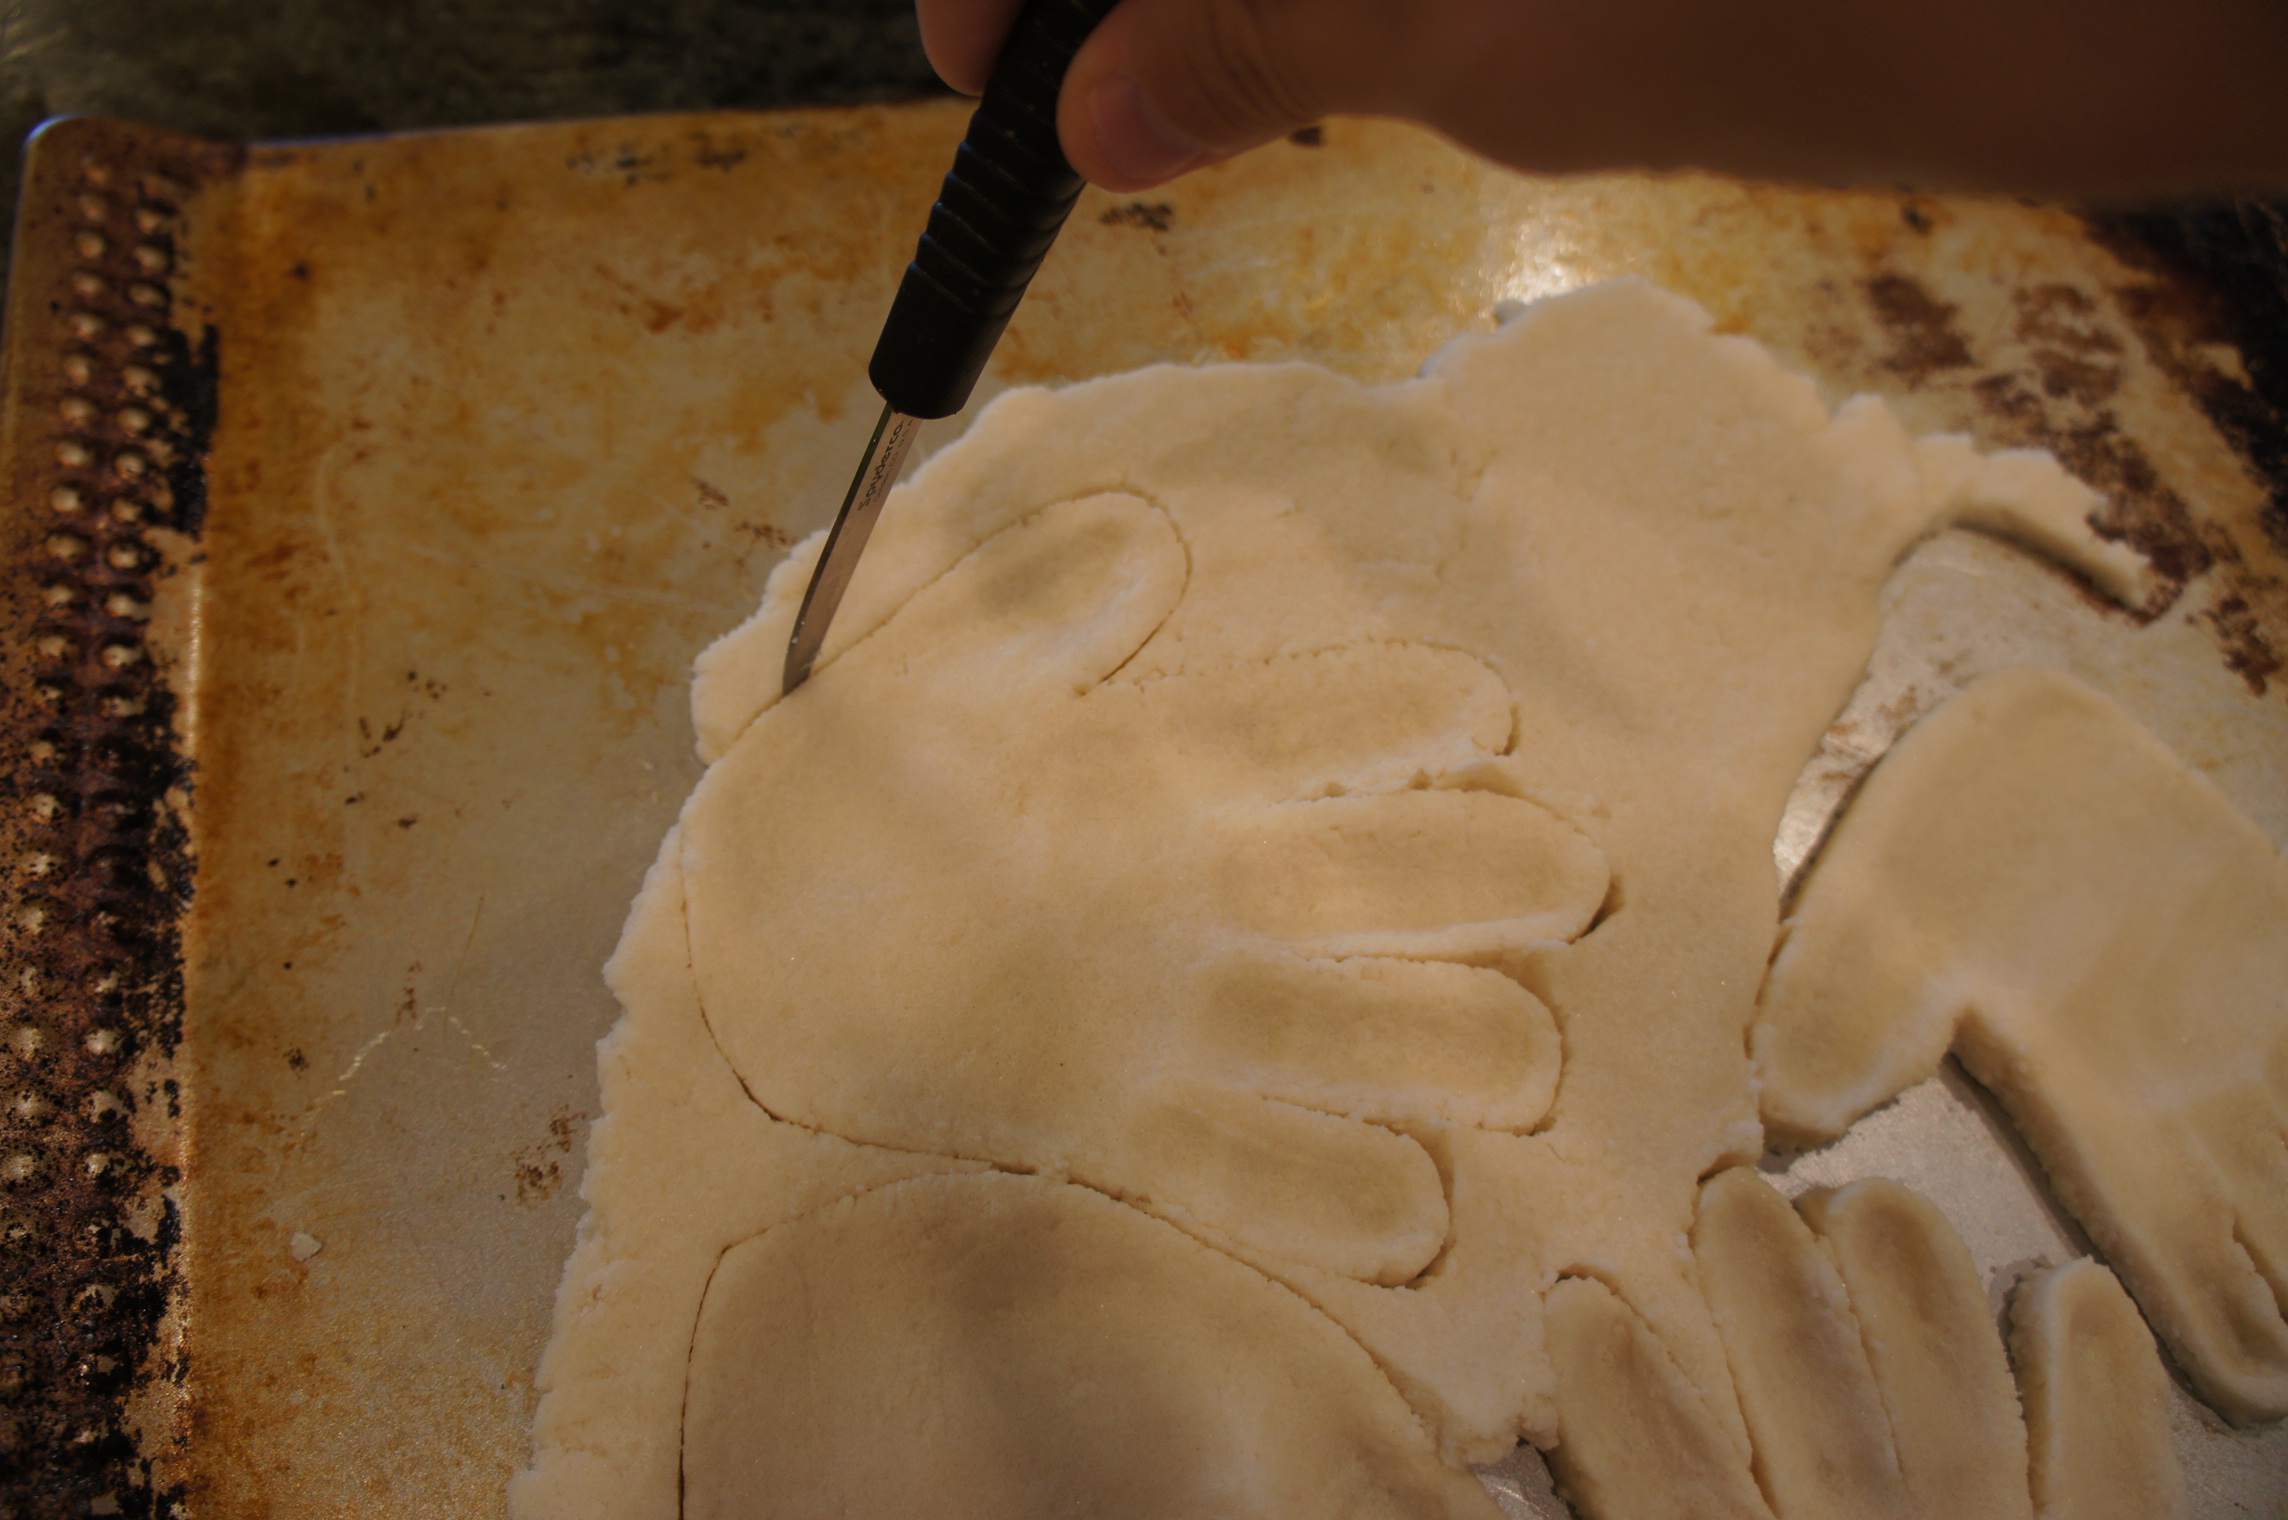
After making the handprints, I used my smallest paring knife to cut them out. I found using an up/down sawing motion rather than one long swipe worked best. The small tip of the knife also came in handy to dig out the bits of dough from between the fingers and I used the dull side of the knife to smooth out the edges. Cut a small hole in the top of each hand to put a ribbon for hanging:
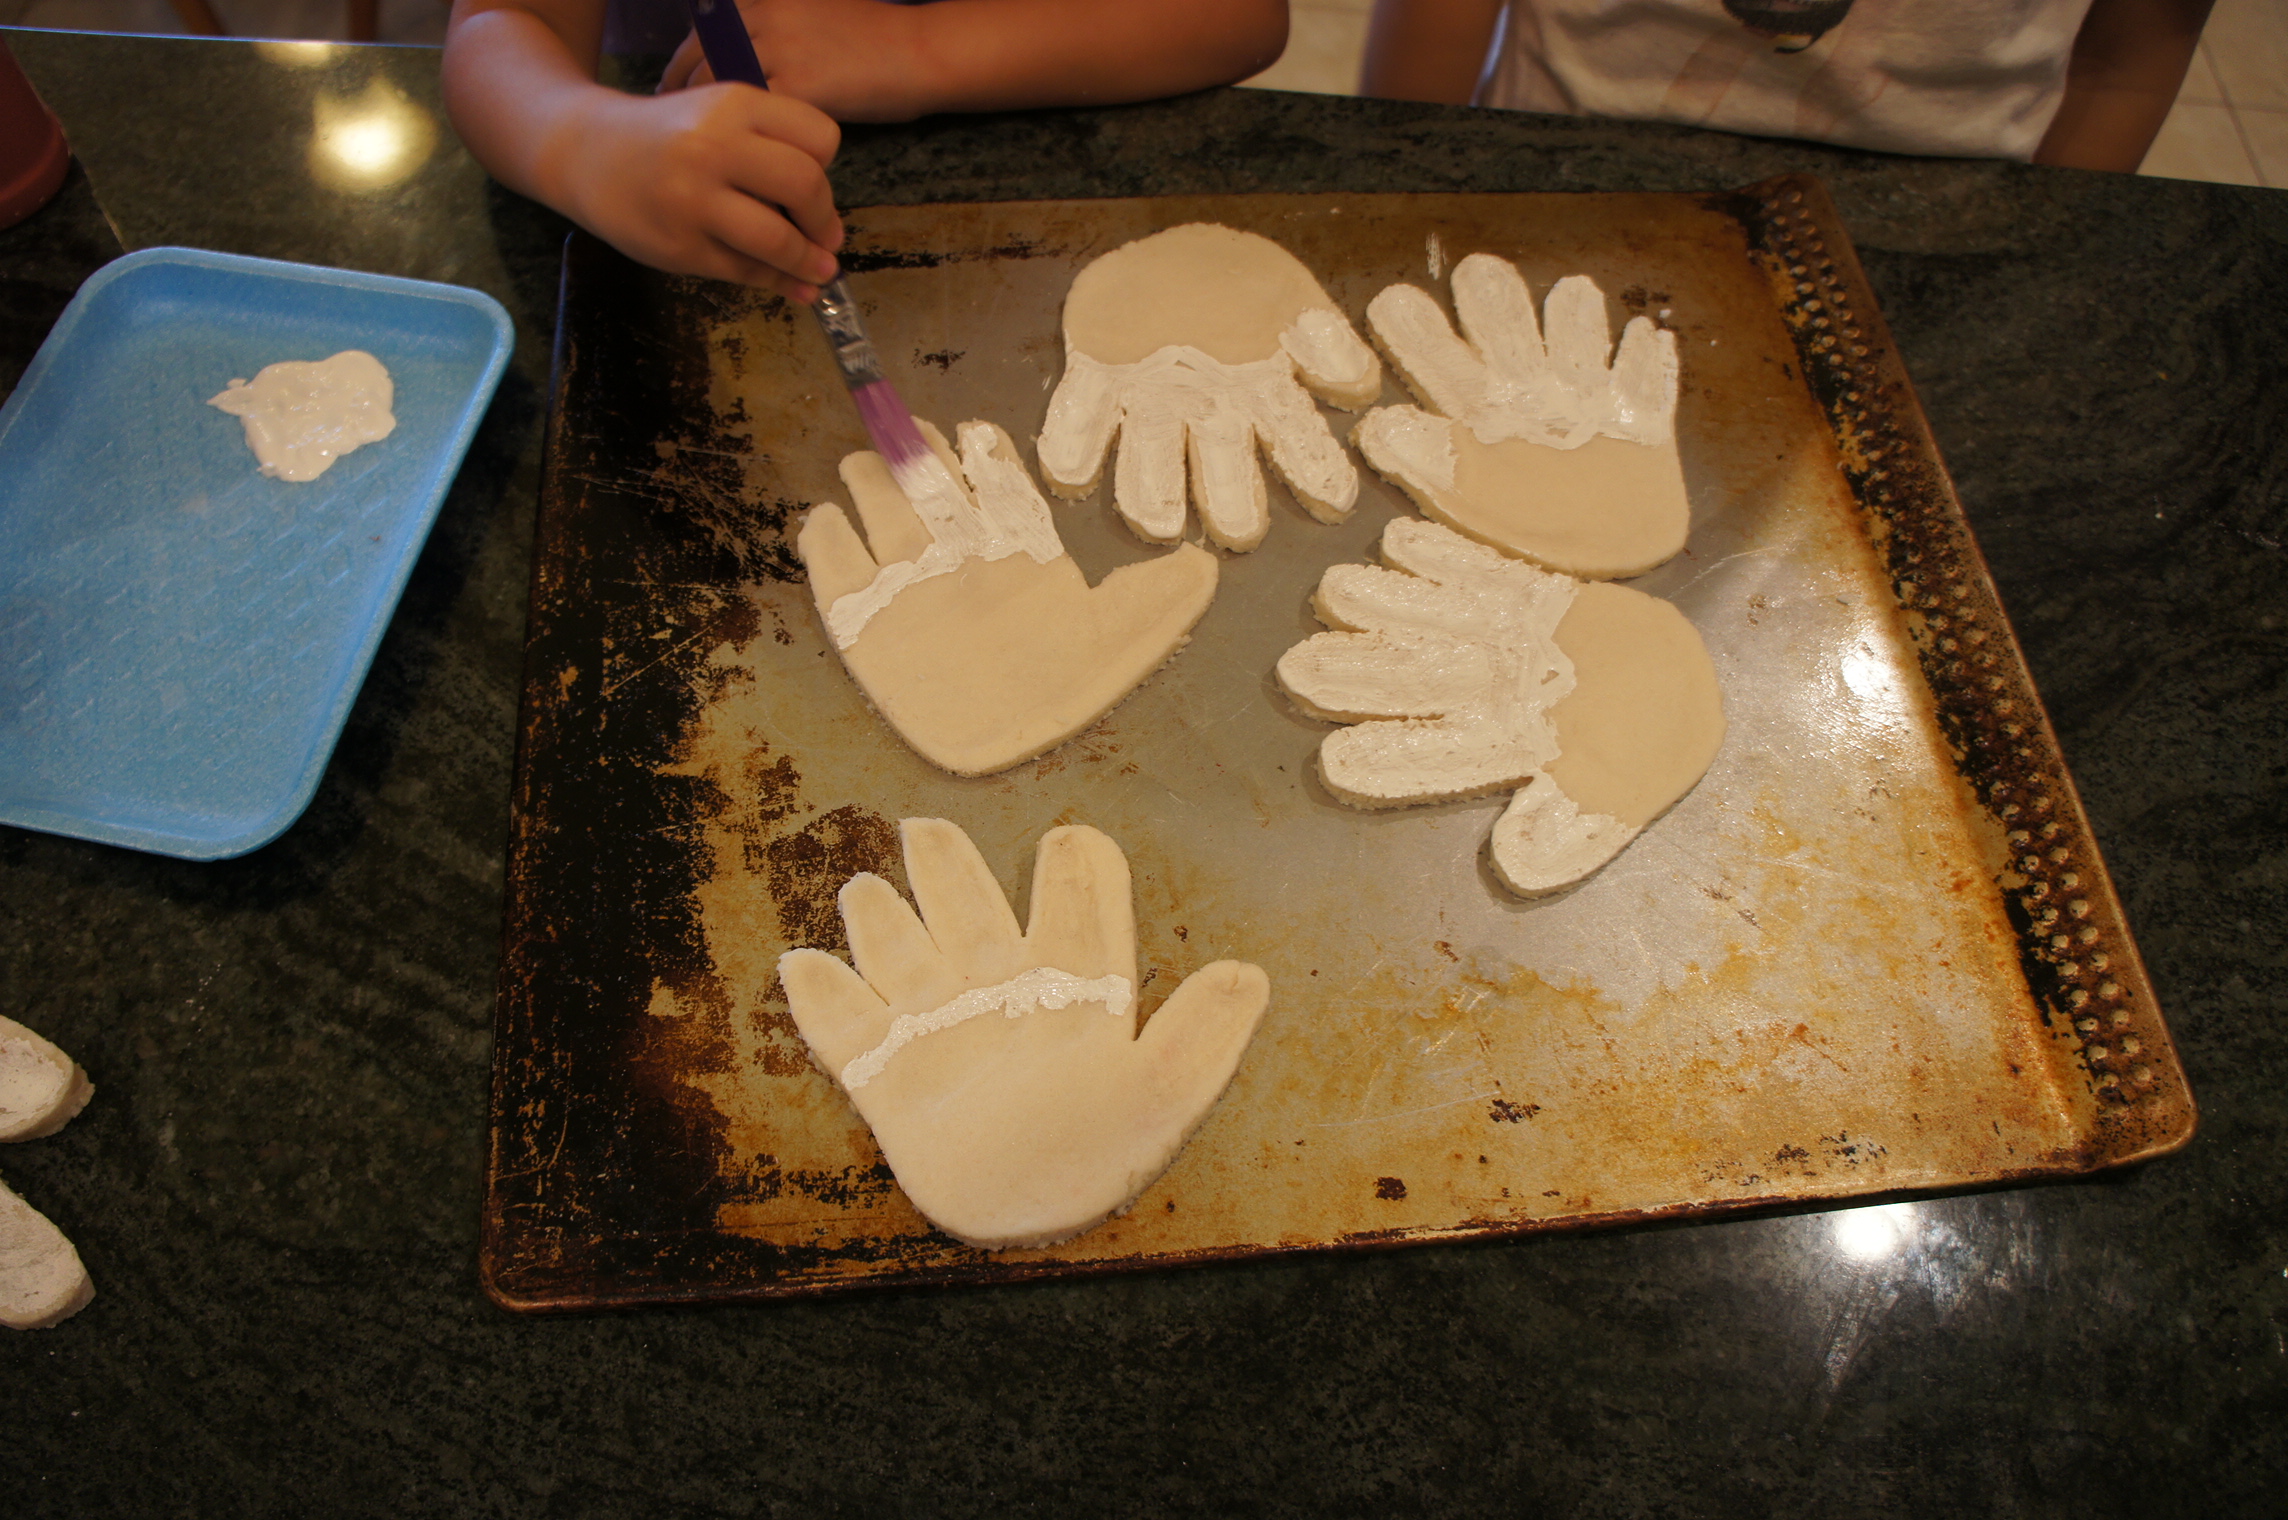
To expedite the process, we painted our Santas with kids tempura/poster paint before baking them. I drew the borders for the girls to paint. The 4 fingers and tip of the thumb get painted white and the part of the palm closest to the wrist across to the thumb gets painted red. I painted on little mustaches for them:
Bake at 200 degrees (Fahrenheit) for a few hours. Mine came out still a little soft on the back so I turned them over to air harden.
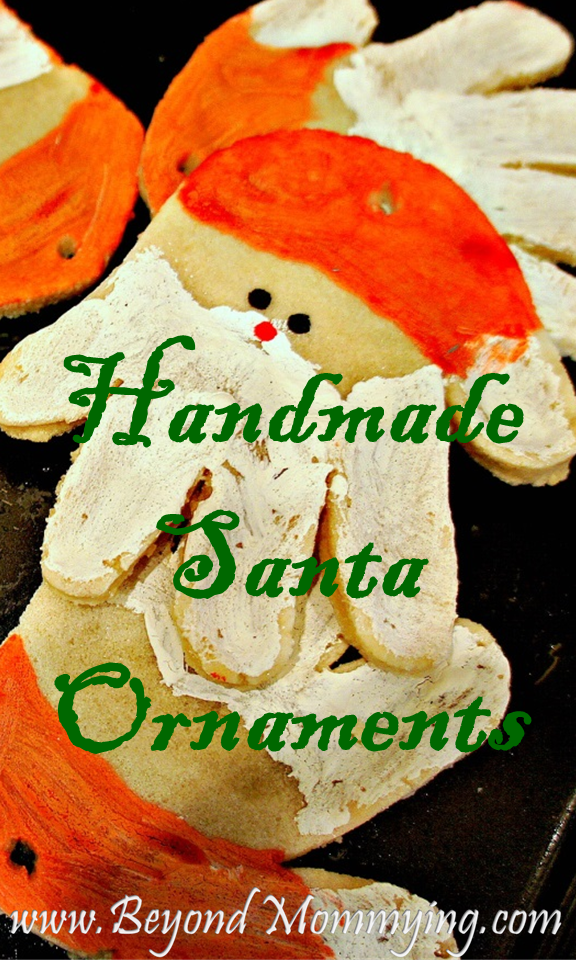
Use a sharpie to draw 2 eyes and a little red nose at the point of the mustache. Use a spray sealer if you’d like (which I haven’t done yet), add a ribbon to hang and your cute little Santa ornament hand creation is complete!


