The first year hubby and I were in our first house, I went all out for Christmas. I bought tons of garlands and pretty Christmas things that all had the prefect place to go and I decorated up the house (we moved 6 months later and since all that perfectly fitting Christmas stuff had yet to find a good home in our new home!) The one thing I didn’t buy, though, was stockings. I decided instead to make them.
What seemed like a good idea at the time has caused quite a bit of unnecessary stress since then. While I was easily able to make custom patchwork quilted stockings for hubby, myself and even the cats that first year, I didn’t yet have kids and making a matching quilted stocking for each child has become more and more troublesome. I didn’t get Honeybun’s done until her 2nd Christmas which wasn’t a huge deal since we were away for her 1st Christmas. I rushed to get Sugarplum’s done for her first Christmas when we were in Dublin but was only successful in getting it partially done and didn’t get it finished until 2 years later! Somehow I managed to get Doodle’s done already and I feel pretty proud of myself!
The problem with completing each quilted stocking is that, while they are super fancy and pretty, they are super fancy and time consuming to make. But, I love that I took the time to make them and now we will have them every year (and I love that I’ll never have to make new ones unless we continue adding to our family!)
If you’re looking for something to do with your upcoming year, here’s my process for homemade, patchwork quilted stockings!
I’m not a great patchworker, my lines are not perfect nor are my corners but it doesn’t bother me to have some flaws because they were handmade and it shows.
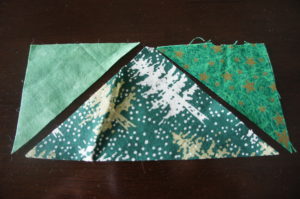
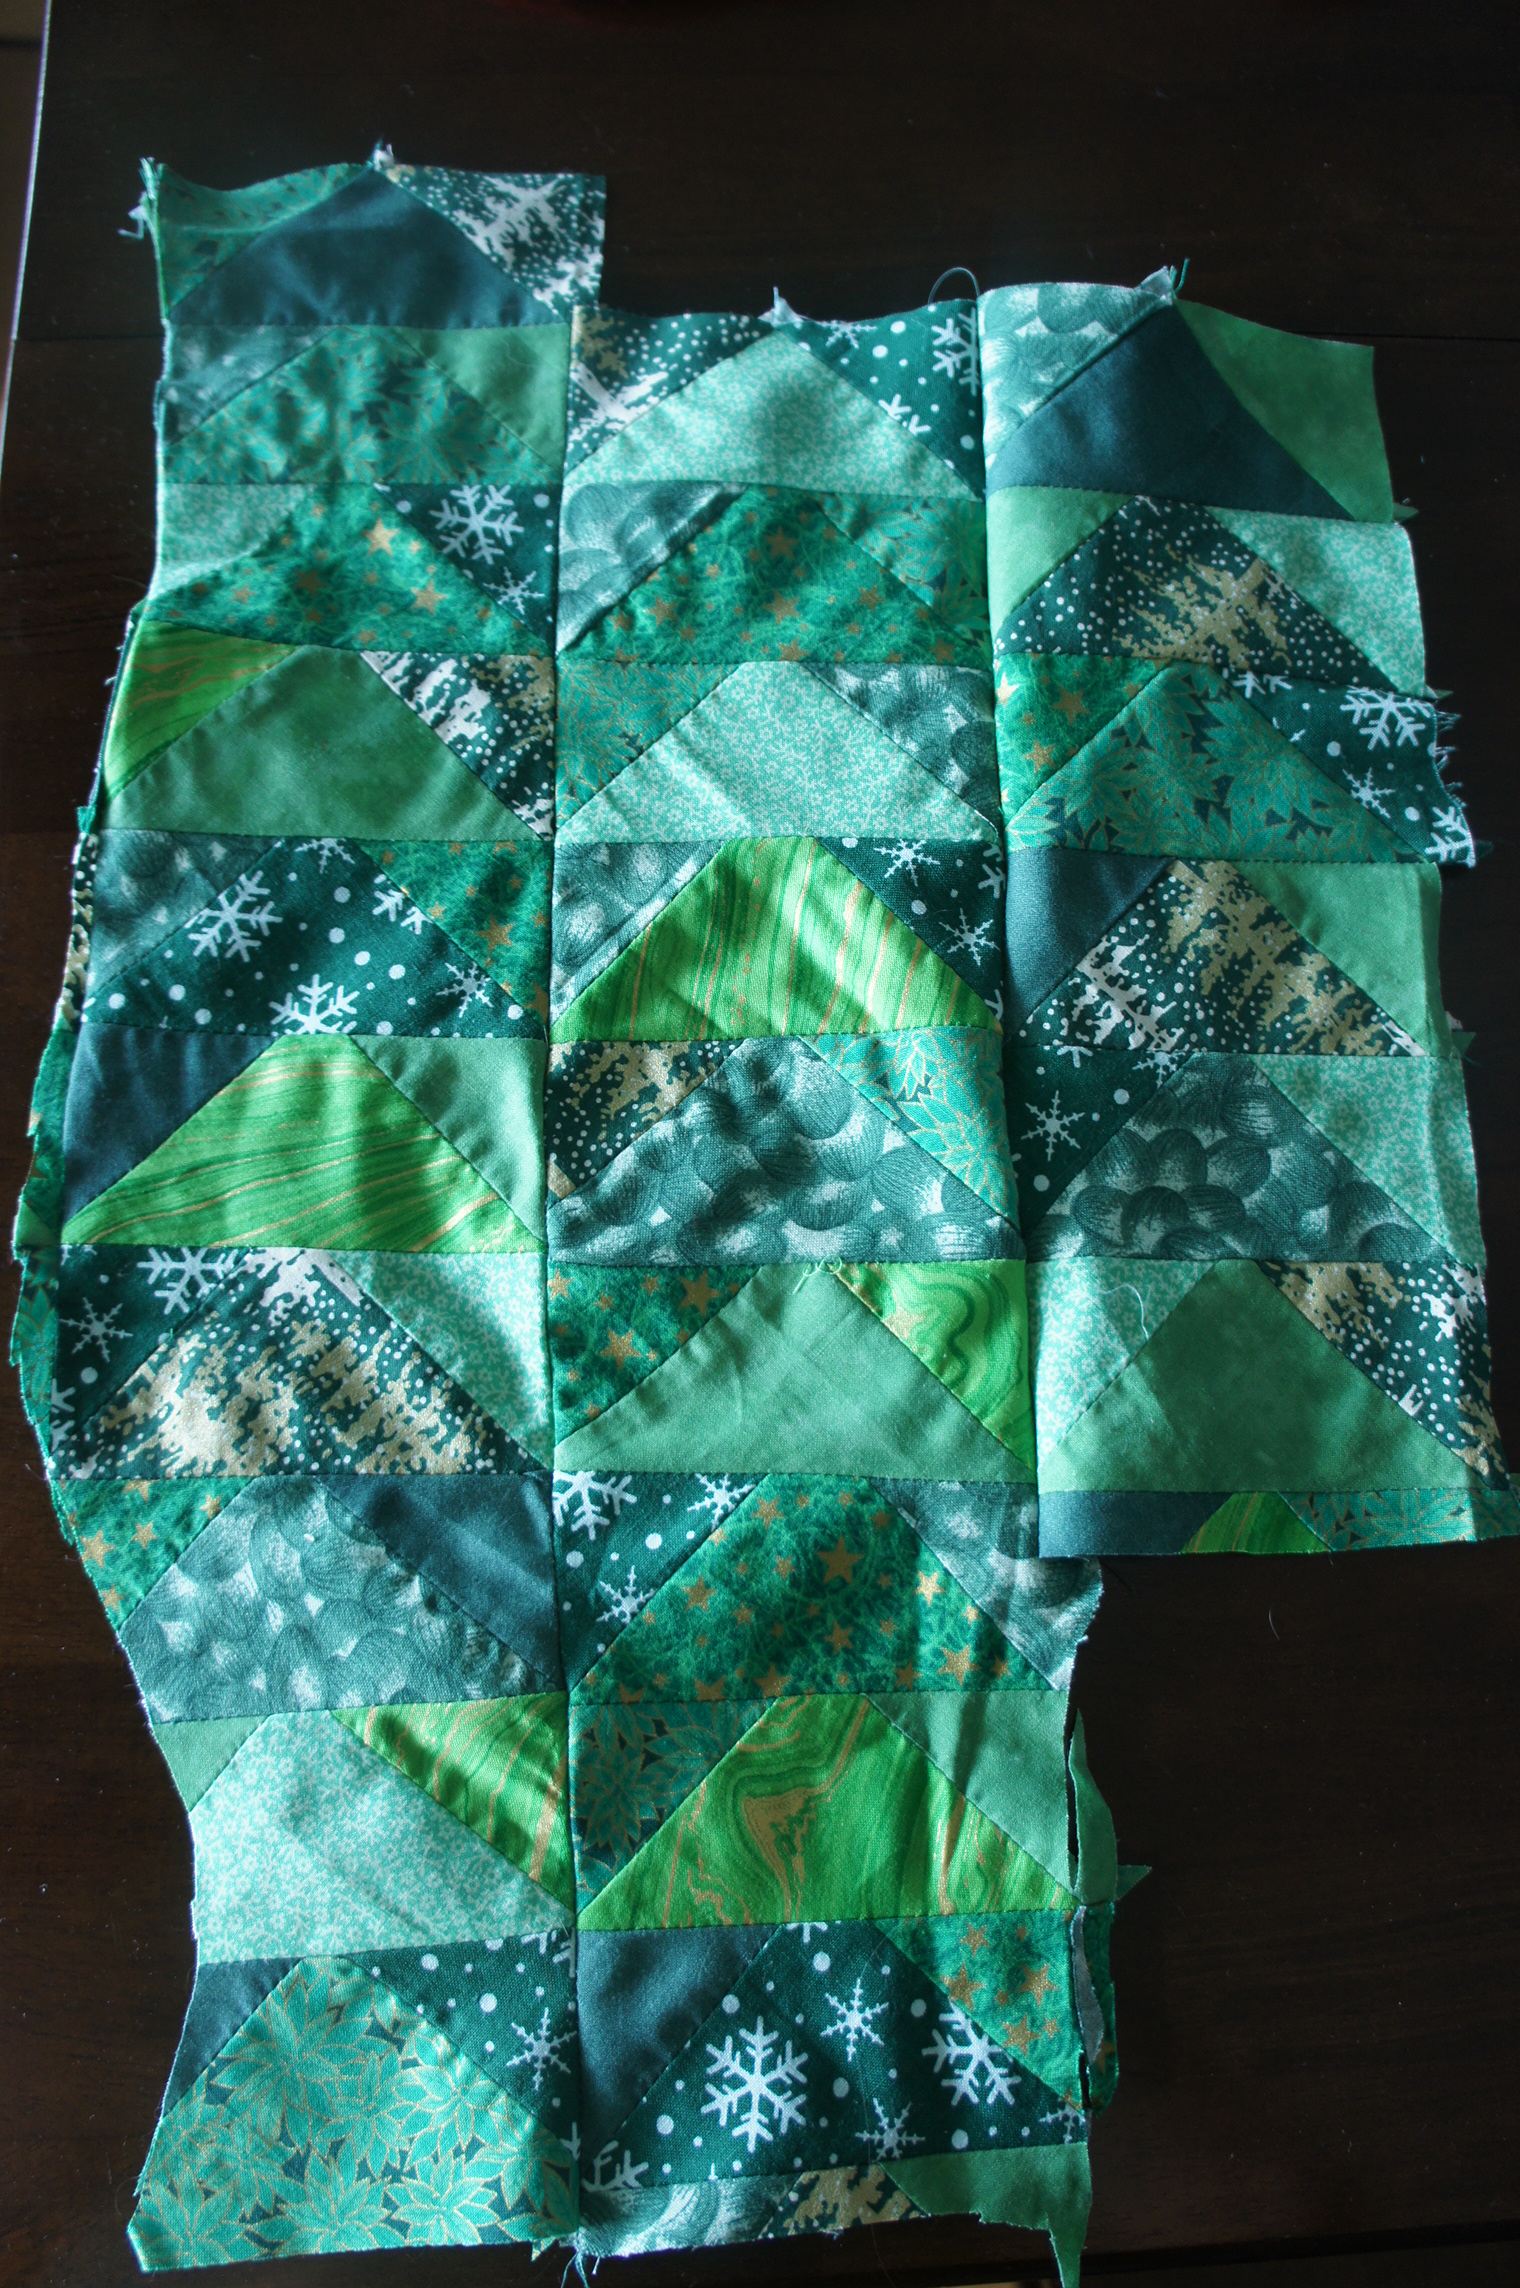
I started with a square piece which I cut diagonally into two triangles, I then cut one of the triangles in half again (through the right angle, to the middle of the long side). I chose to use various green and gold patterns and cut many triangles out of each pattern.

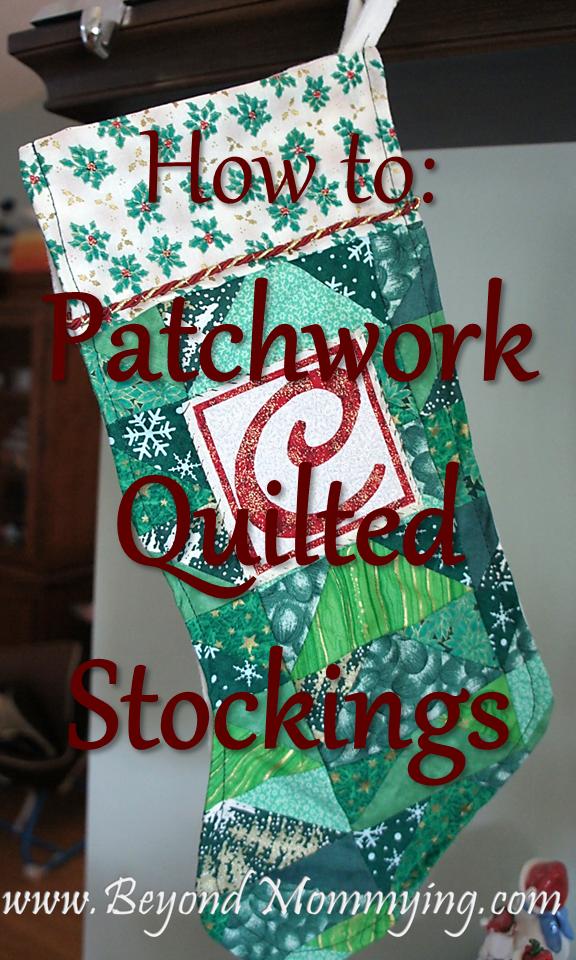
I decided to make a Christmas tree pattern, so I stitch a small triangle onto both short sides of each large triangle to make a rectangular piece and iron the seams open:
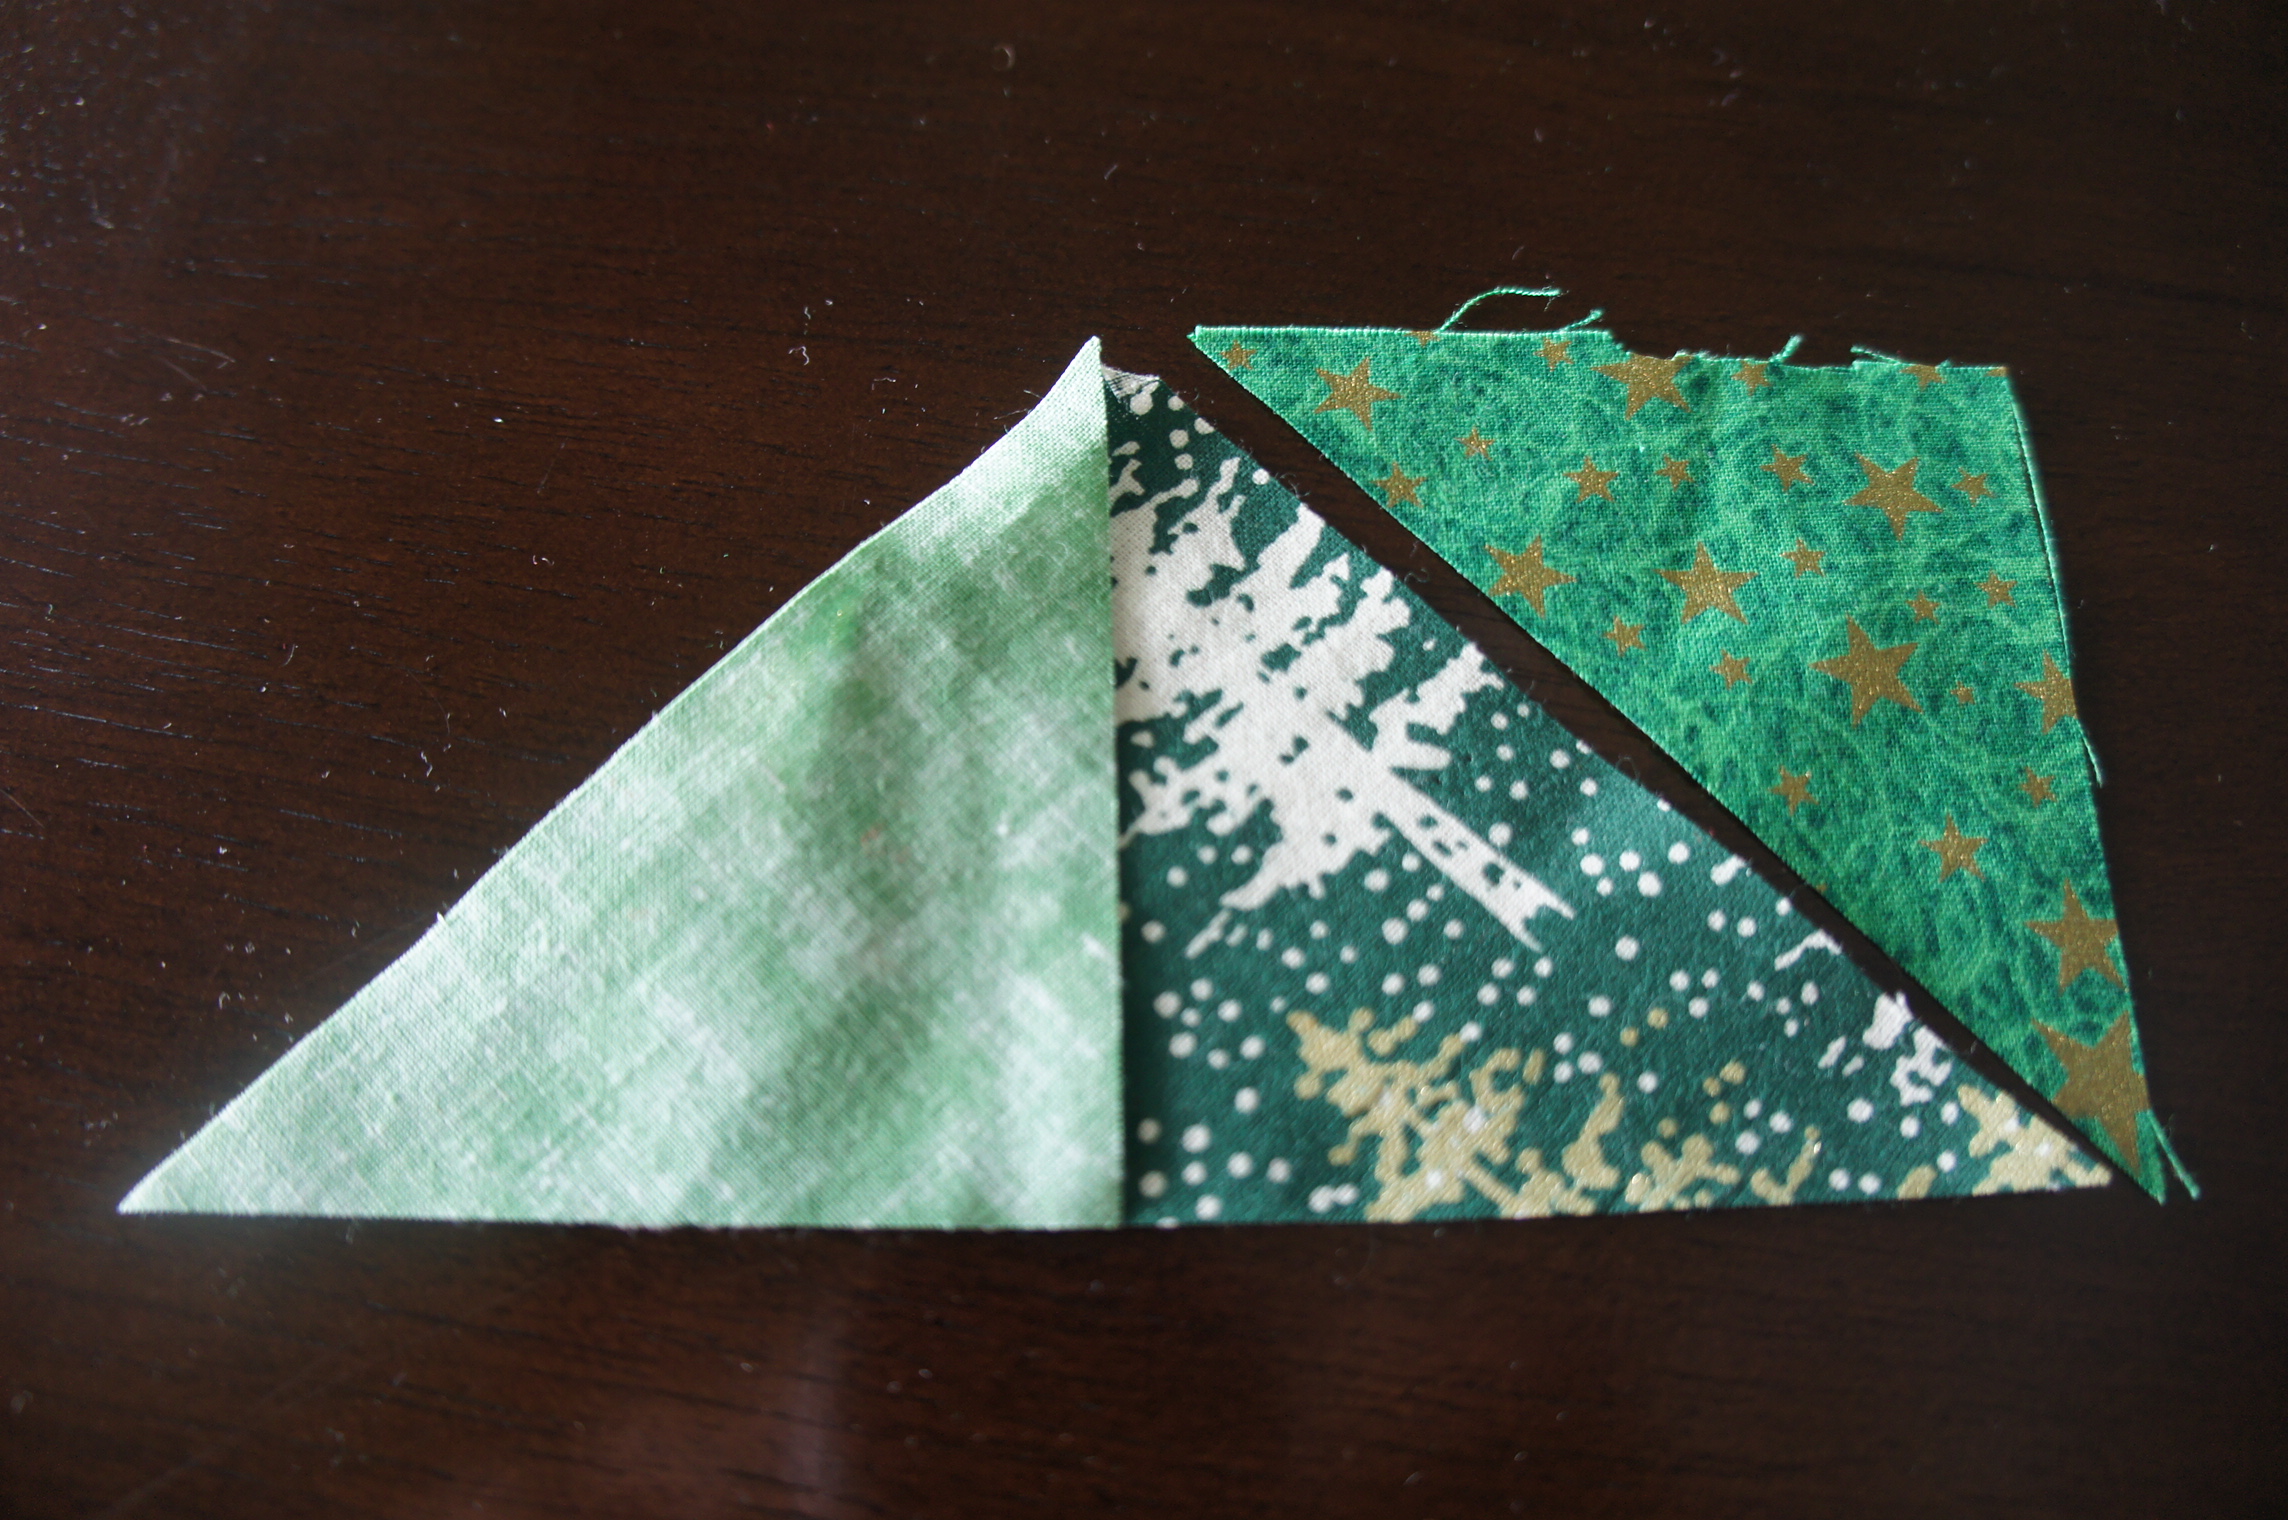
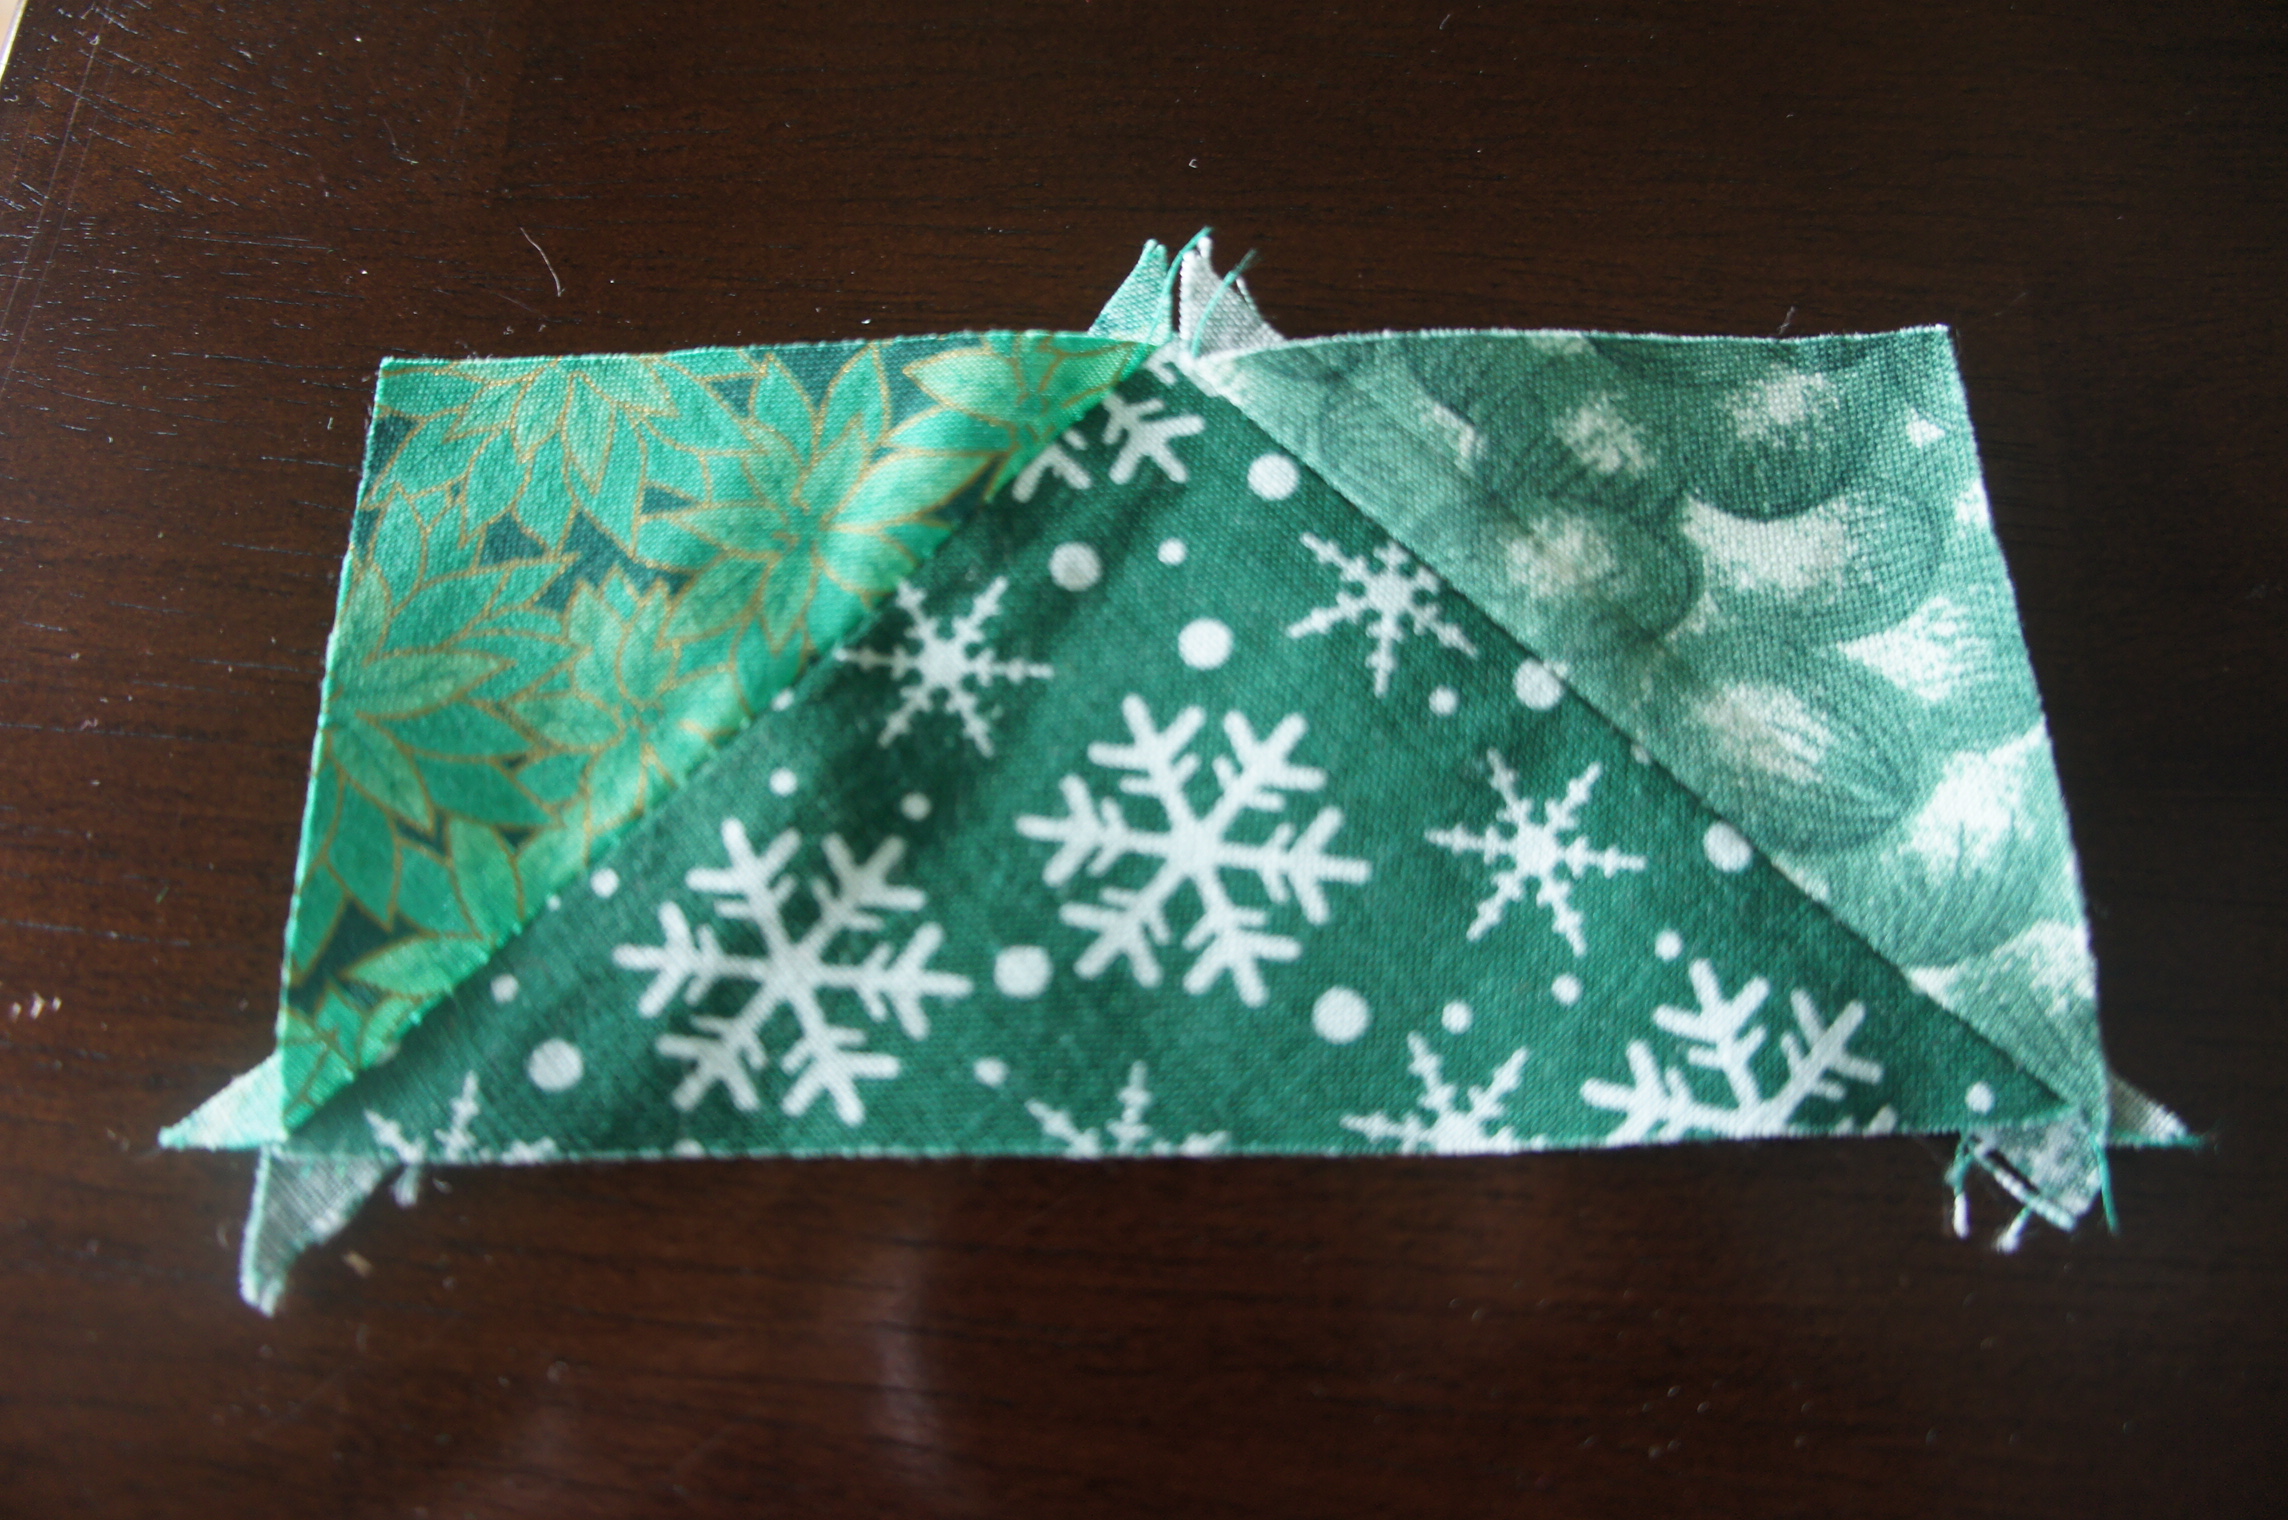
I then sew the rectangles into long columns to make what I think looks like a Christmas tree, iron open the seams then sew the columns together matching the horizontal seams and again iron the seams open to make a large piece of patchwork (I find it’s best to lay out all my pieces before sewing anything to make sure I don’t end up with two of the same fabrics touching in the corners. I use 8 different fabrics but 1 more would have made it a lot easier to vary the fabrics since 6 pieces come together in each corner). For Doodle’s, I used a piece I had leftover from Sugarplum’s and added more columns (hence the awkward edges!):
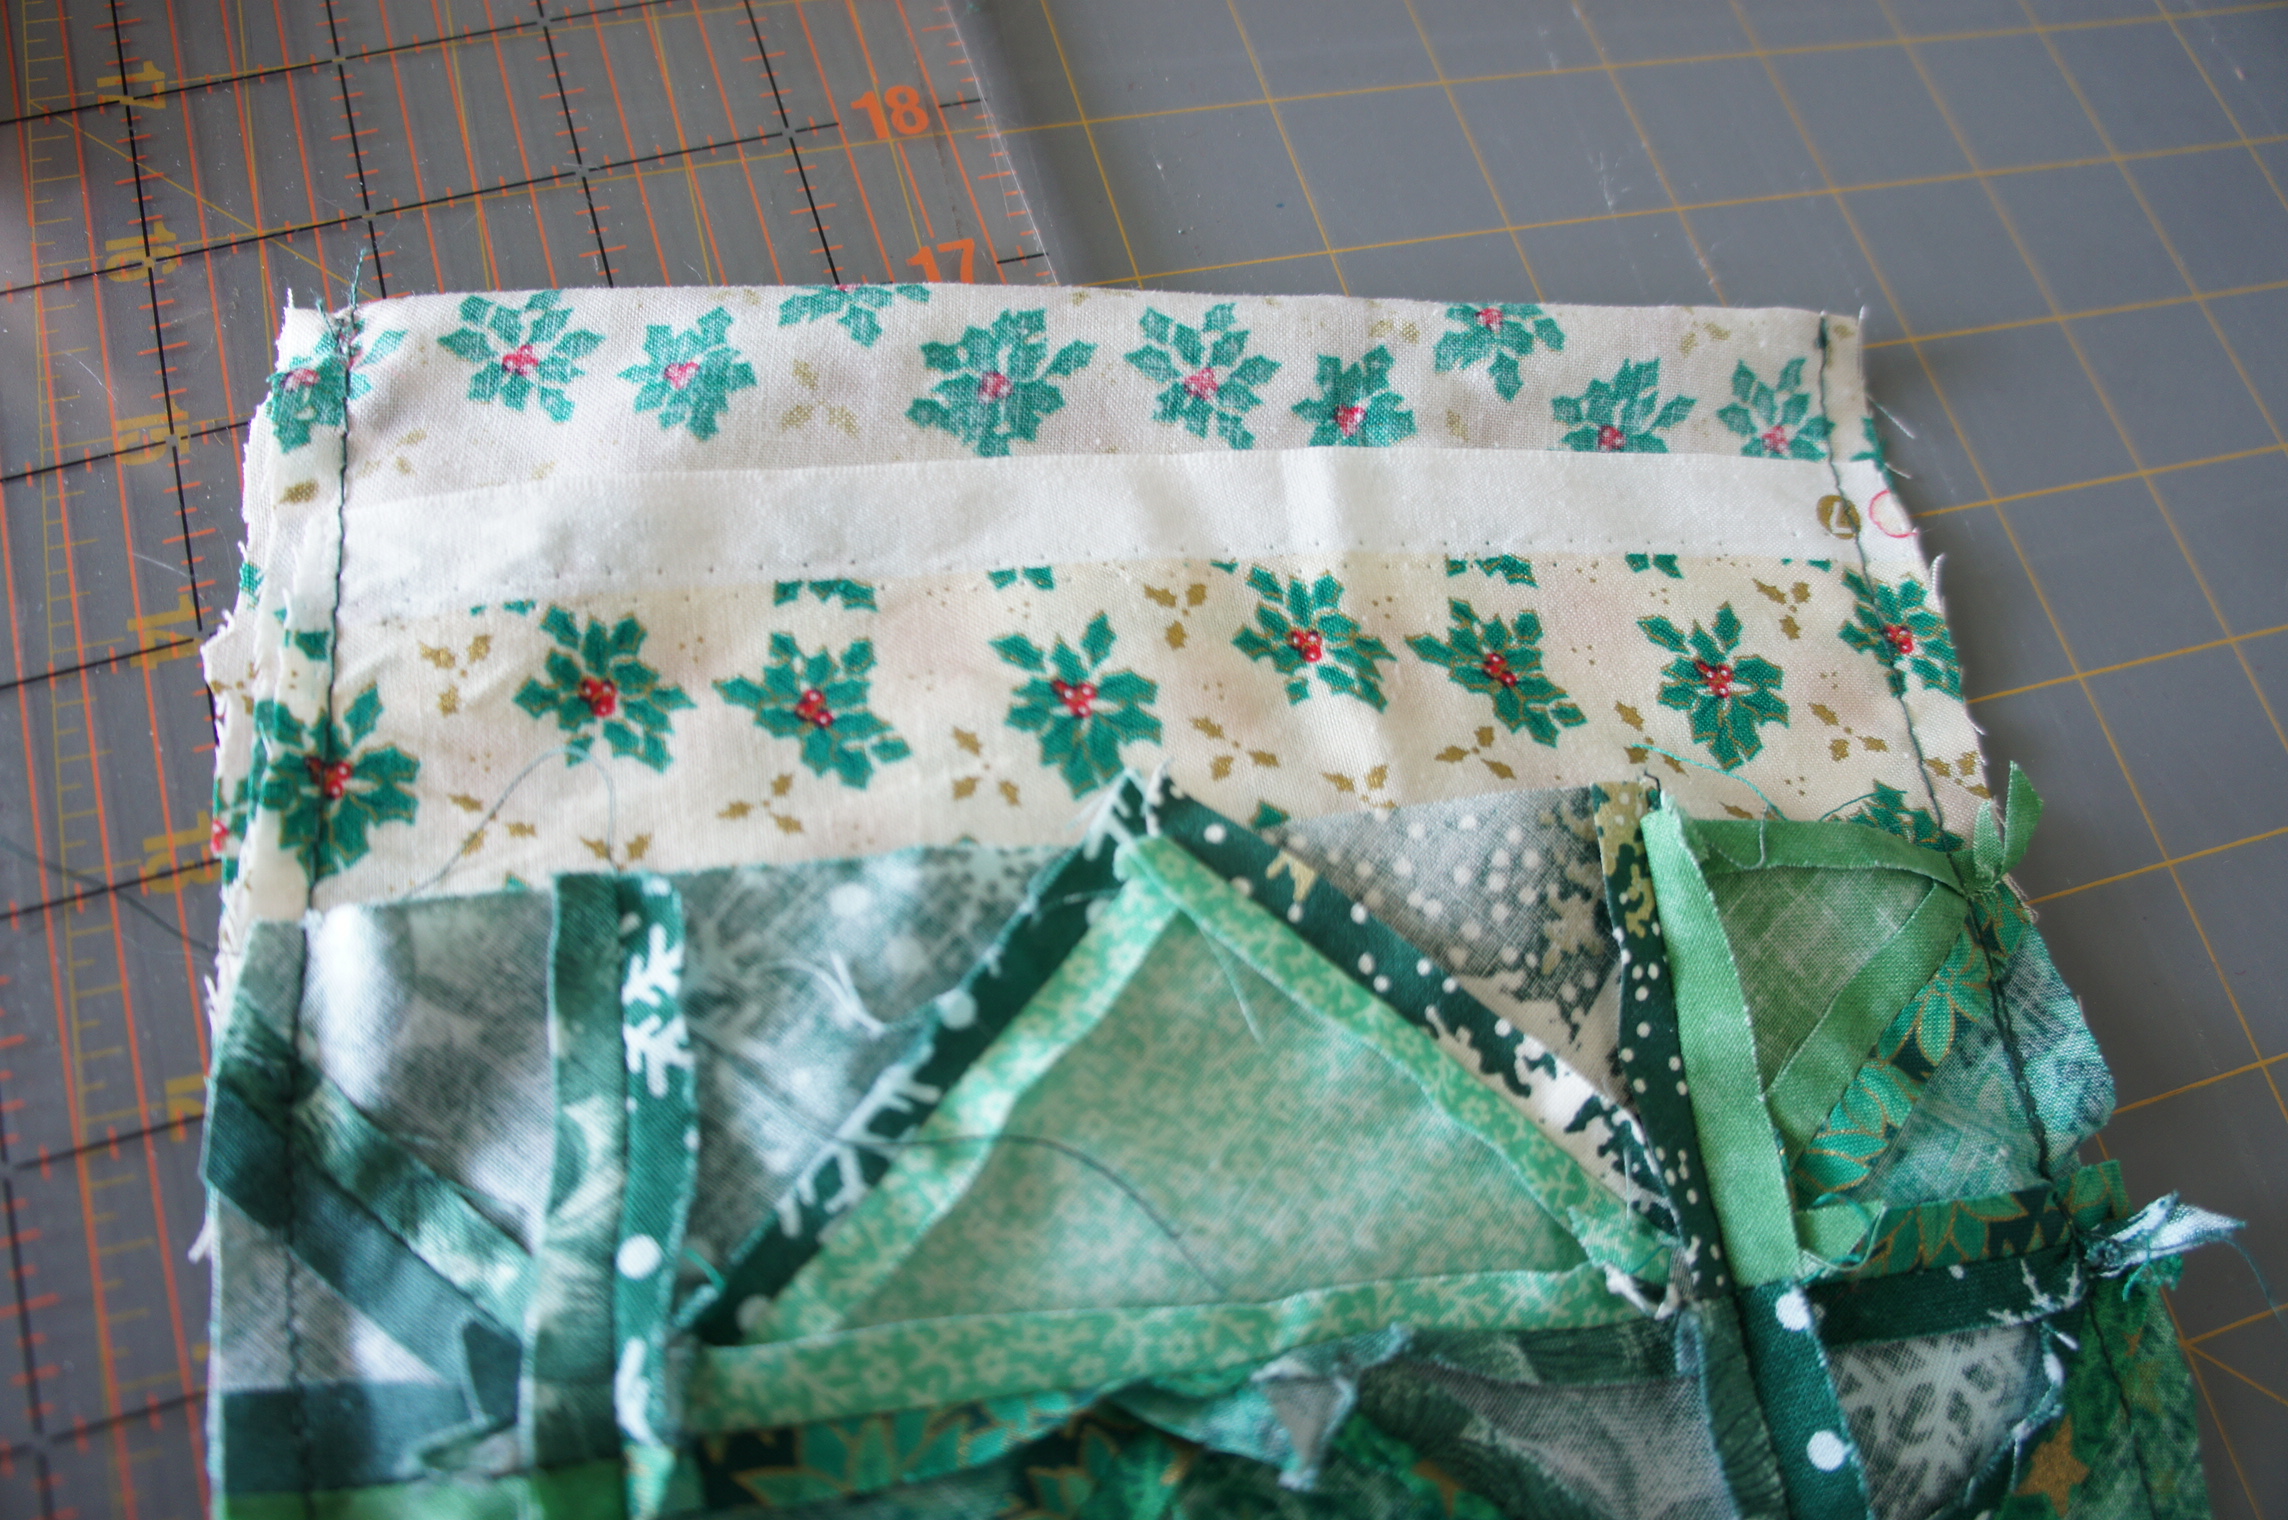
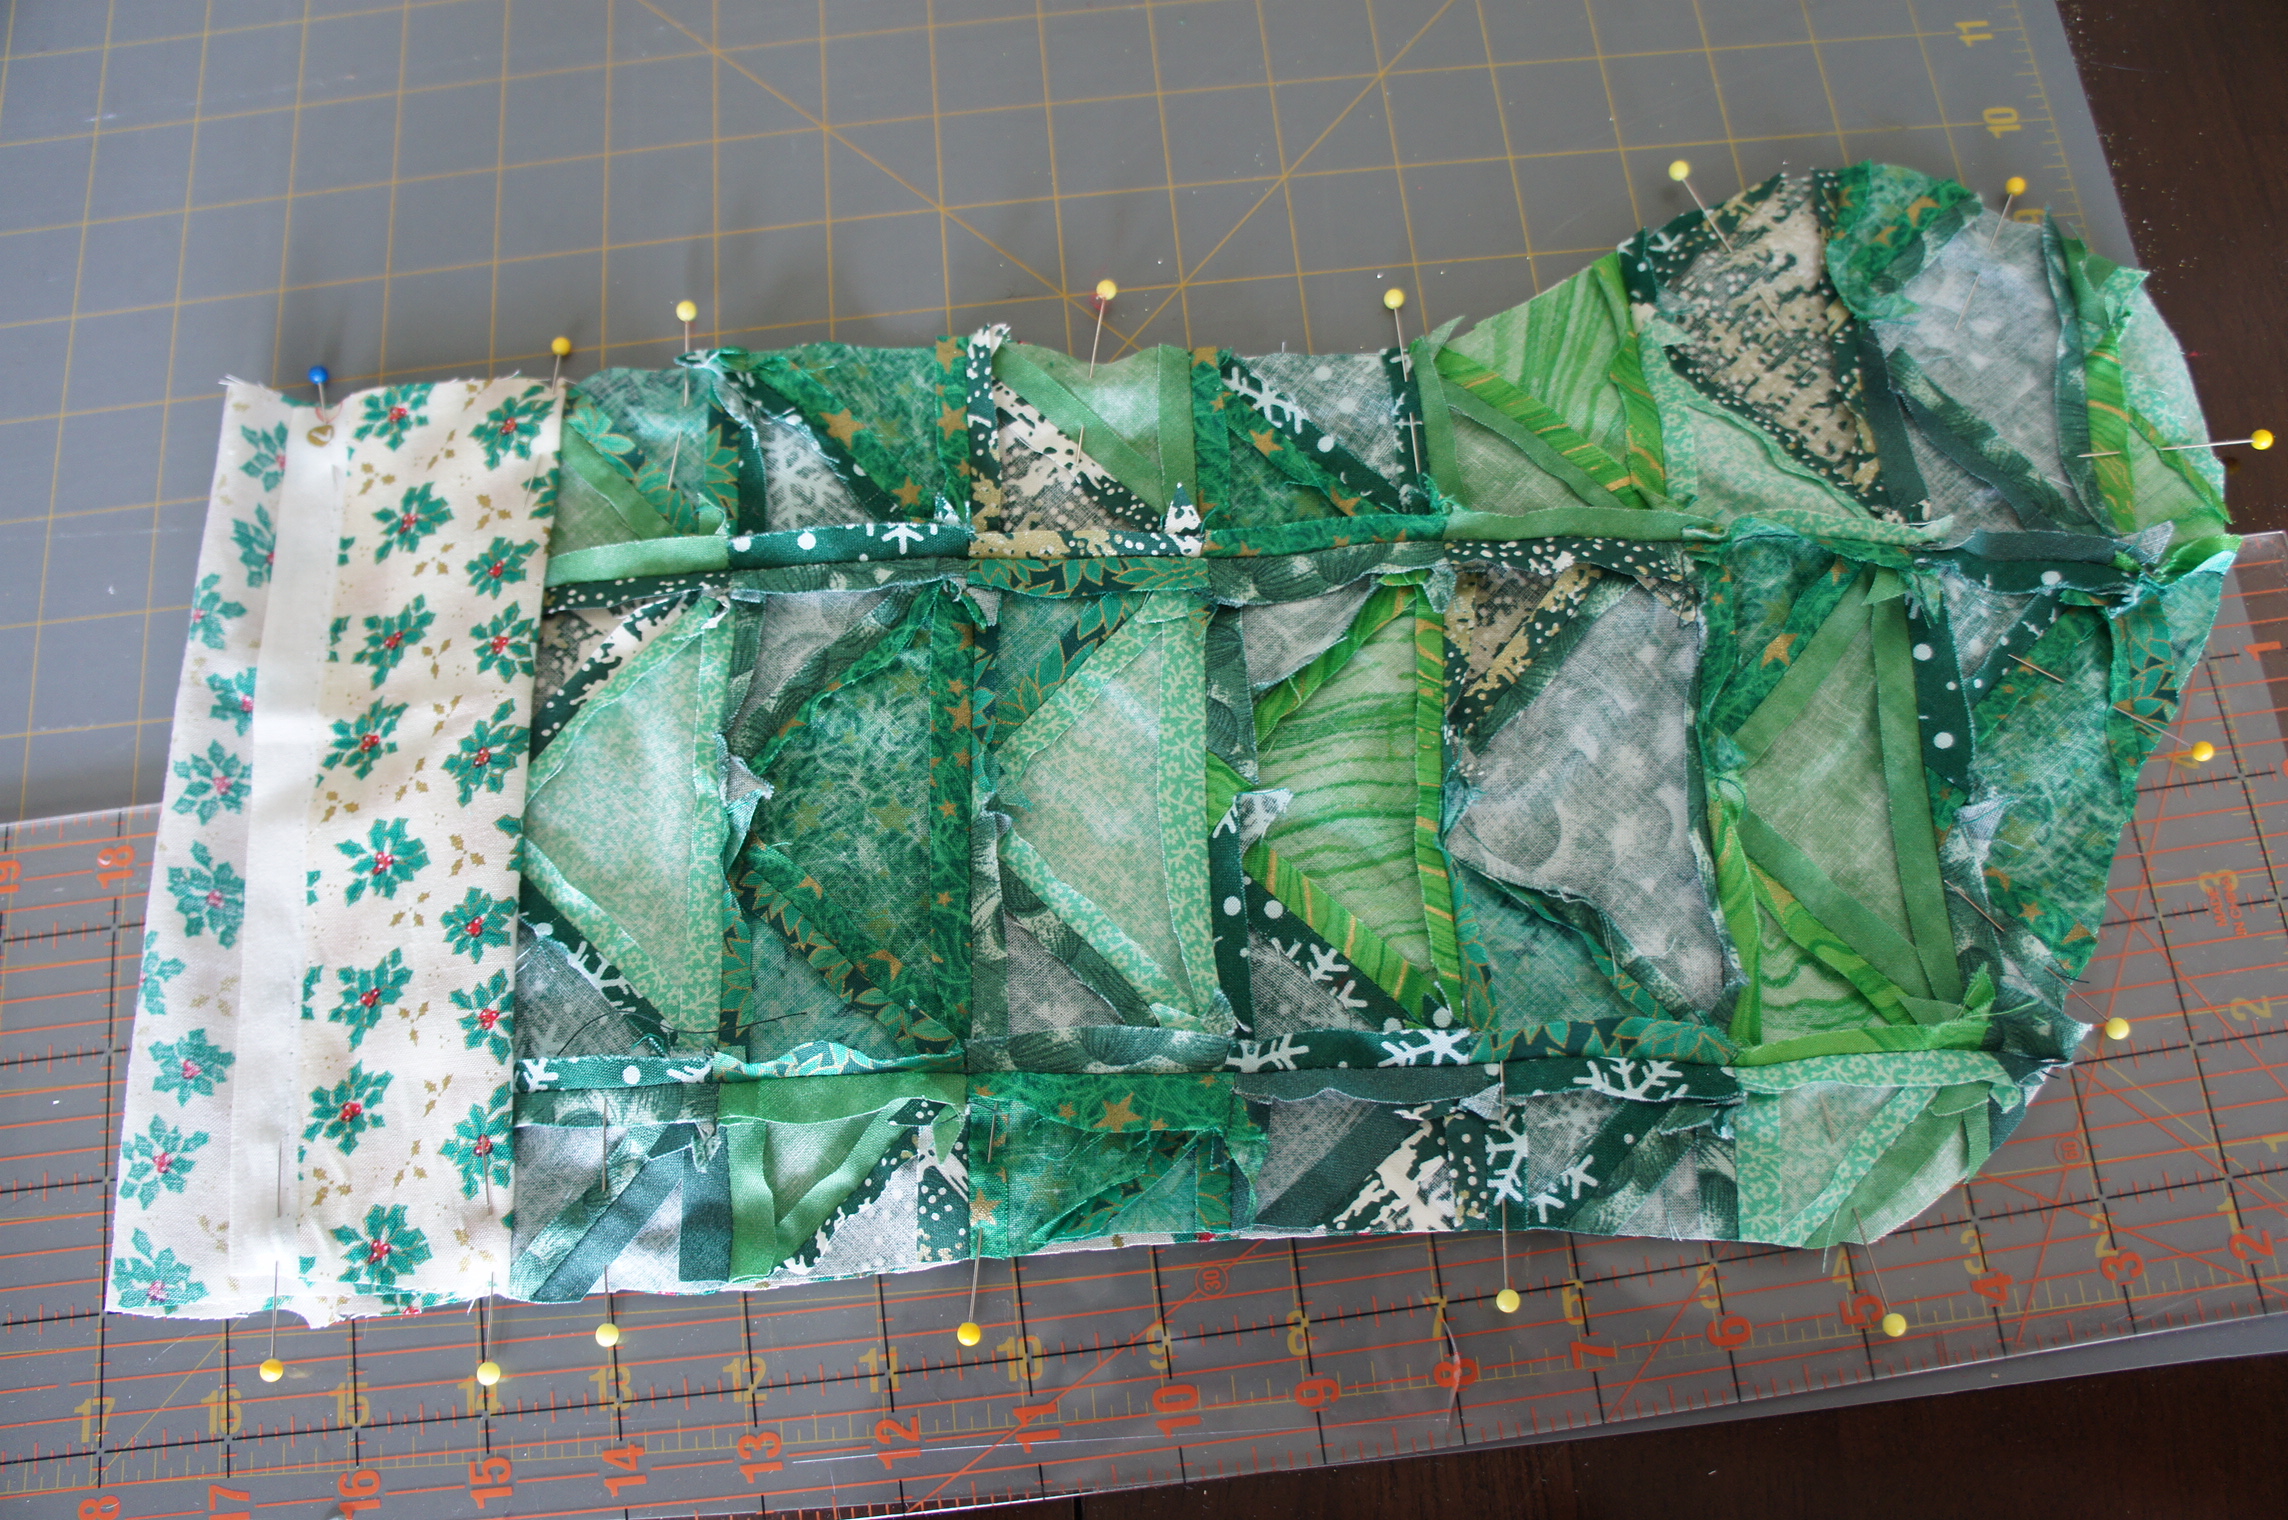
I line my stockings so the raw edges of the patchwork are enclosed and use the lining fabric to create the fold across the top of the stocking. I use a $1 store bought stocking as a pattern for the shape and cut the patchwork and a lining together (good sides facing each other) into the stocking shape with extra of the lining on the top. I sew the two together with the extra lining folded down and the back up to hide the unfinished edges. Make sure when you sew it together, you put the folded lining BEHIND the patchwork like this:
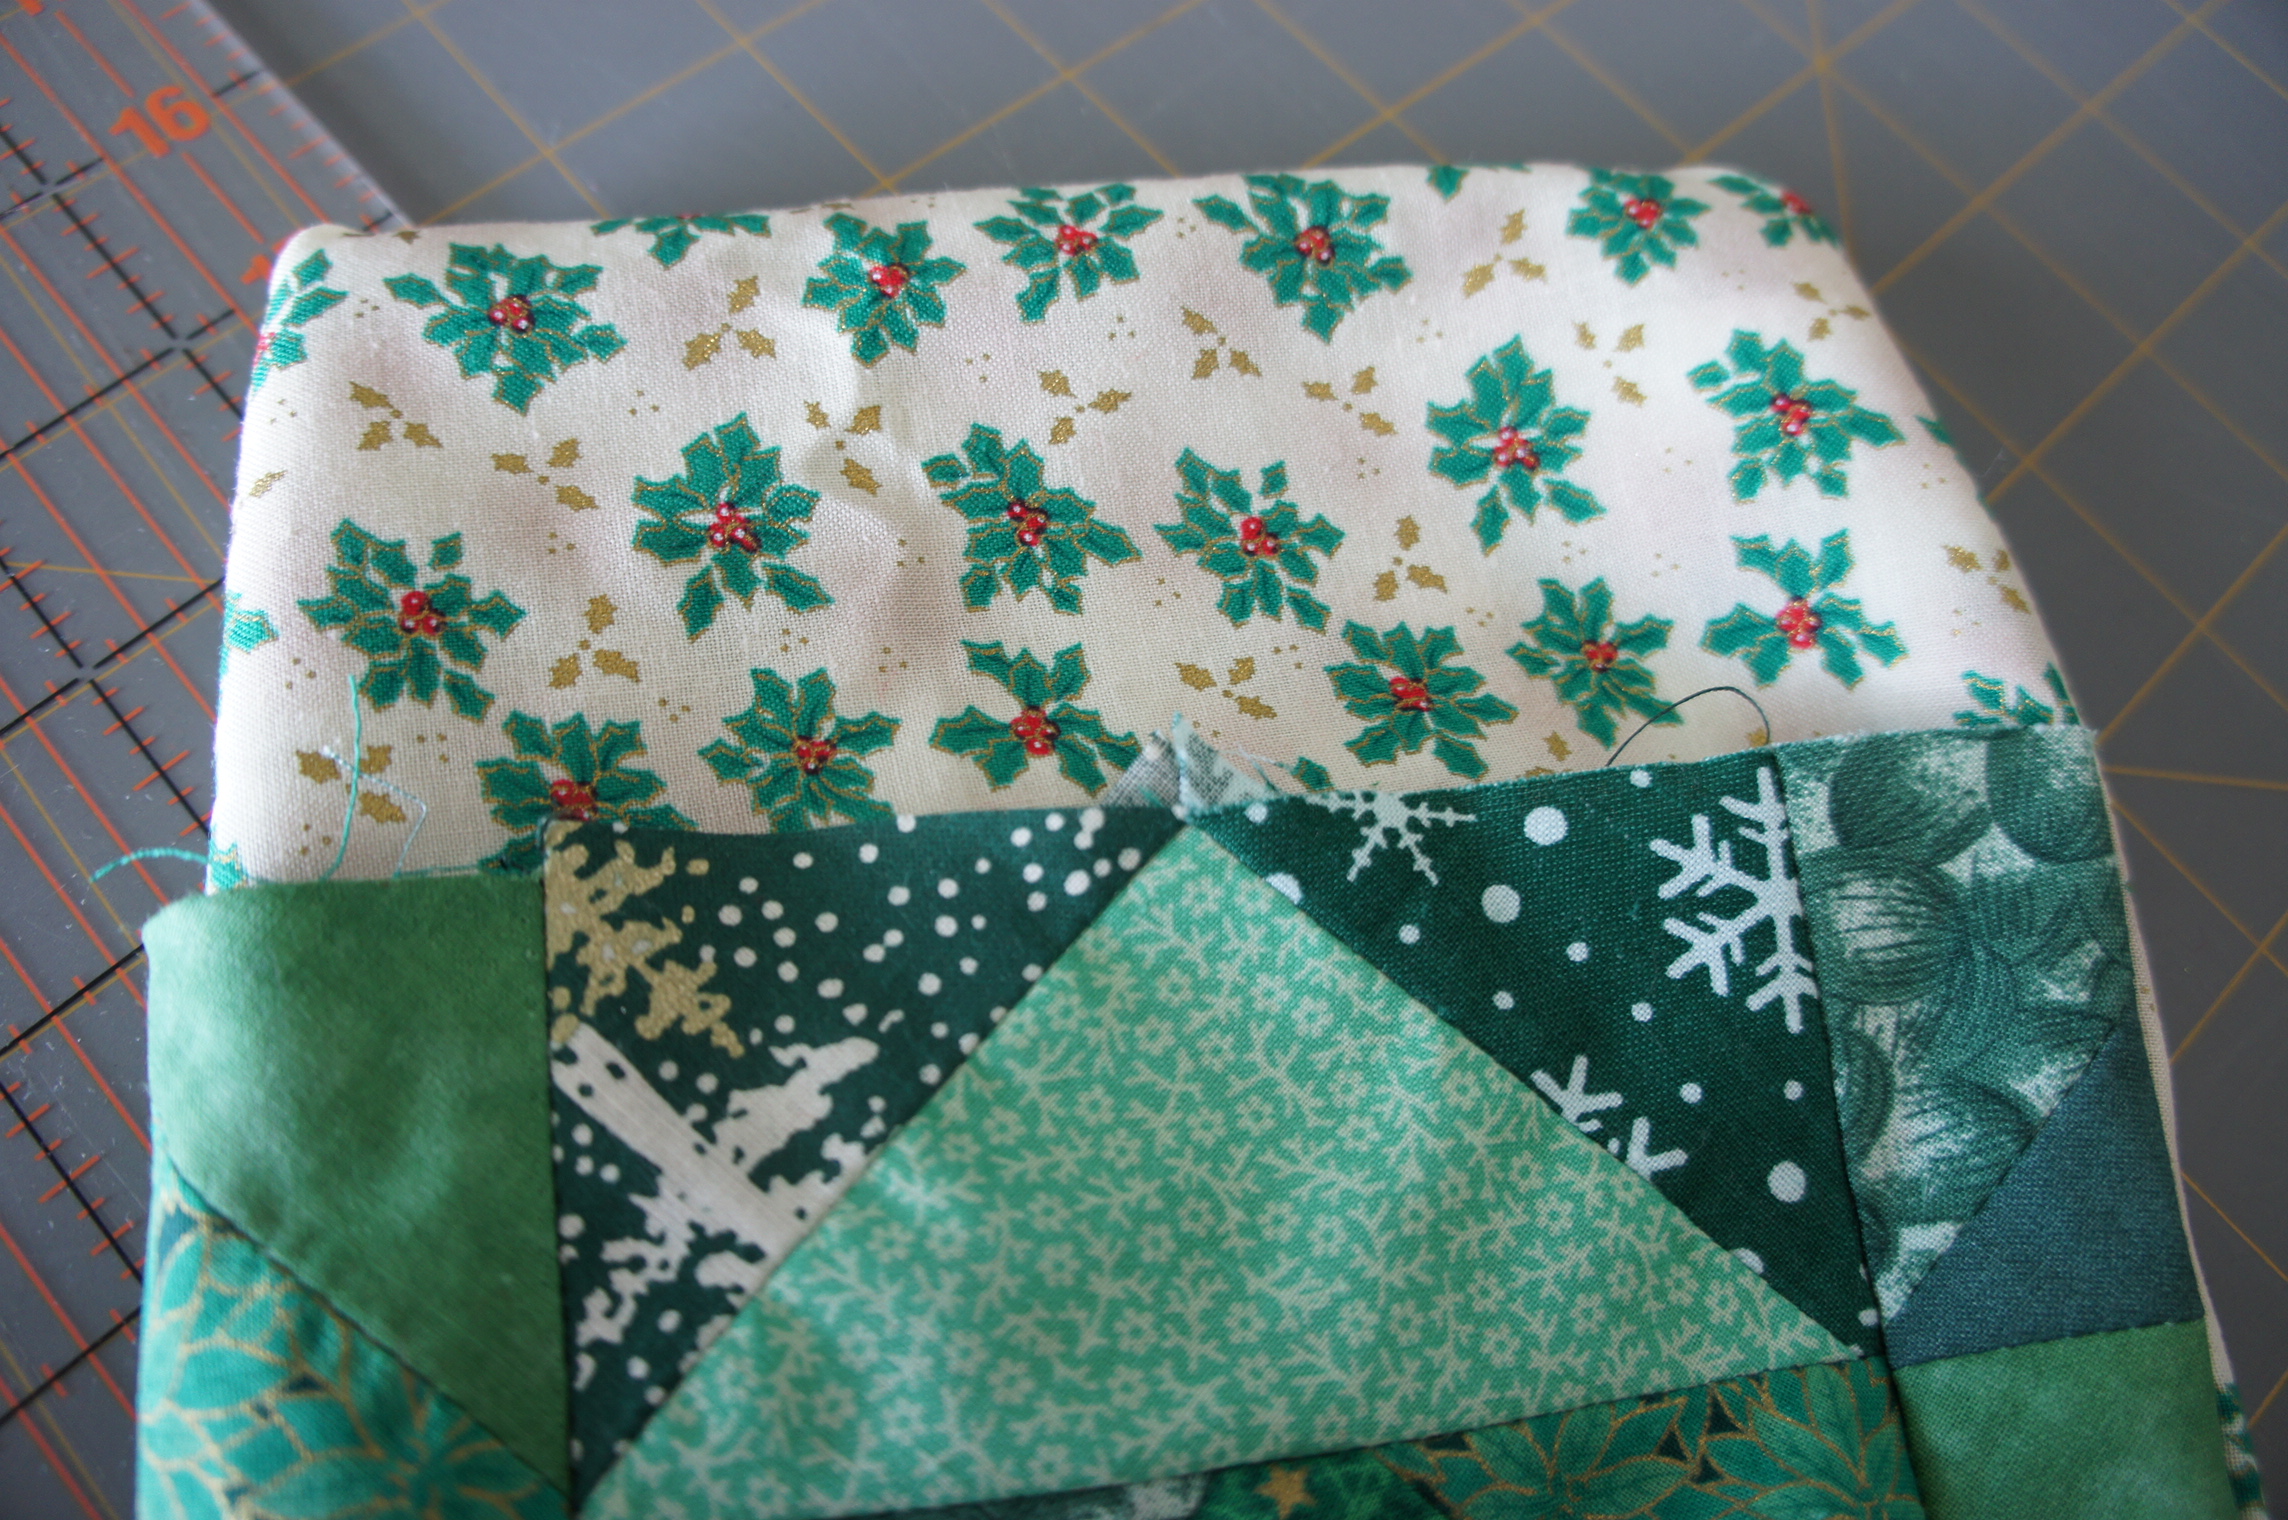
Then turn the stocking to put the raw edges on the inside and pulling the finished side out:

(Note: if you put the lining OVER the patchwork before sewing and turning right side out–1st pic below–then you will end up with the raw edges of the patchwork out–2nd pic)
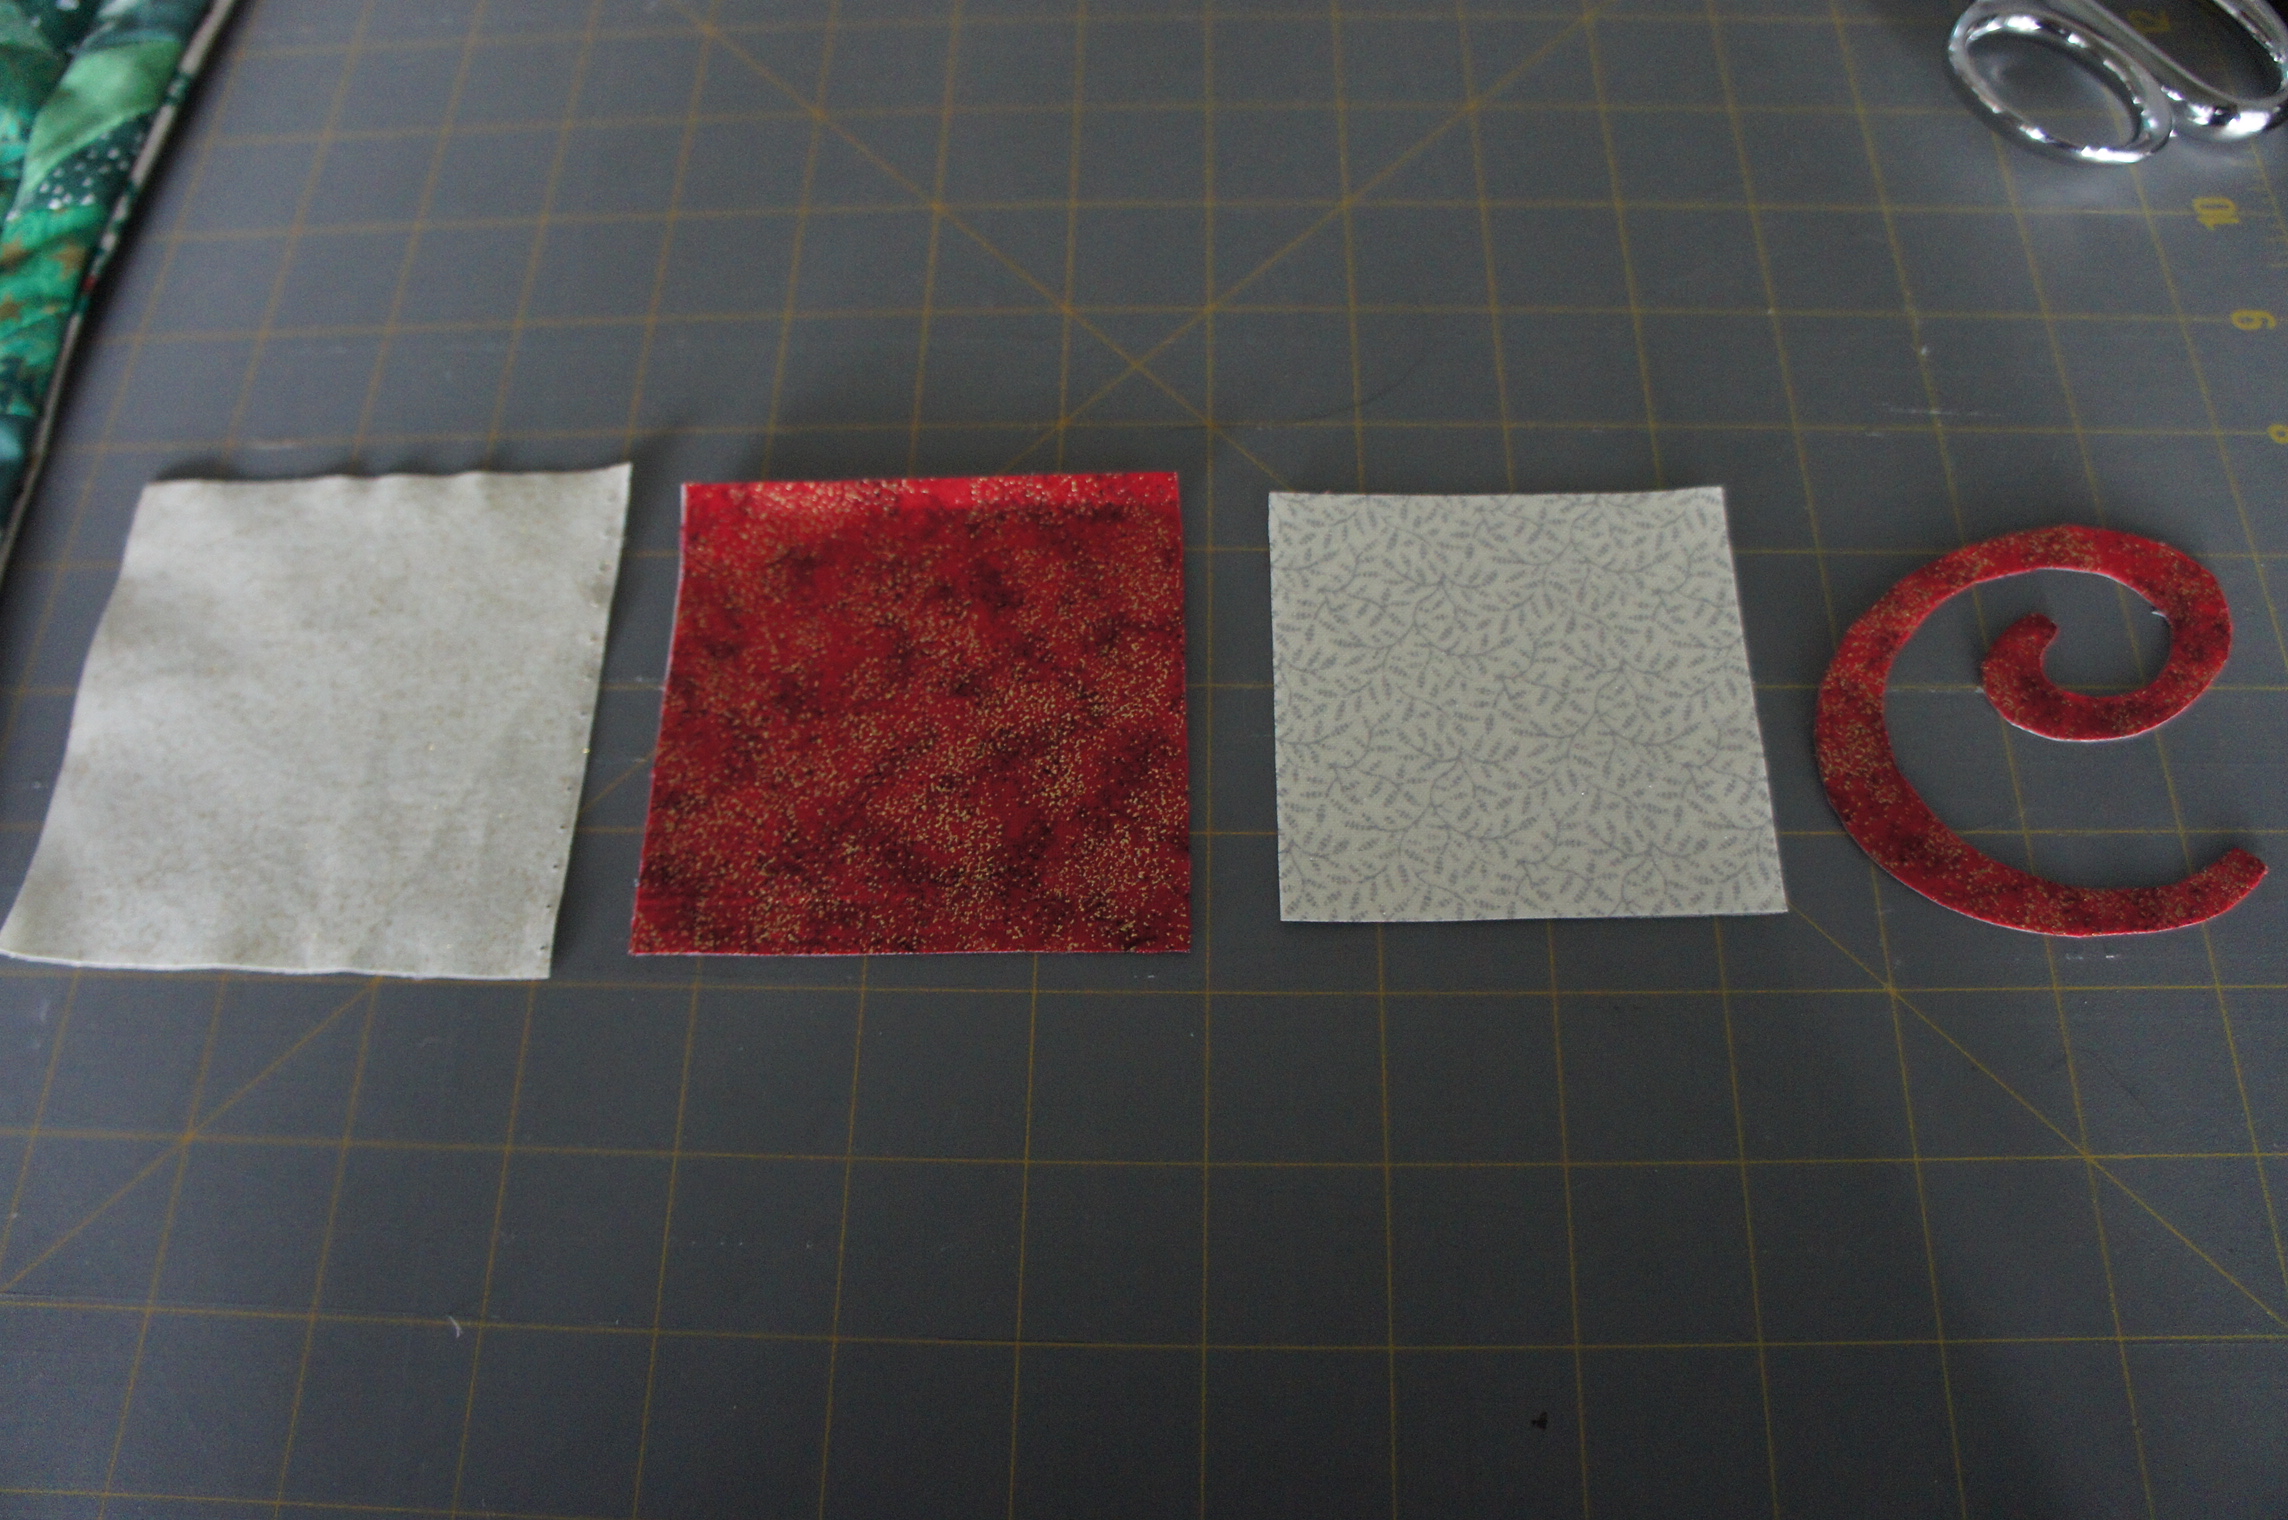
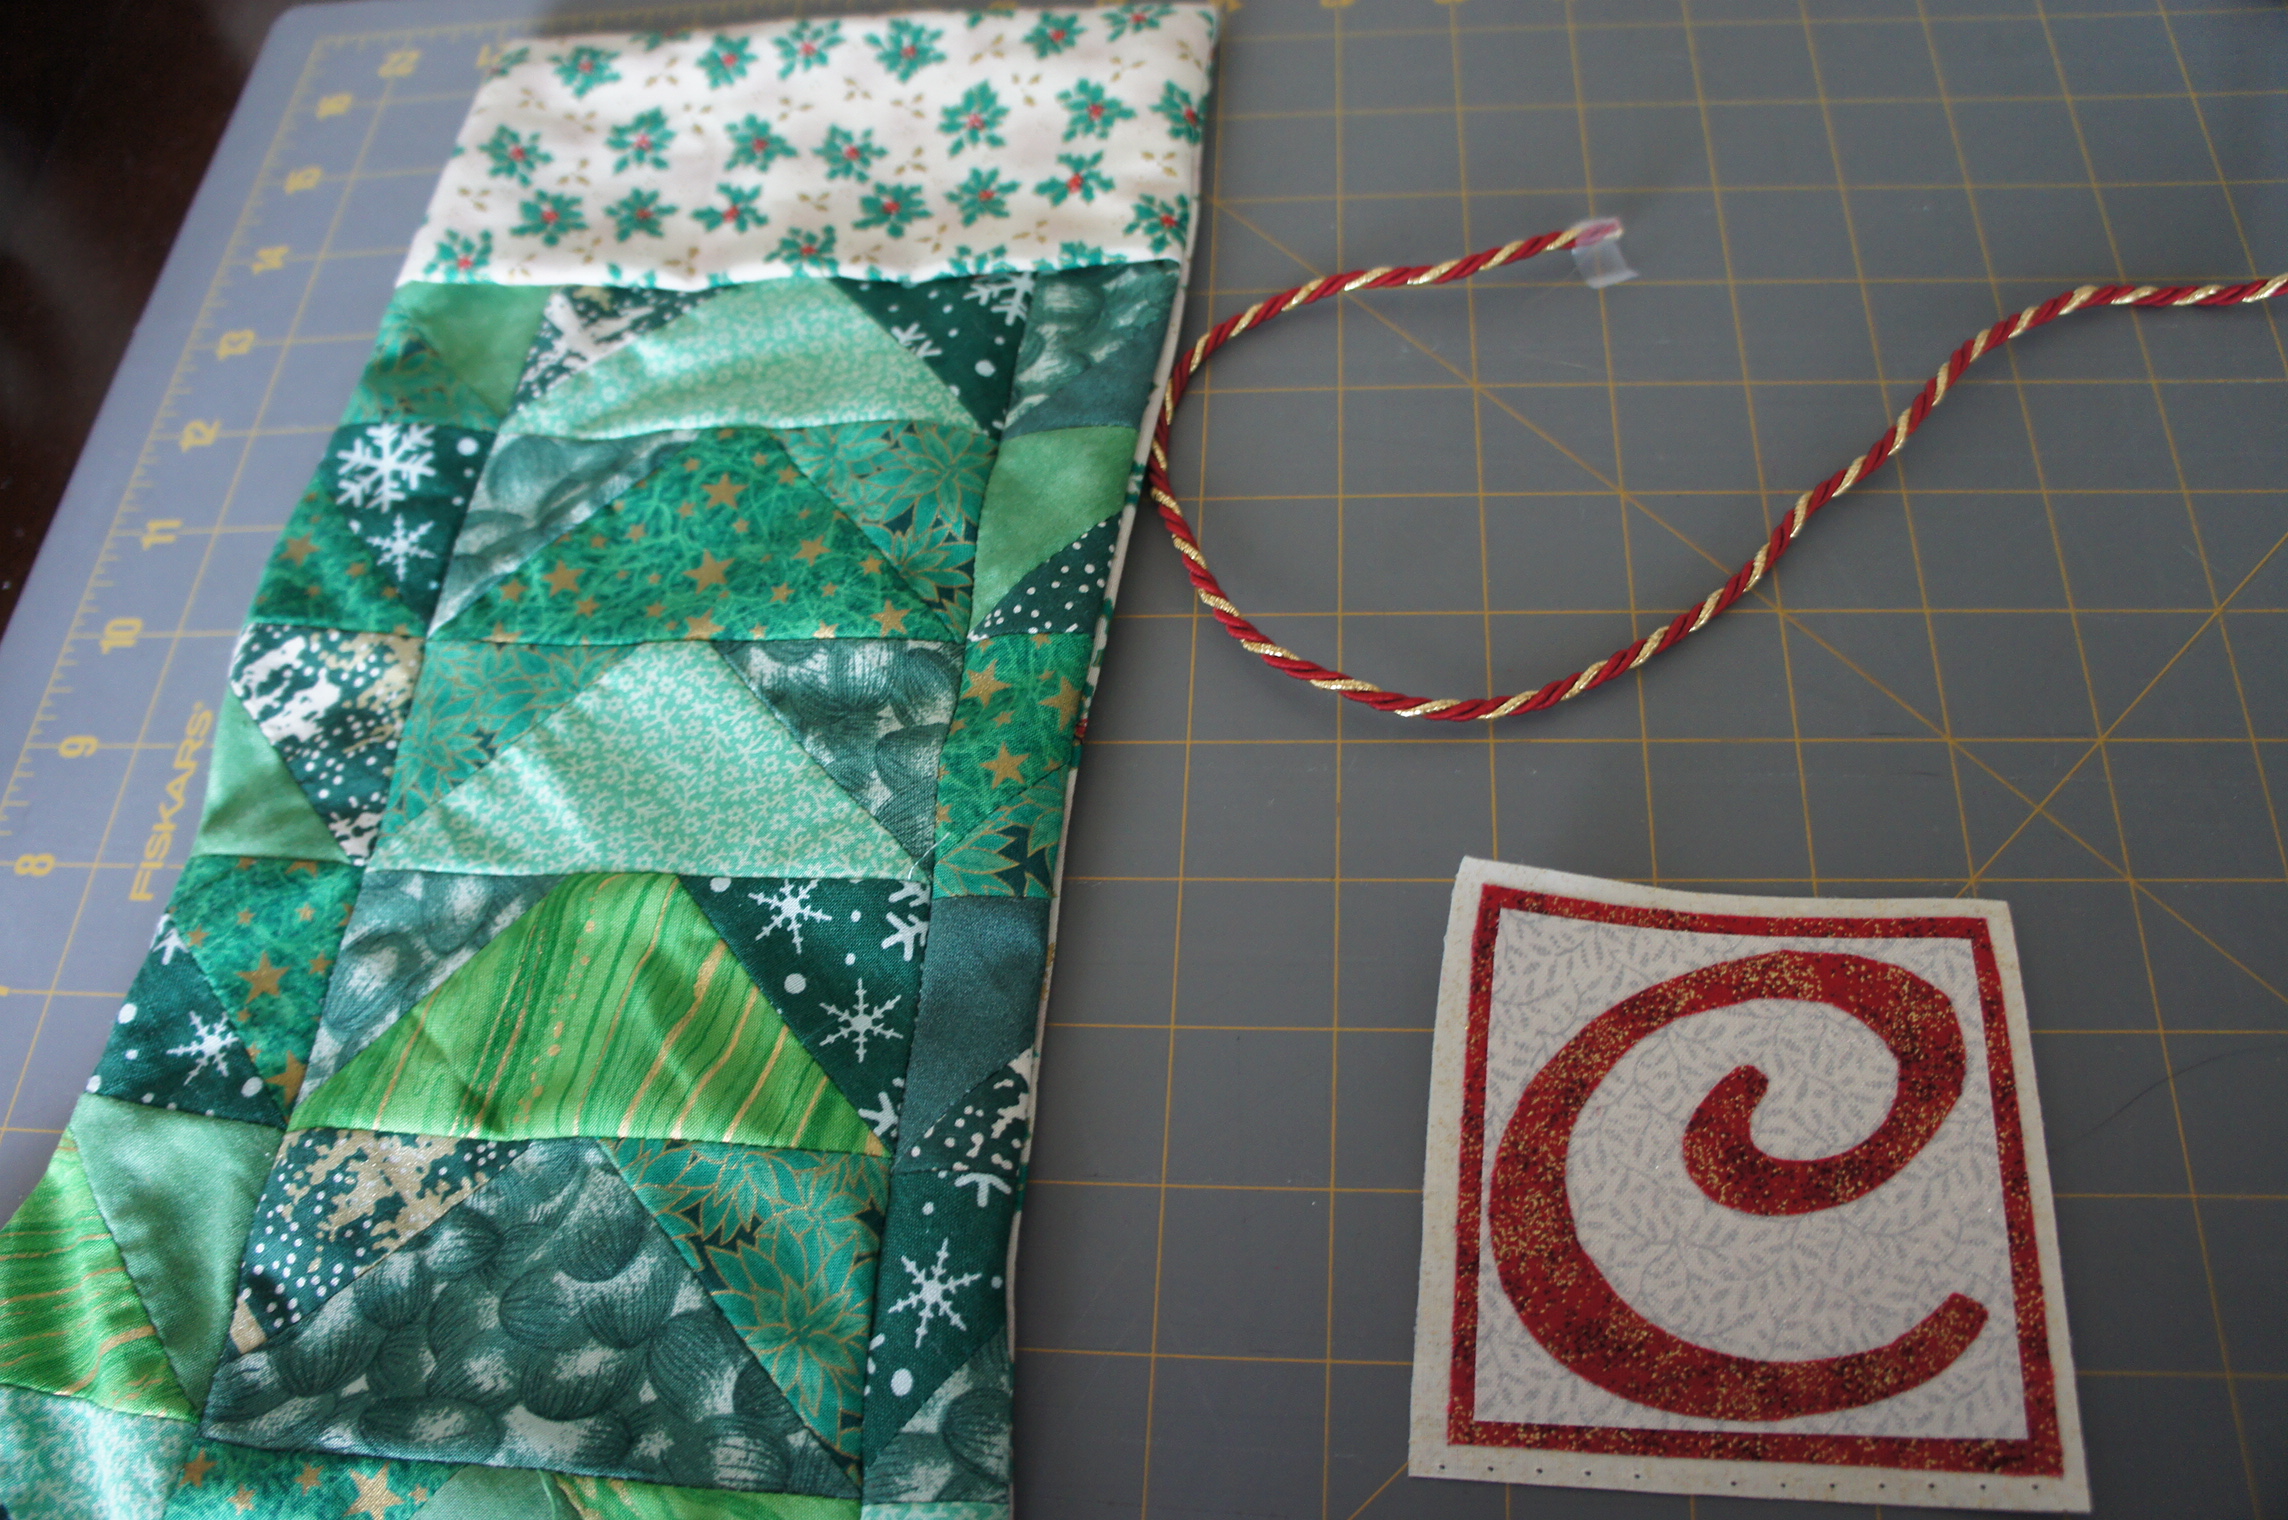
I make a monogram for each using a series of squares and a fancy letter (which I printed off the computer onto cardstock then used as a stencil). I use Fray Chek to seal the edges of the bottom (largest) square and then use double sided iron transfer/aplique paper to attach the medium square, small square and letter all together. (Follow the instructions on the transfer/applique paper. I recommend attaching the applique paper to the fabric before cutting the shapes, especially the letter, as this keeps the edges clean and prevents the fabric from fraying).
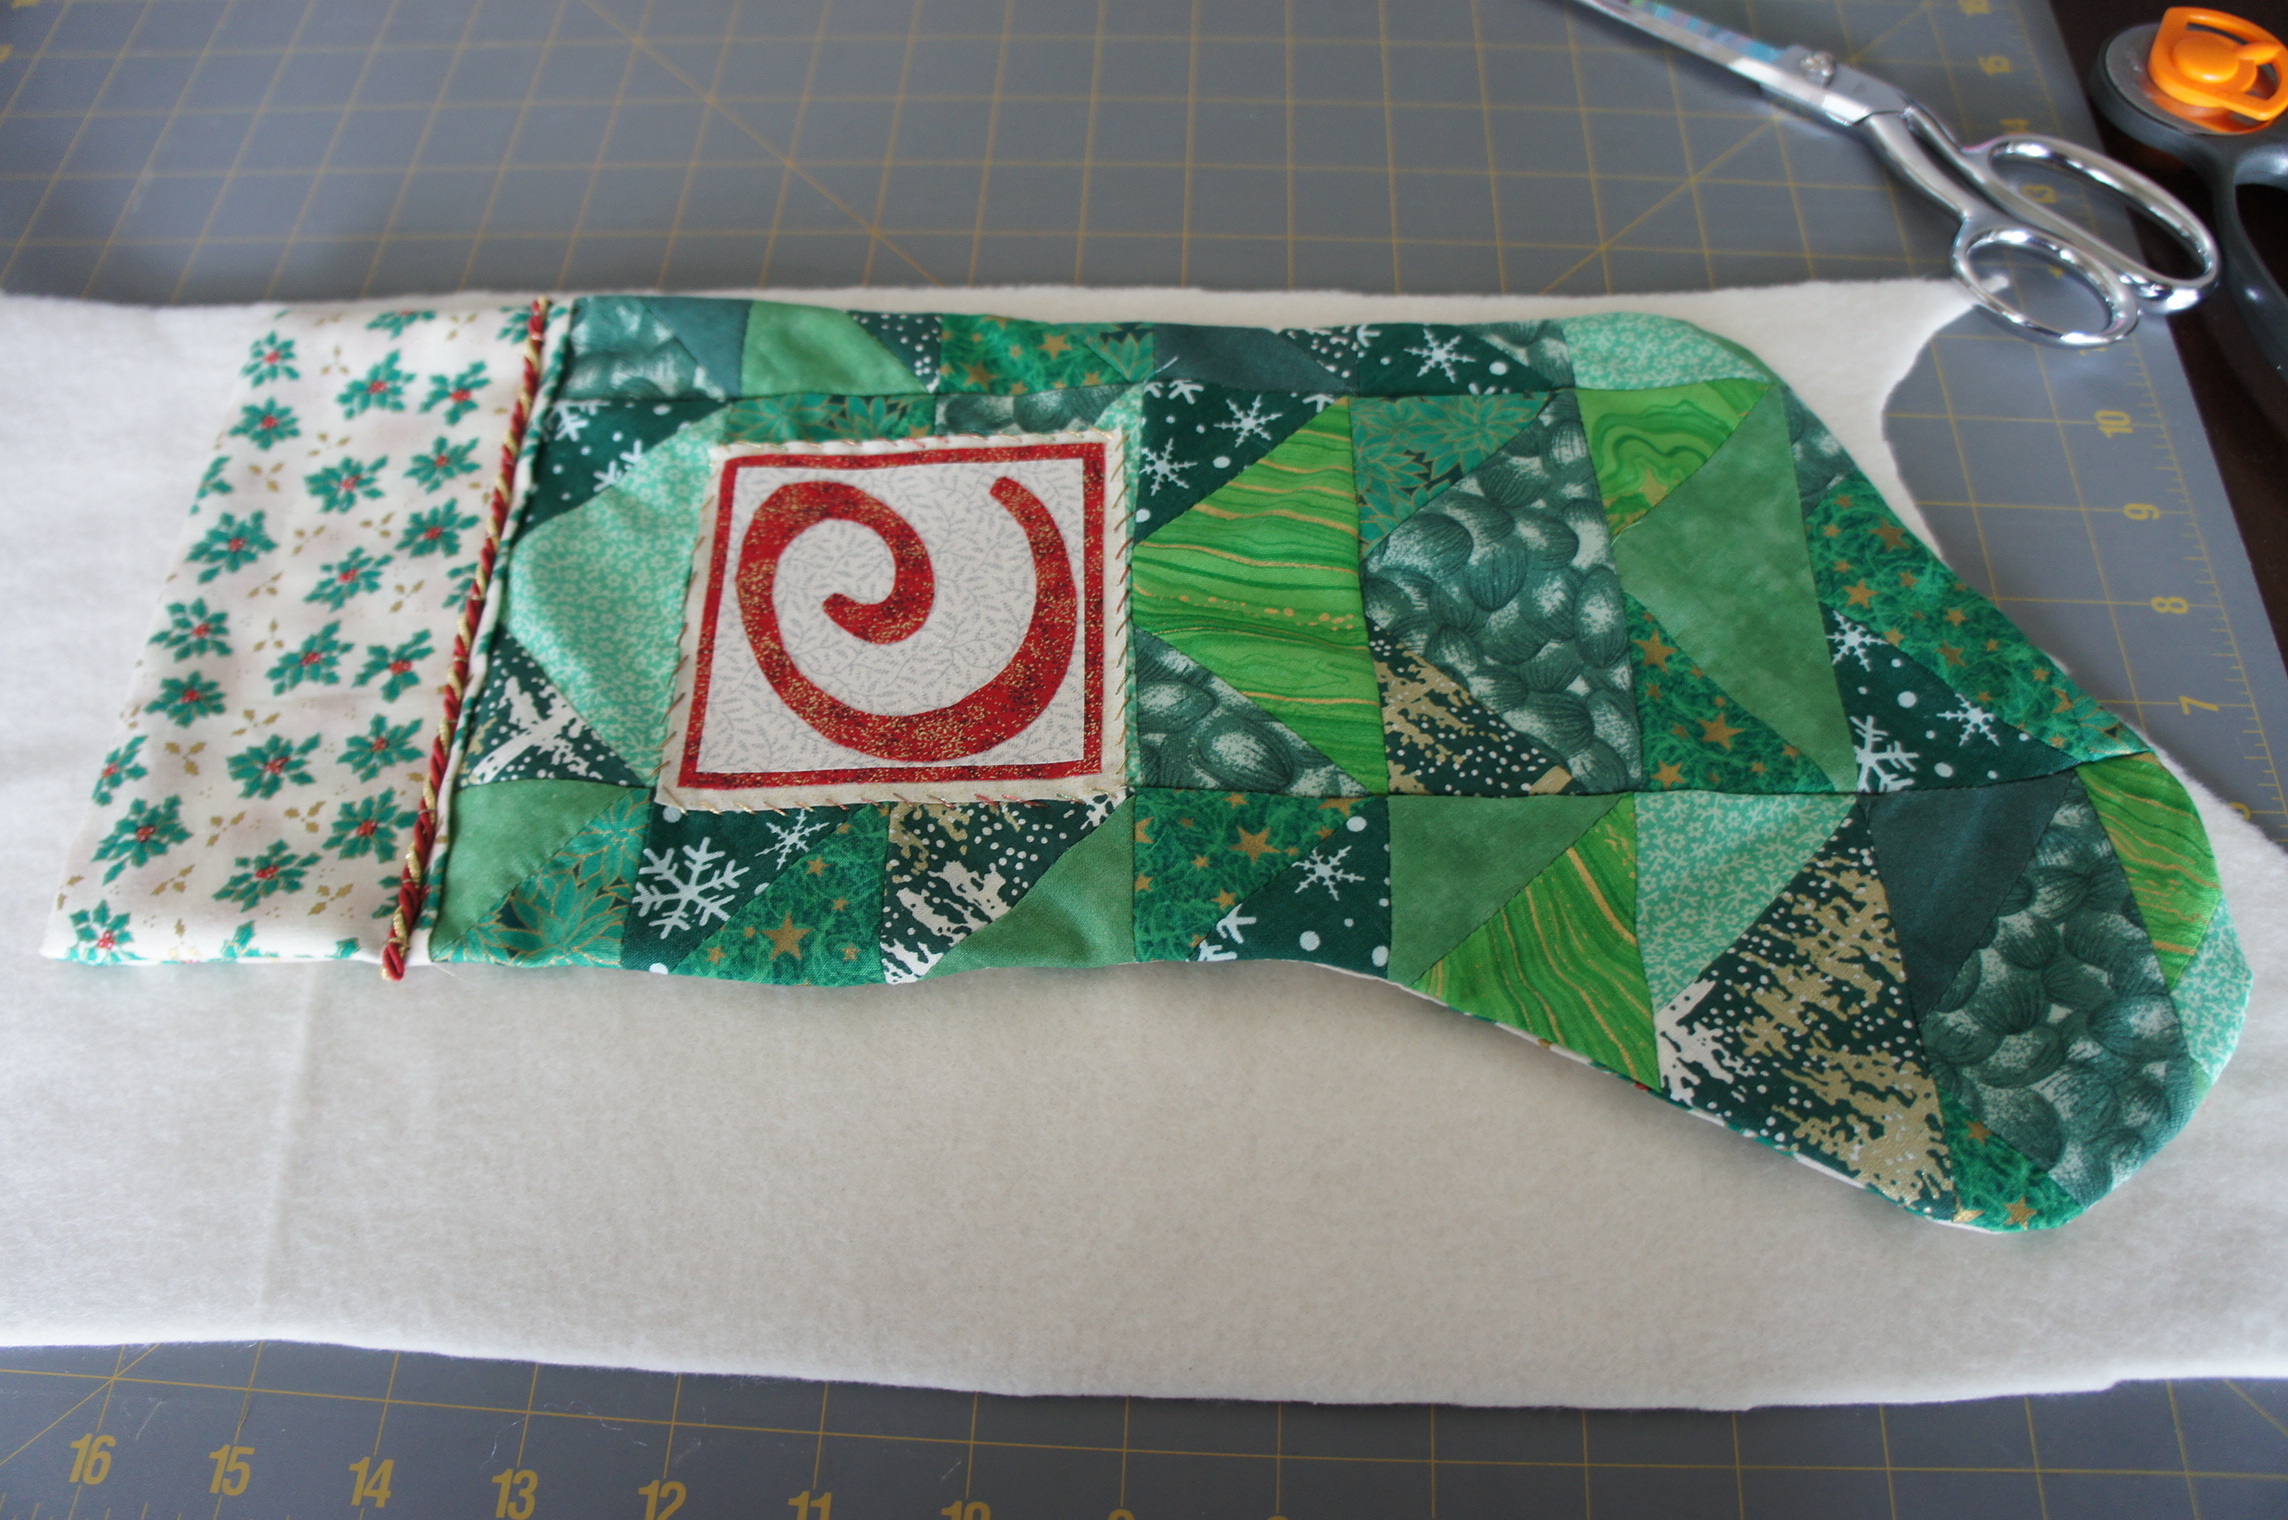
I handstitch the monogram into place and a piece of fancy trim to the bottom of the lining fabric which forms the stocking top to secure the flap and raw edges inside:
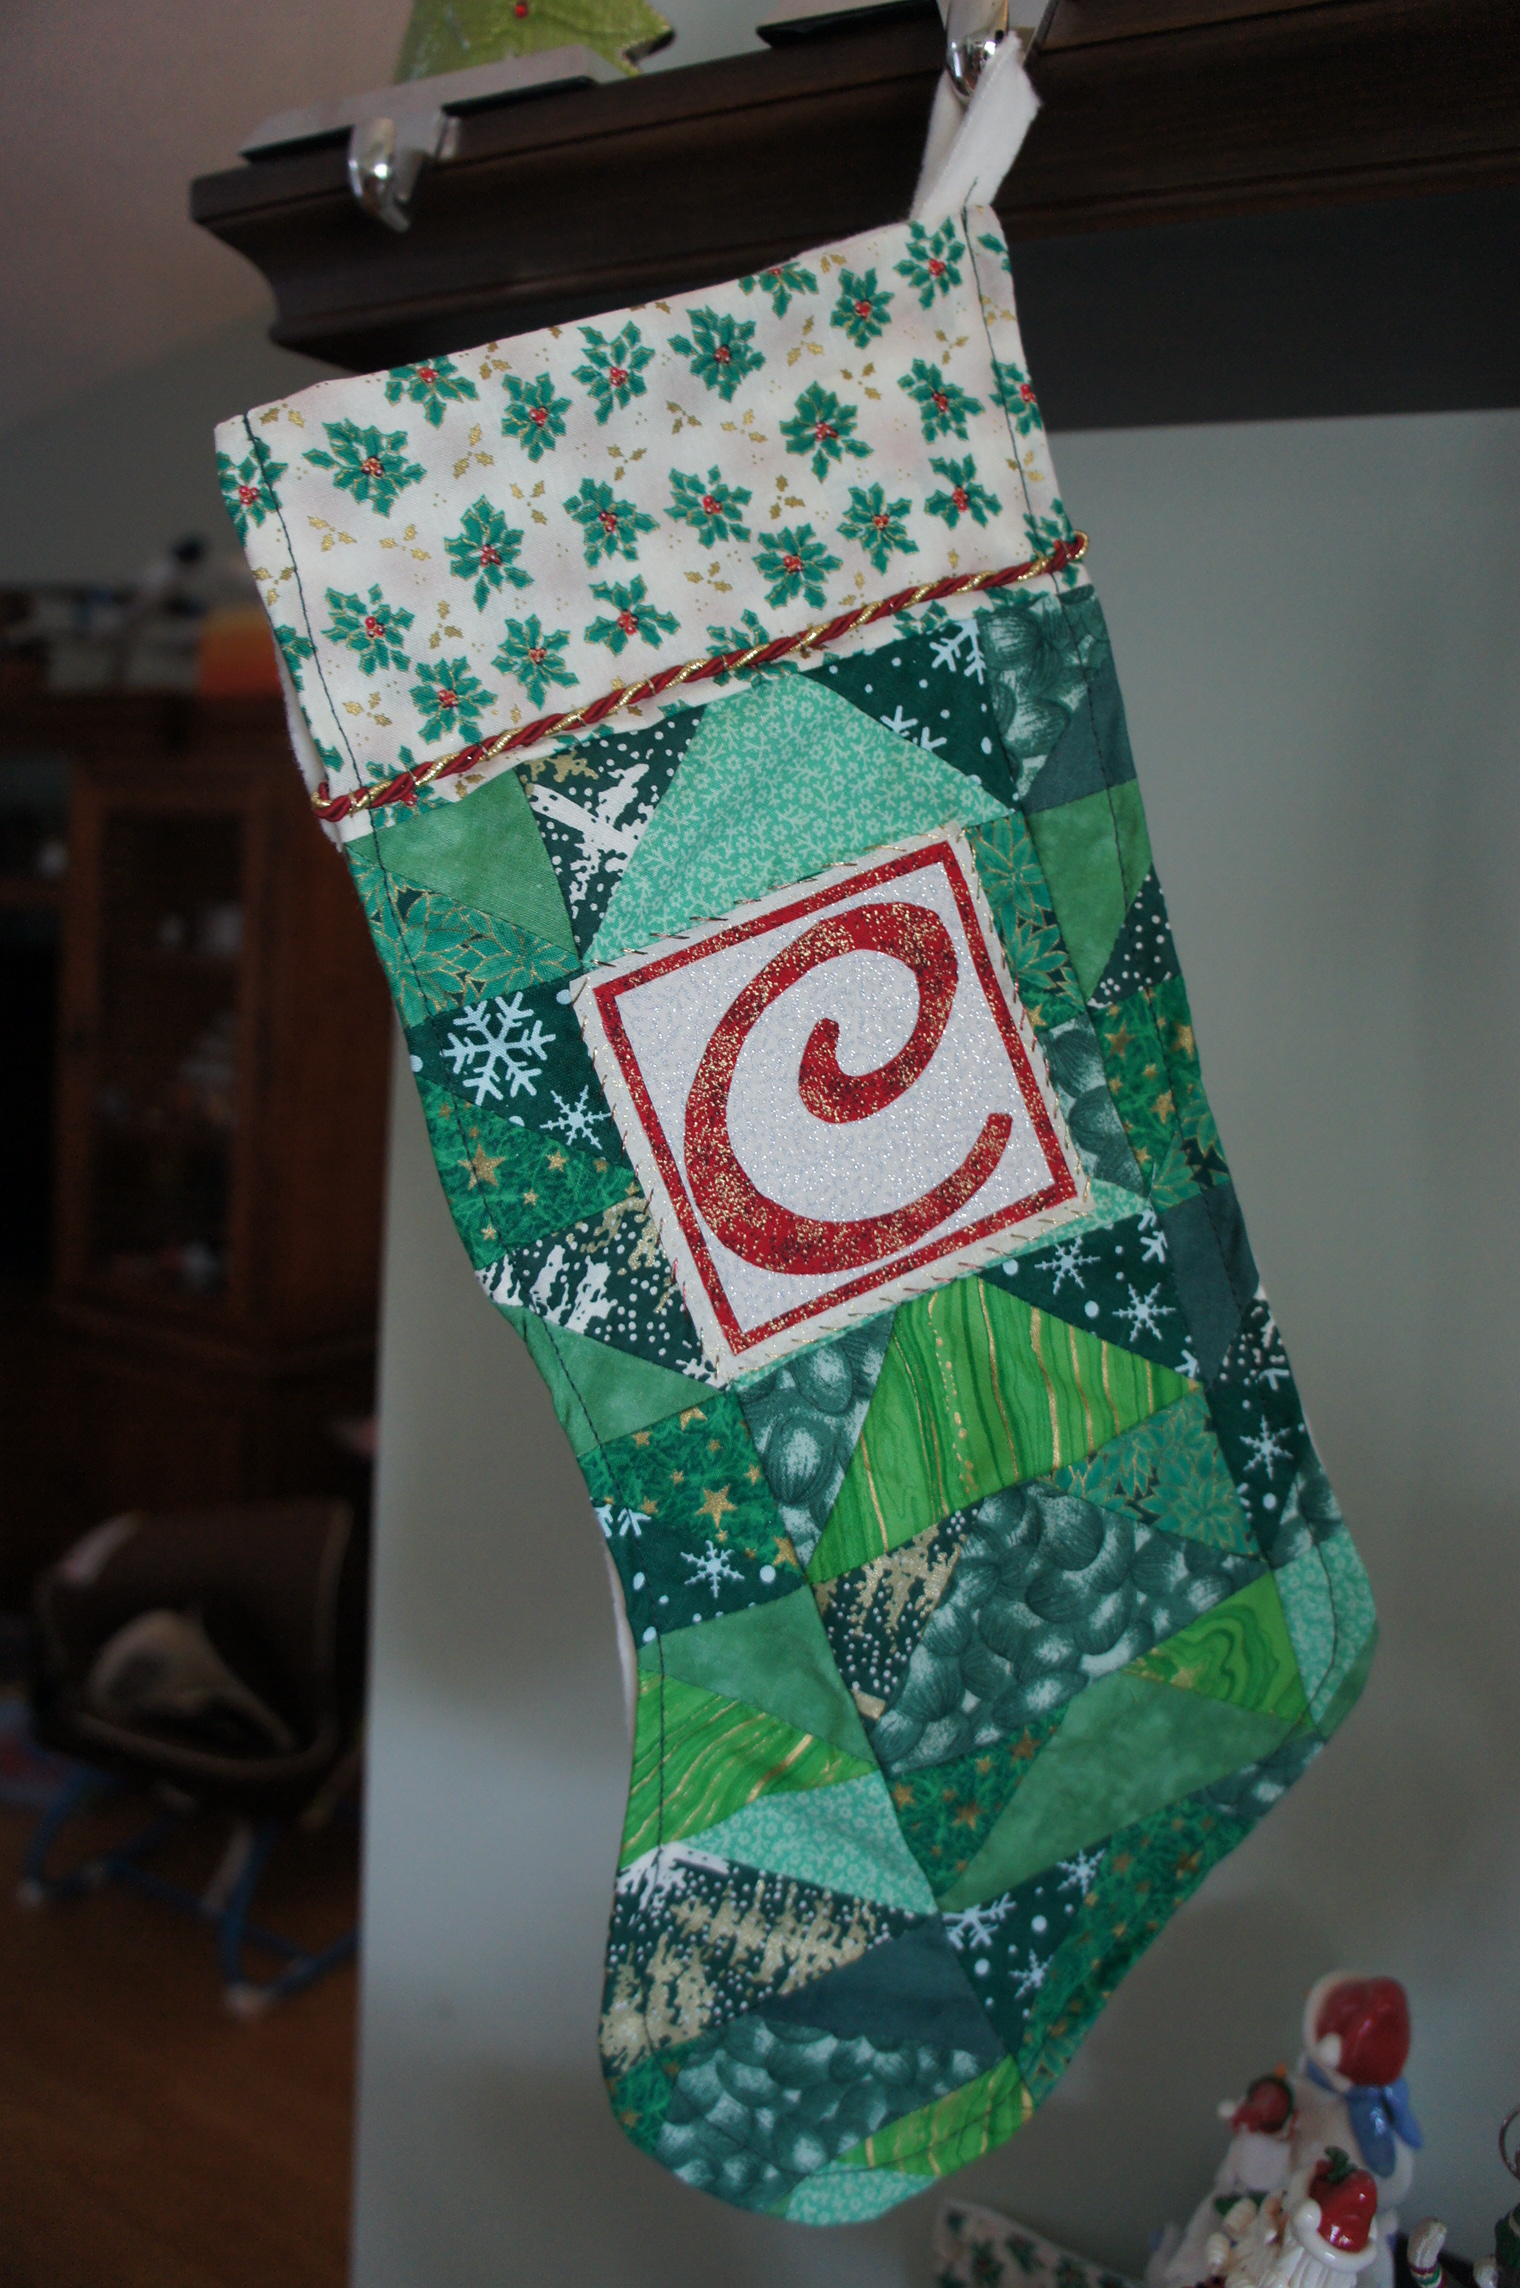
I cut a back piece out of polar fleece to the shape of the front (you can also use felt) and use a small strip of the fleece for the hanger. I pin in the hanger and stitch the front to back all around except for across the top and VOILA!

Custom patchwork quilted stocking ready for Christmas Eve!


